Introduction
A timeout boundary event will occur when an end-user has not performed the necessary action of an activity within the time allotted. The 'Clear Timeout Activity' will clear the timeout execution variable so that, when a timeout occurs, additional actions can be taken within the Process Instance.
This document will describe the steps required to configure a Process Definition with the 'Clear Timeout Activity' and set the overall outcome to 'FAIL' when a timeout occurs.
Step One - Create a Timeout Gateway
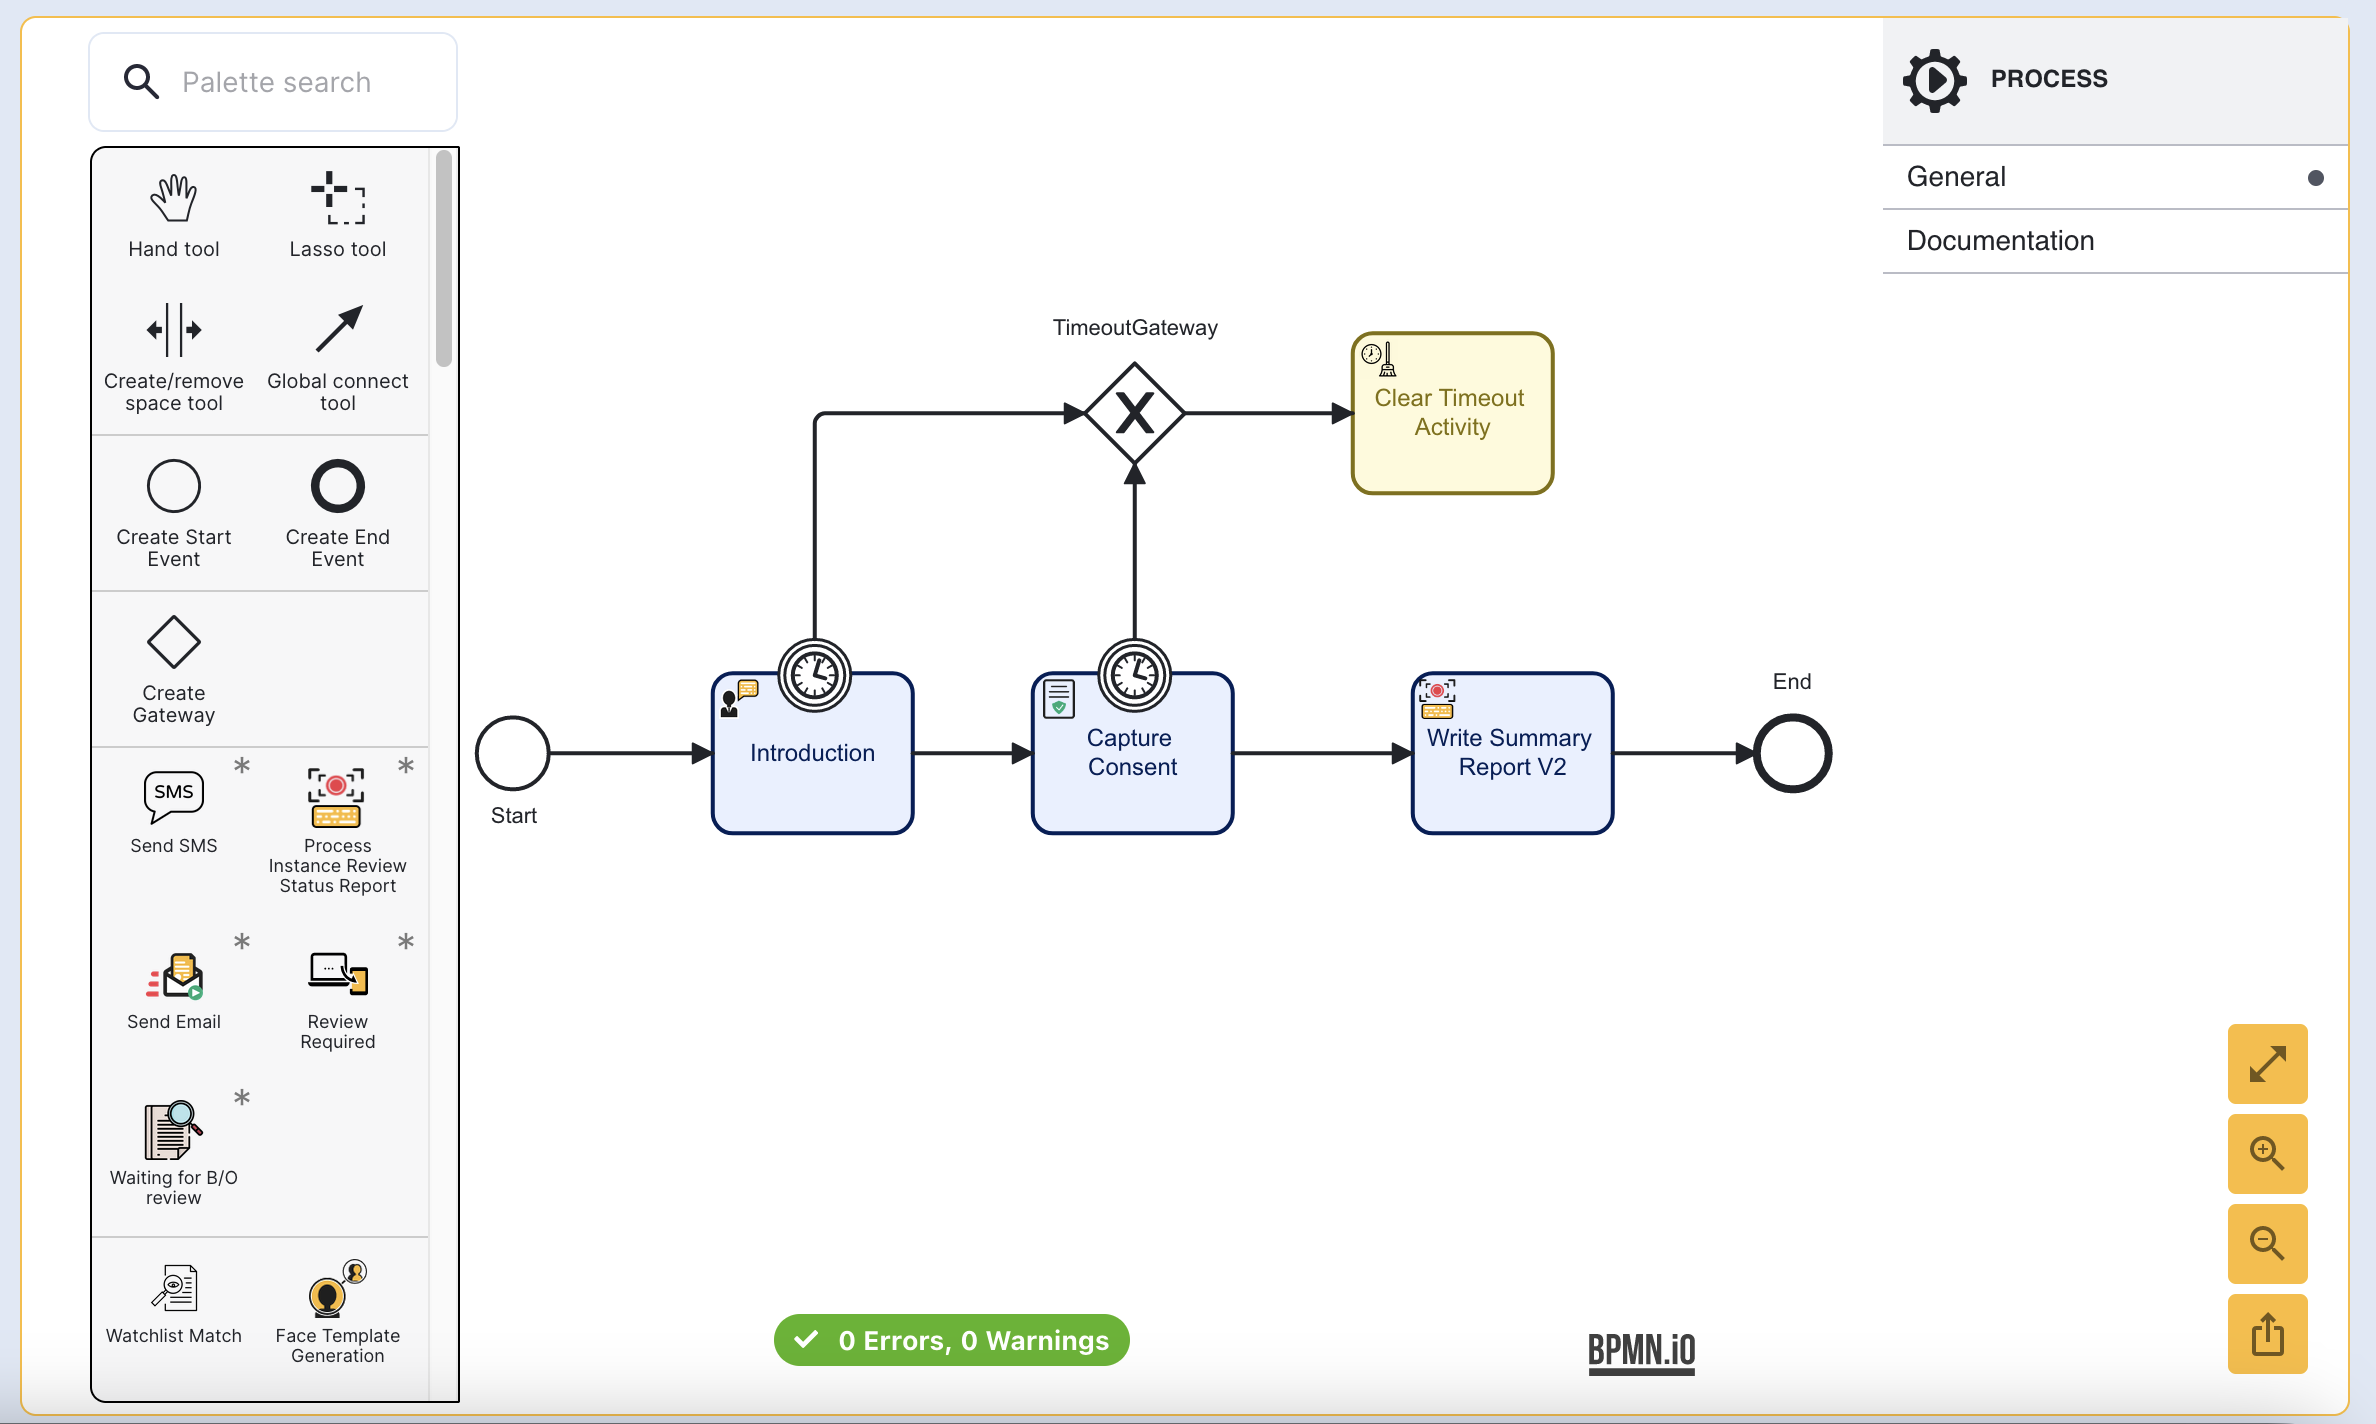
This example will use 'Timeout' gateway to direct the flow of any timeout boundary events in the direction of the 'Clear Timeout Activity'. First, create a new gateway by adding a 'Create Gateway' activity to the Process Designer.
The example in this document uses a simplified Process Definition that does not include face or document capture.
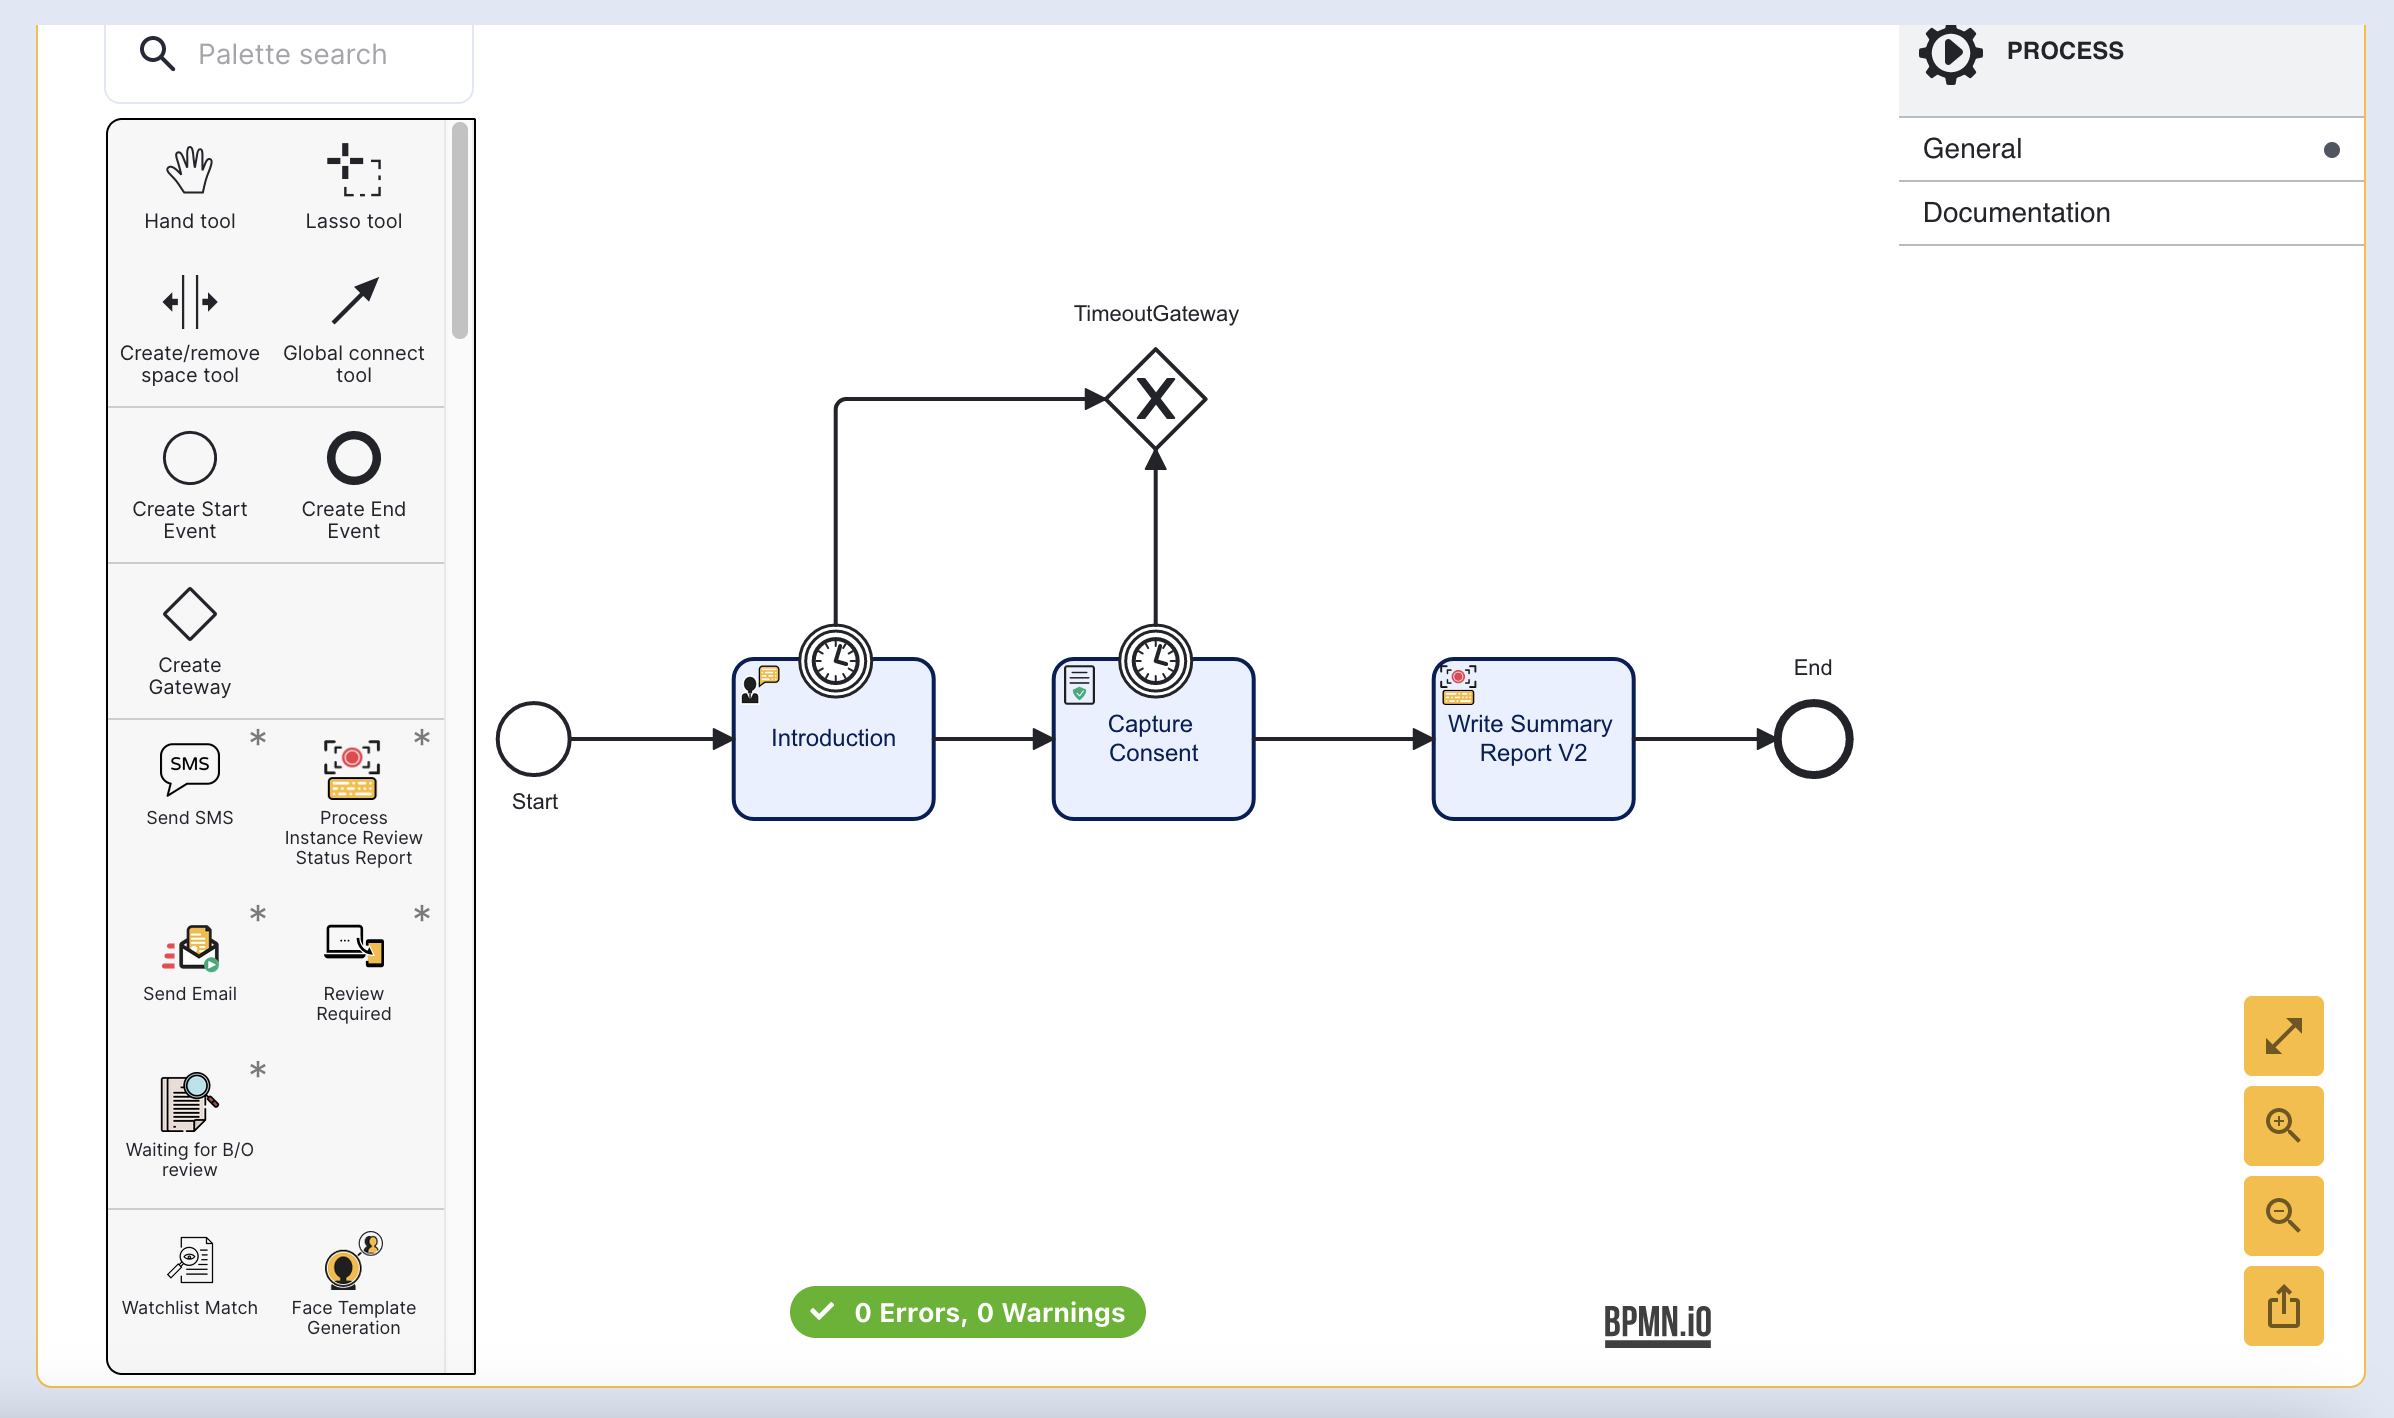
Connect the gateway to the timeout boundaries using sequence arrows. When a timeout boundary occurs during the 'Introduction' or 'Capture Consent' activities, end-users will be guided accordingly.
Step Two - Add the Clear Timeout Activity
The 'Clear Timeout Activity' will be used to clear the timeout boundary execution variable when the event is triggered. Add the activity to the Process Designer and connect it to the 'Timeout' gateway using a sequence arrow.
Step Three - Set Outcome
Now that the timeout boundary has been cleared, the Process Definition can continue even after an event has been triggered. In this example, the overall outcome of the Process Instance will be set to 'FAIL'.
Add a 'Simple Decider' activity to the Process Designer and connect the new activity to the 'Clear Timeout Activity'. Finally, connect the 'Simple Decider' to the 'Write Summary Report V2' activity.
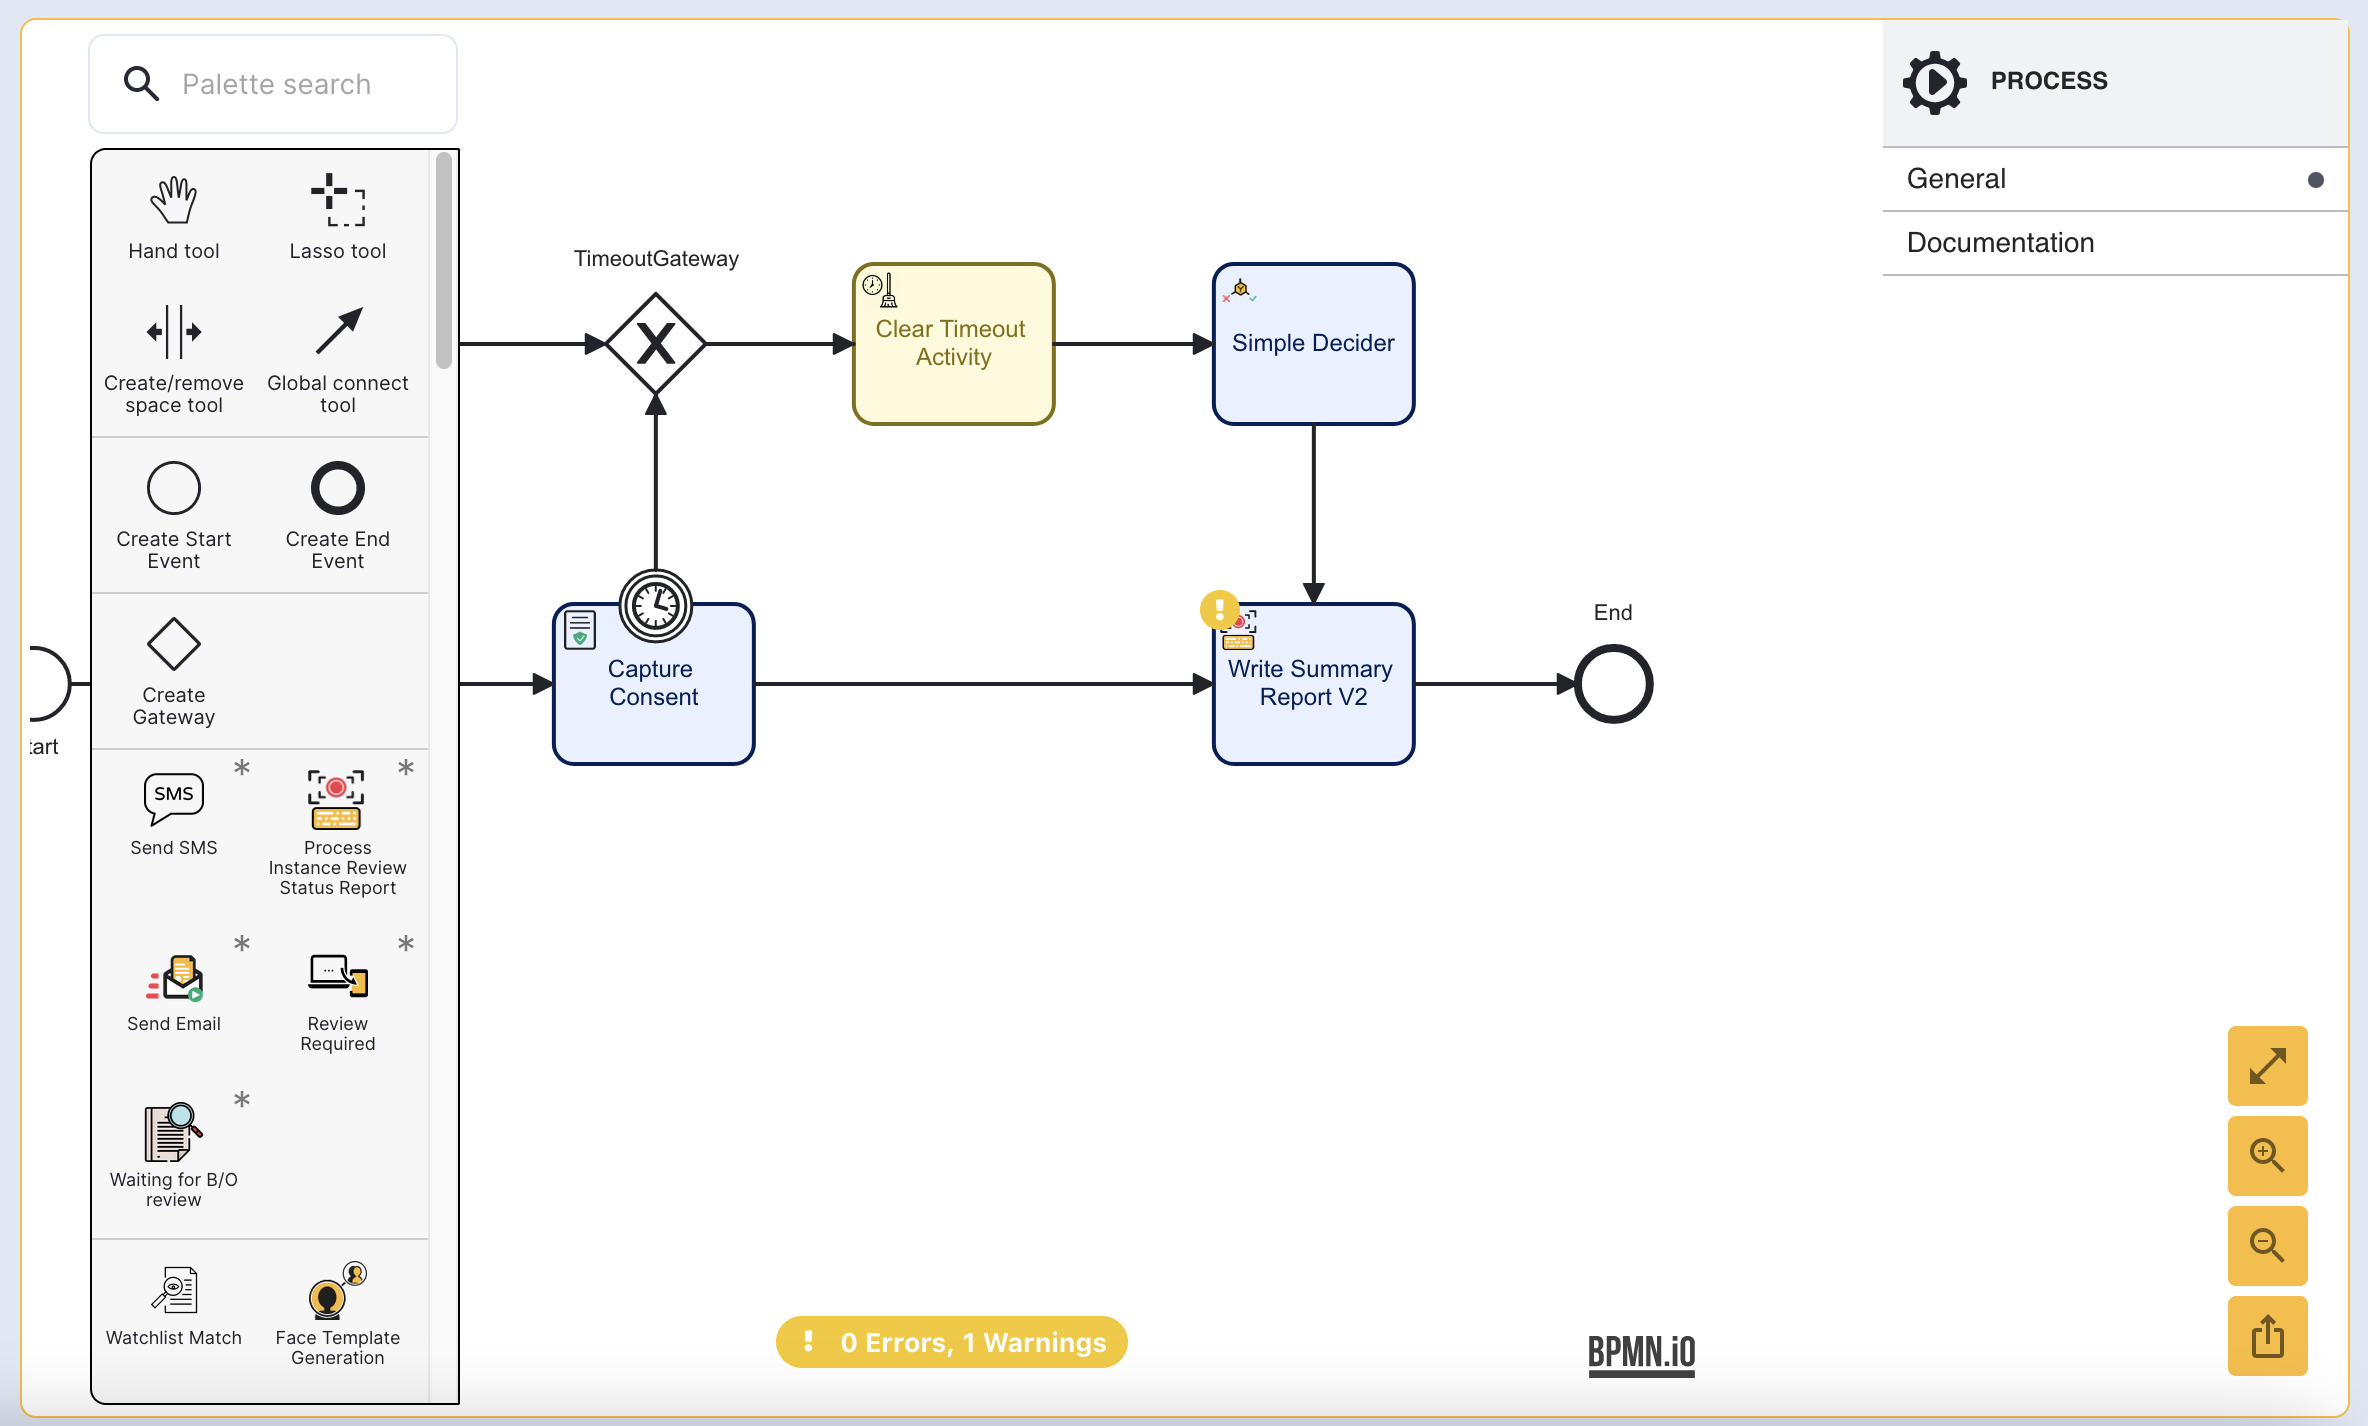
Once the 'Simple Decider' activity has been added, click the activity to open the contextual menu. Under 'Input Parameters', set the 'Decision on Any Failure' and 'Derive Decision From' parameters to 'Fail'.
