Introduction
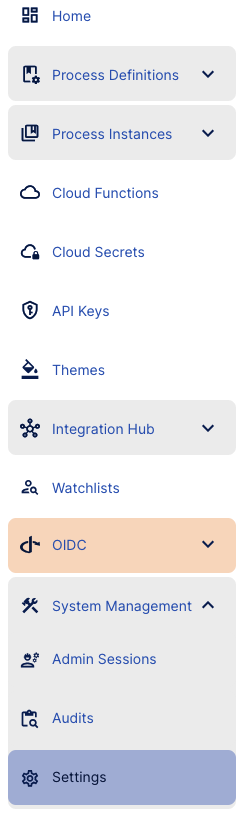
Iframe and IP Restriction configurations can be managed from the Backoffice within the Settings page of the System Management section.
This self service settings page enables the configuration of Back Office and Trust Web content security policies for iframes and the ability to define the allowed IP Address list for the ID&V flow.
Iframes
TrustX supports the embedding of the TrustWeb and Backoffice applications within a trusted iframe.
Users can define a list of frame ancestors and frame sources for each application.
Backoffice Content Security Policy
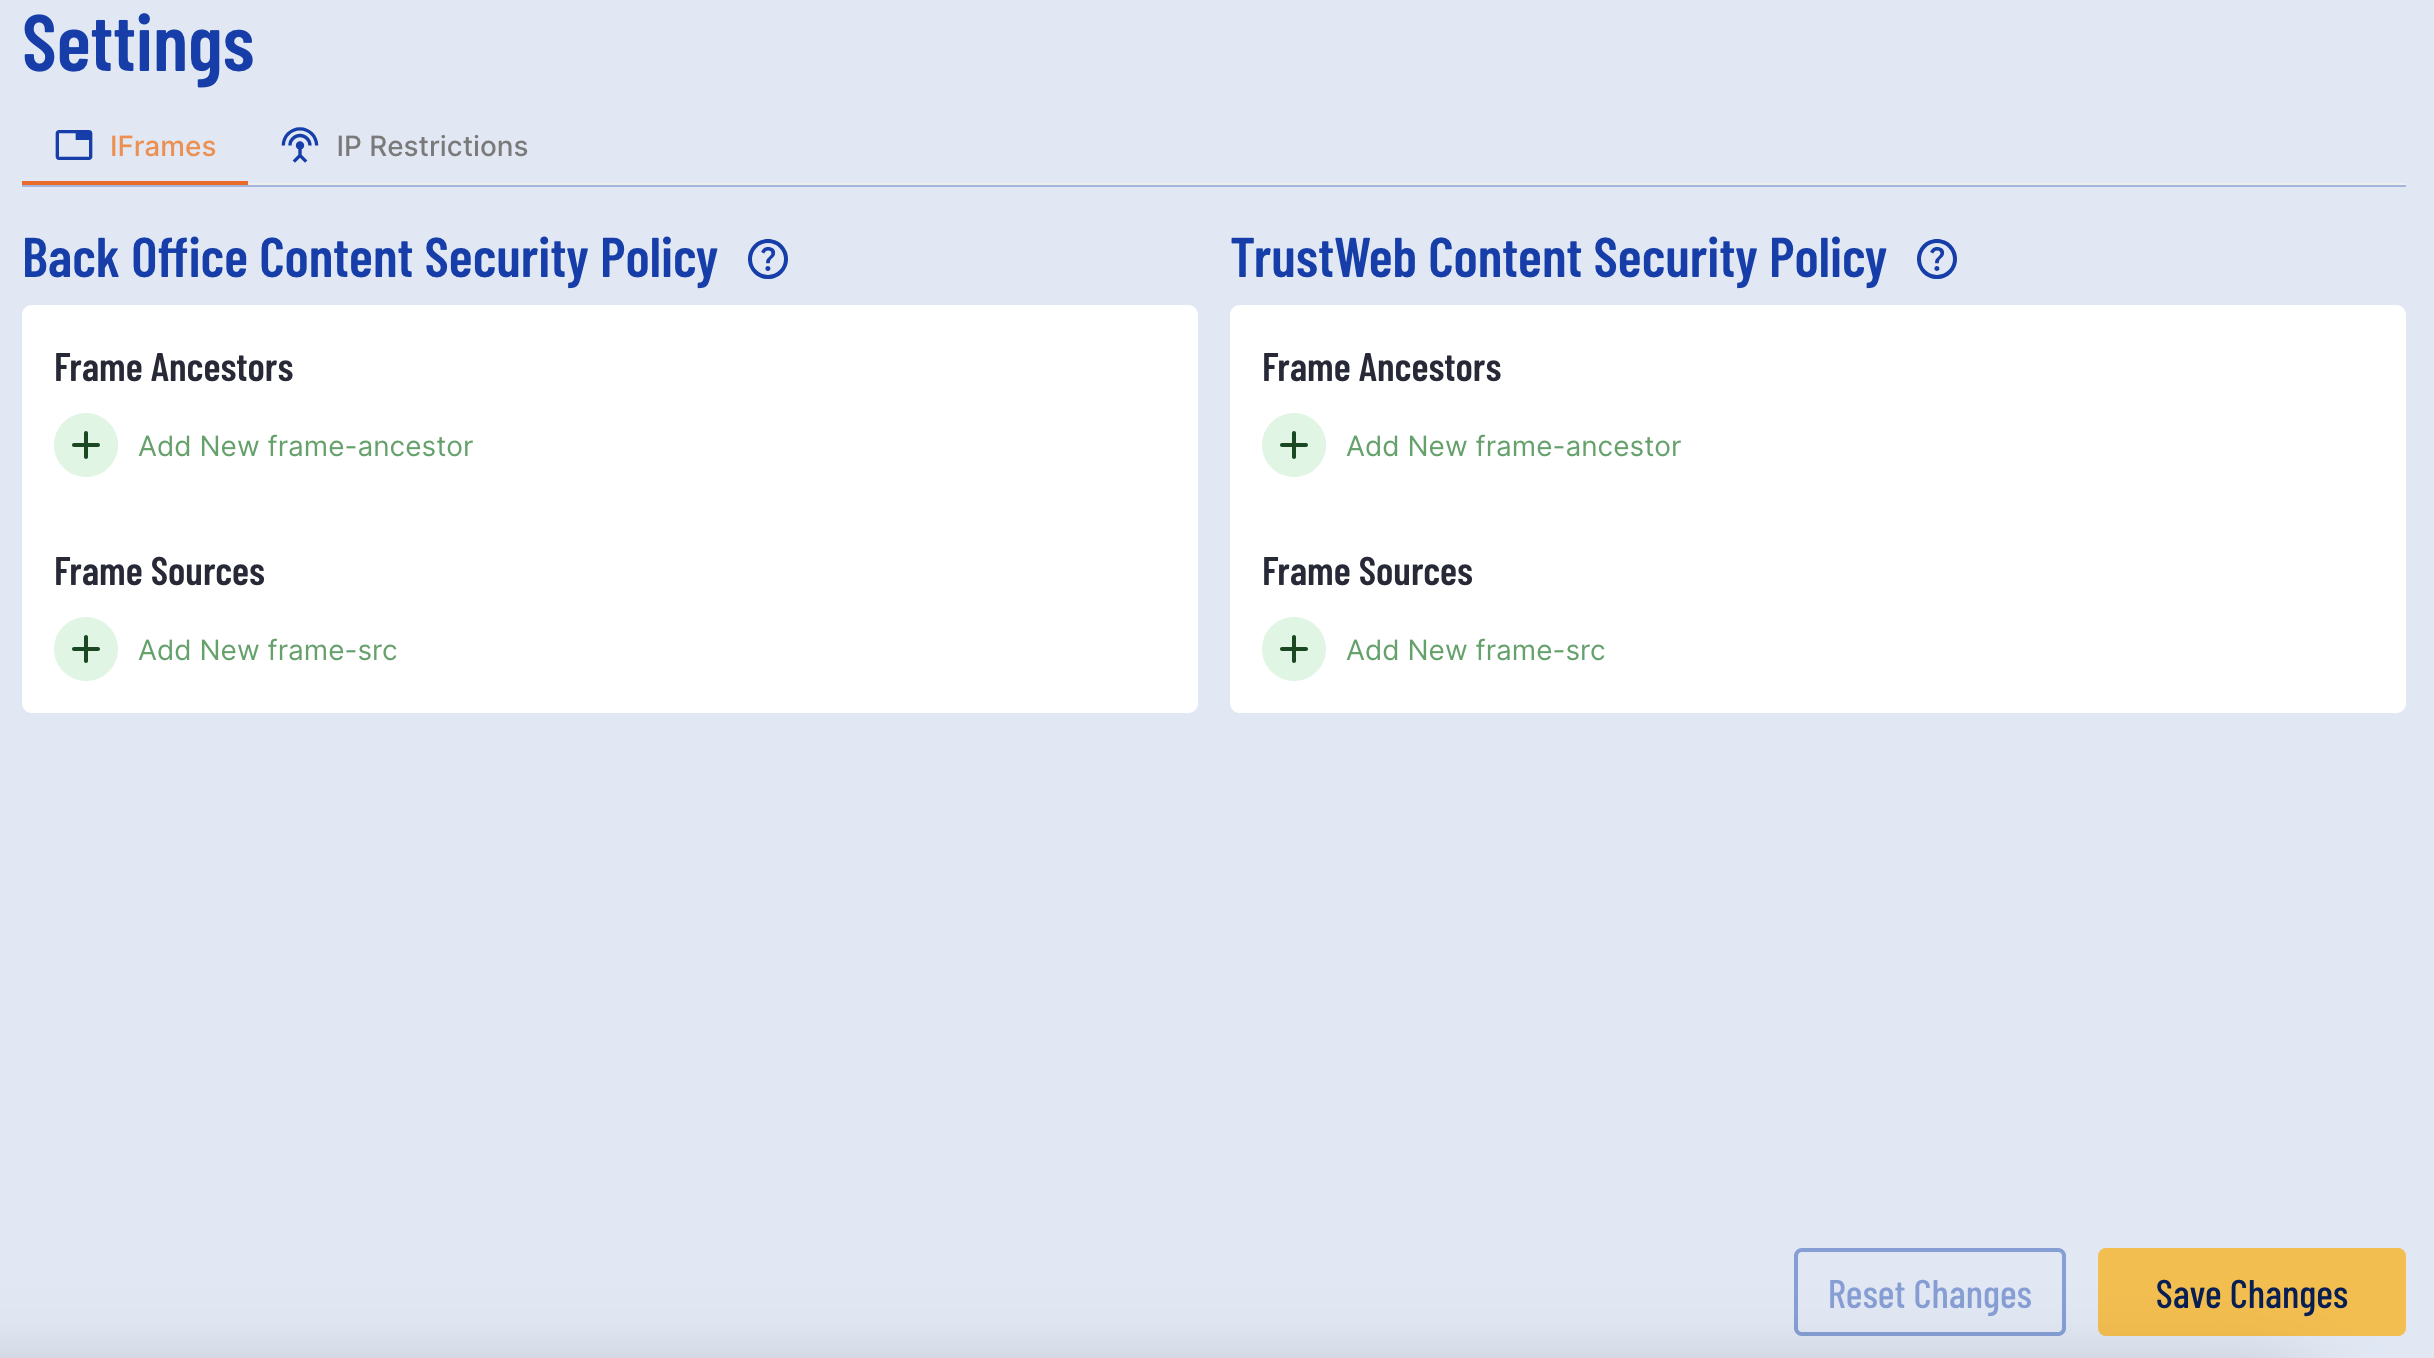
The Backoffice content security policy (CSP) defines the list of frame ancestors and frame sources to support embedding the Backoffice application in an iframe. The properties are defined as below:
Frame Ancestors - The parent source that may embed the page. This configuration is required for embedding the Backoffice in an iframe.
Frame Sources - Specifies where in a page an iframe can be loaded from. This configuration is necessary when utilizing custom and external pages.
To add a new entry, click the green 'plus' button under desired parameter.
Example:
TrustWeb Content Security Policy
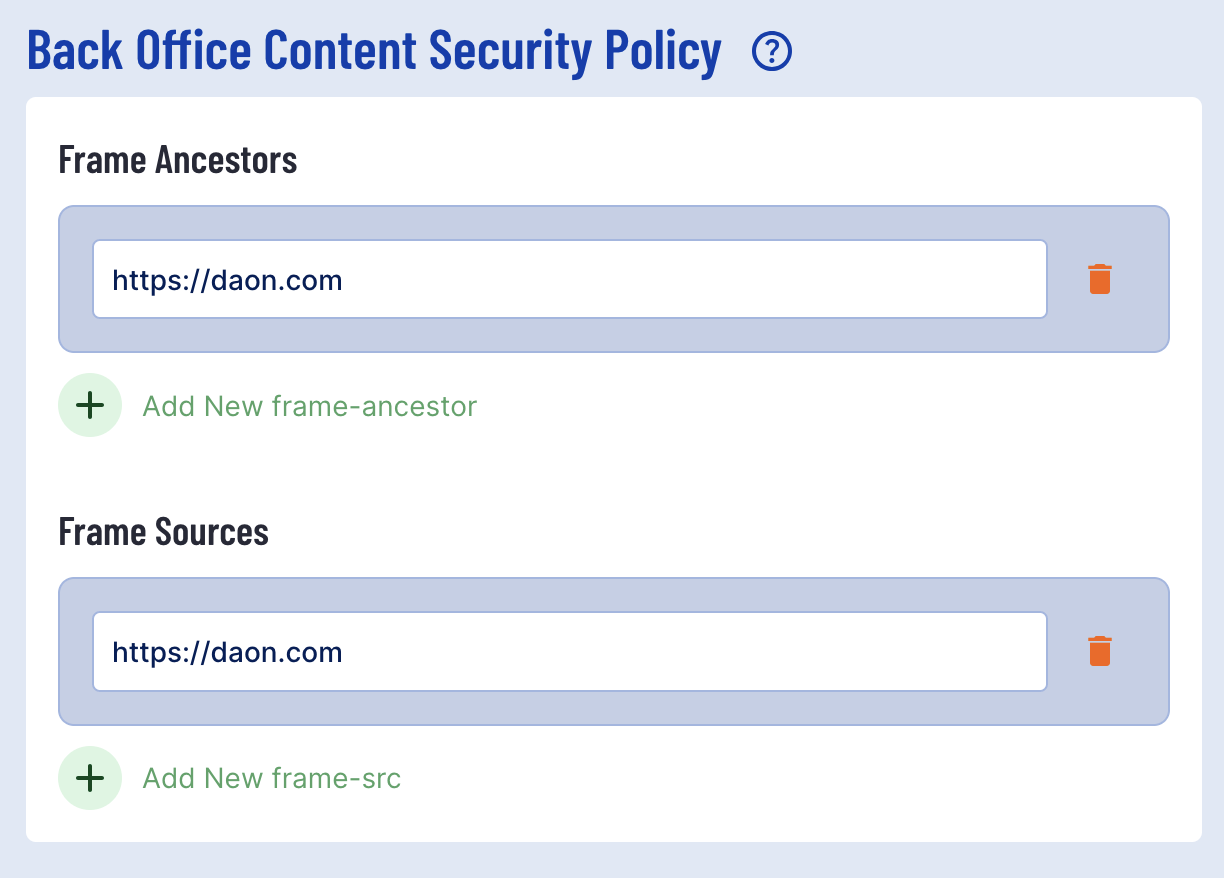
The TrustWeb content security policy (CSP) defines the list of frame ancestors and frame sources to support embedding the TrustWeb application in an iframe. The properties are defined as below:
Frame Ancestors - The parent source that may embed the page. This configuration is required for embedding the TrustWeb in an iframe.
Frame Sources - Specifies where in a page an iframe can be loaded from. This configuration is necessary when utilizing custom and external pages.
To add a new entry, click the green 'plus' button under desired parameter.
Example:
IP Restrictions
Users can define a list of IPs so that only IP addresses listed can access the Backoffice and APIs. To configure restricted IPs, click the 'IP Restrictions' tab under the 'Settings' header.
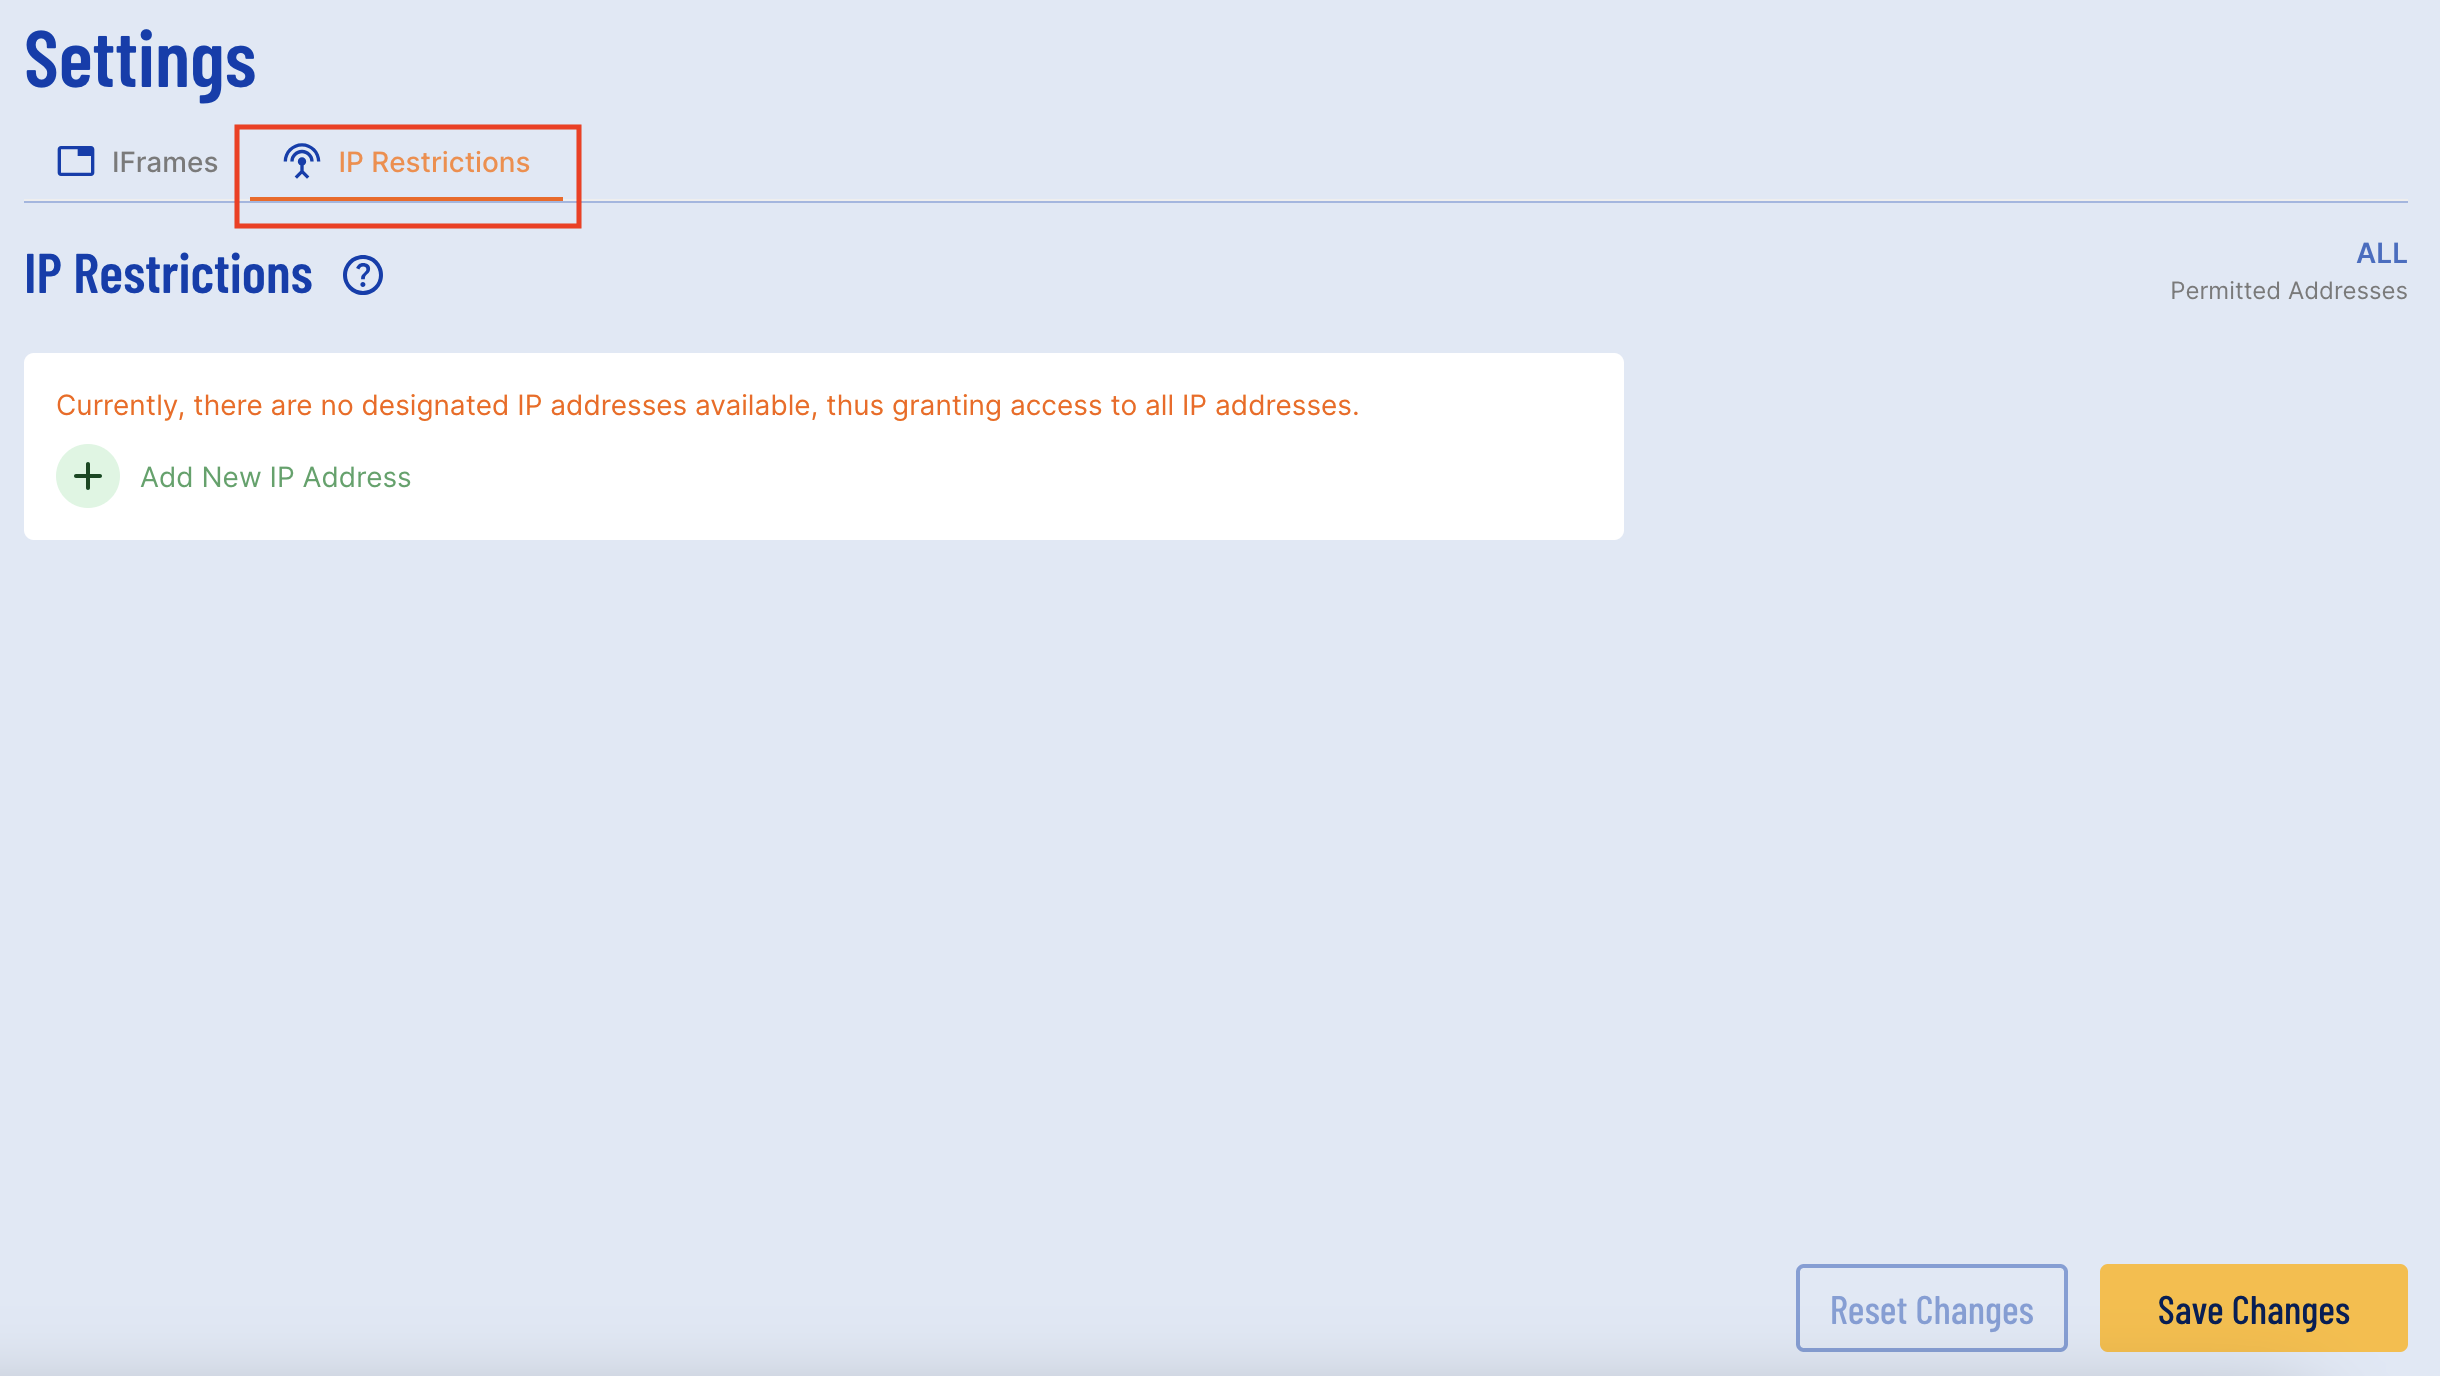
To add a new IP address, click the green 'Add New IP Address' button. A text input field will appear where one or more IP address or subnets can be added.
Example:
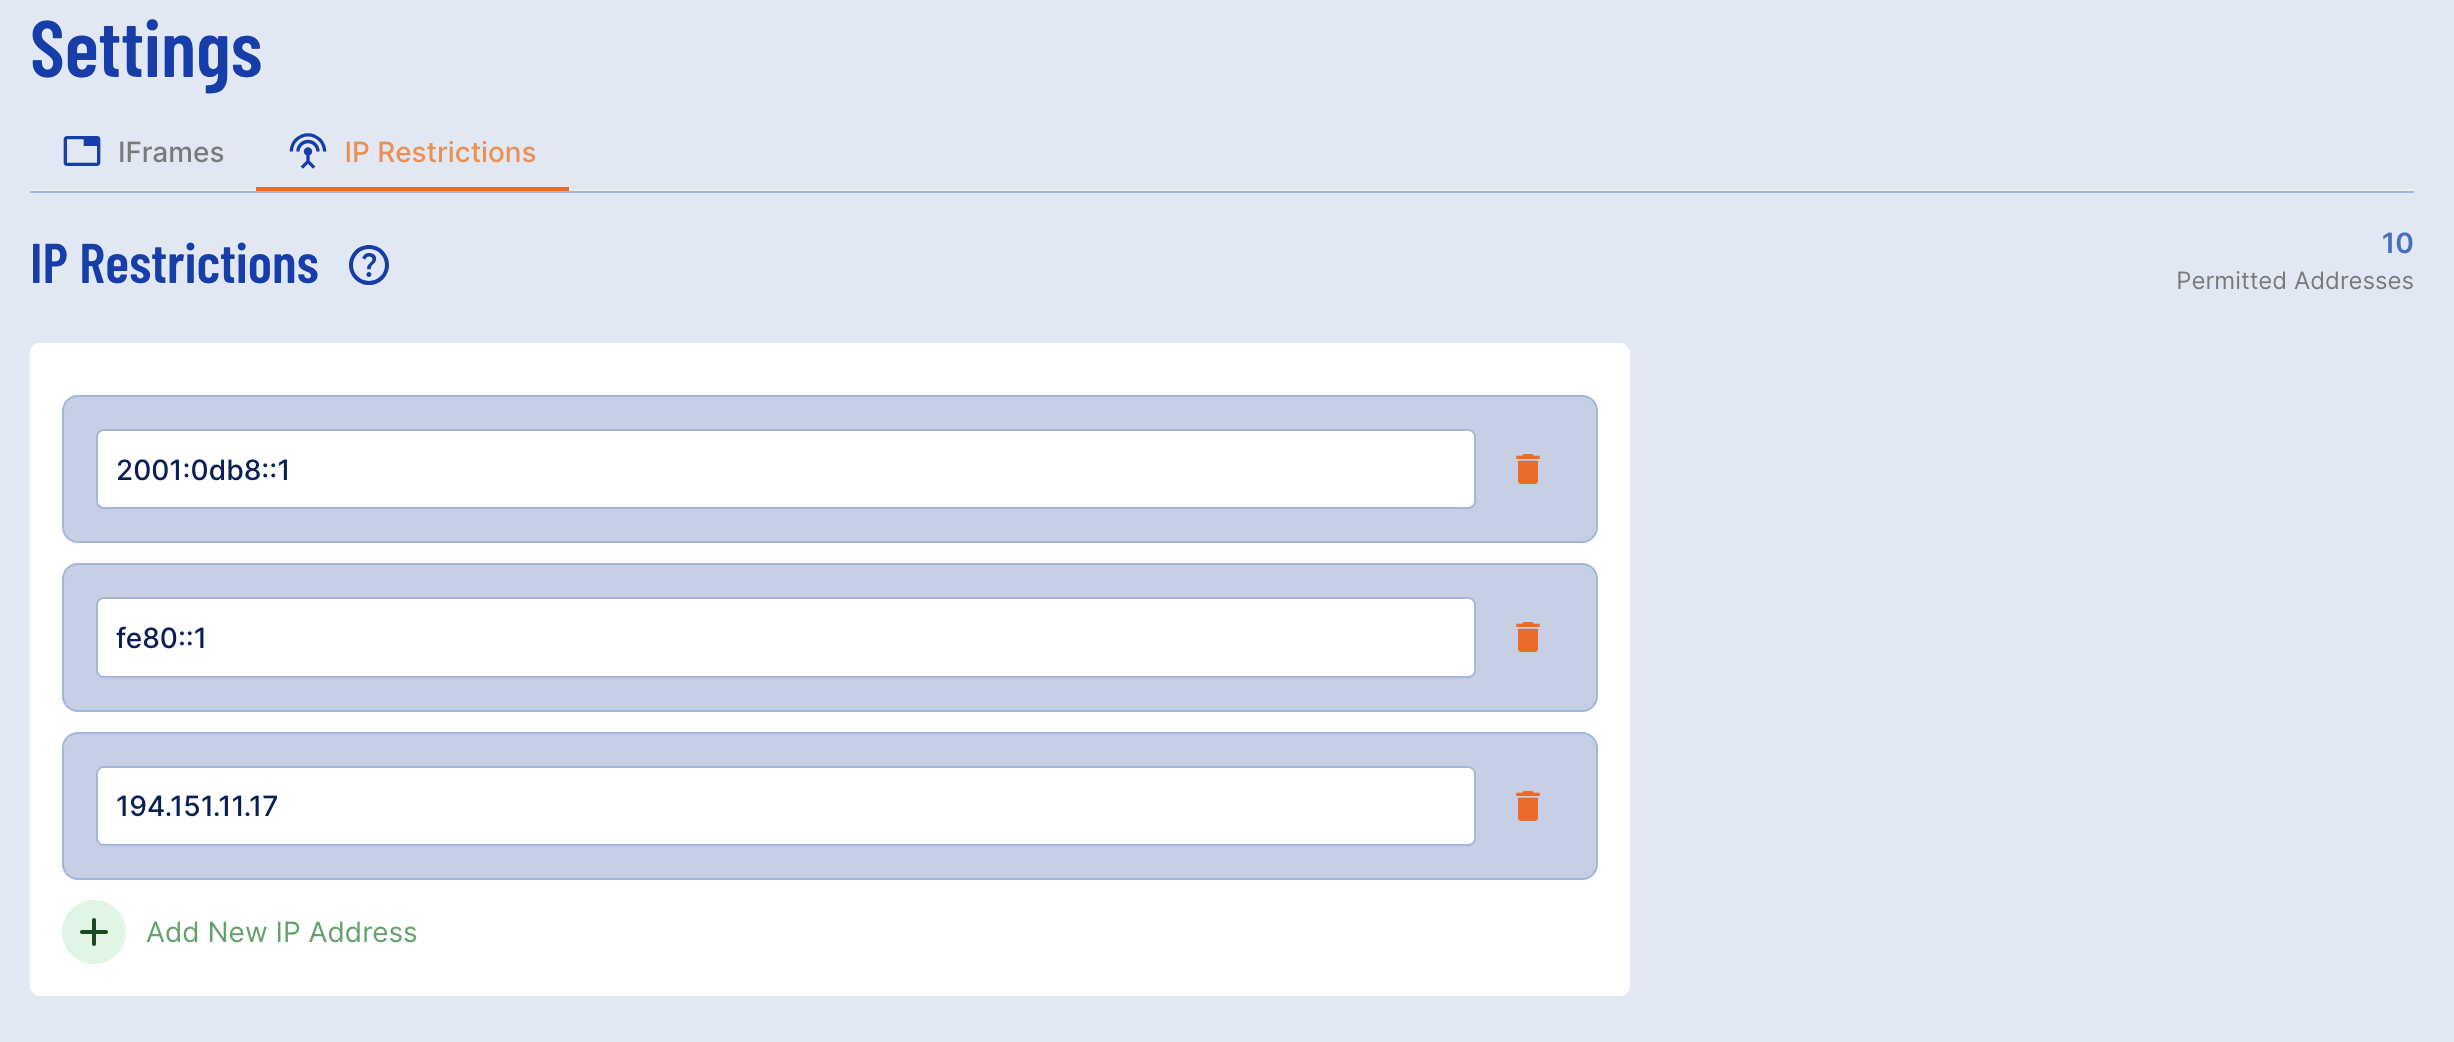
Once all IPs are set, click the 'Save Changes' button to finalize the configuration.
API Limits
TrustX provides API limits that ensure users who exceed the configured limits will have their API requests rejected.
This section will describe how to view API limits from the Backoffice application. To view API Limits as they are currently configured;
- Log in to the Backoffice application.
- Find System Management > Settings.
- From the tabular menu under the Settings title, select API Limits. This should be selected by default.
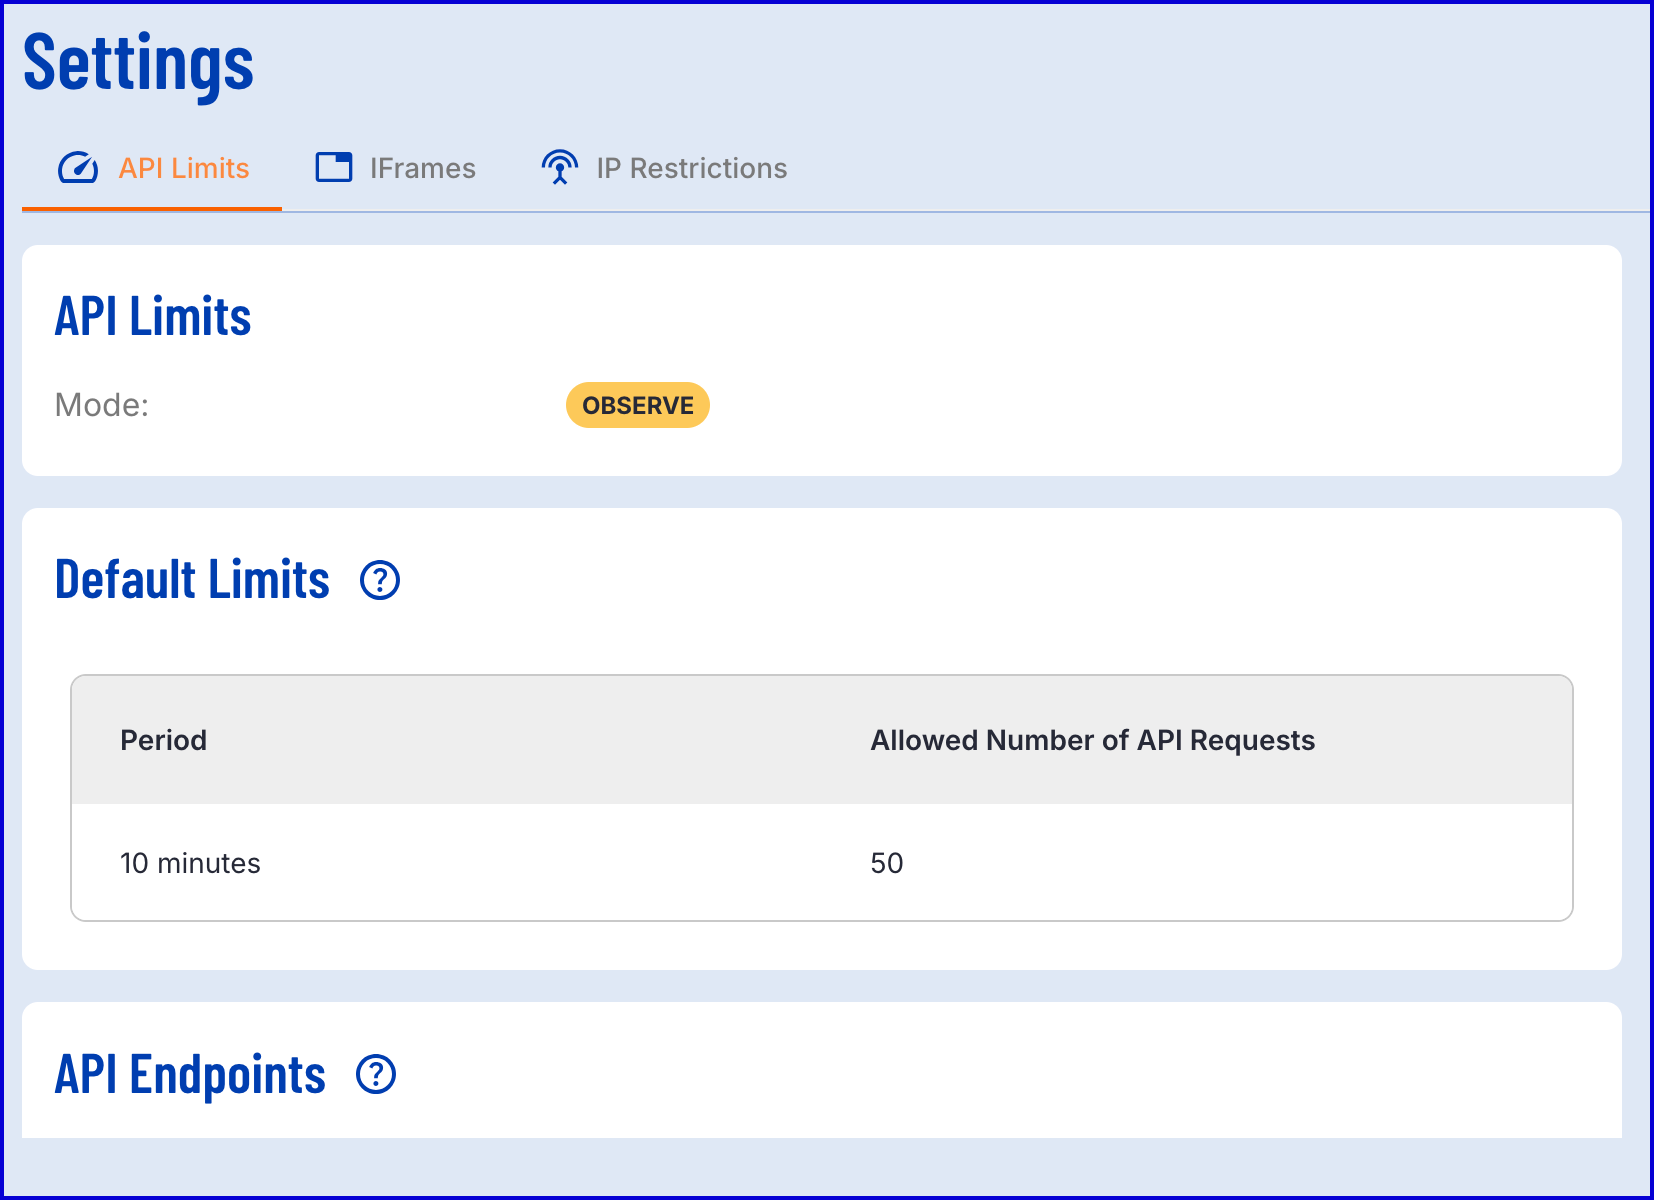
API Limits are available in two modes:
- Observe - This will be the default for any existing tenant. In this mode, all requests will be allowed, HTTP header responses will be returned informing the user of their limits. If a limit is exceeded, TrustX will send a datadog alert for a ‘throttling observe limit exceeded’.
- Enforce - This will be the default for any new tenant. In this mode, all requests will only be allowed if they do not exceed the bandwidth. HTTP header responses will be returned informing the user of their limits. If a limit is exceeded, TrustX will send a datadog alert for an ‘throttling observe limit exceeded’.
To increase API rate limits, contact Daon Support.
Reaching API Limits
In the event that a user has reached API limits, the following HTTP response headers will be sent:
| HTTP Header | Modes | Description |
|---|---|---|
| X-Rate-Limit-Retry-After-Seconds | ENFORCE & OBSERVE | This header is sent when the user has exceeded the configured API limit |
| X-Rate-Limit-Remaining | ENFORCE & OBSERVE | This header is sent if the user has not yet exceeded the configured API limit. |
If a user has exceeded their limit in ENFORCE mode, then a HTTP status of SC_TOO_MANY_REQUESTS = 429 will be returned.
Default Limits
The default limits section will display the default API limits configured across all API endpoints for the tenant. This includes a 'Period' and 'Allowed Number of API Requests' value.
- Period - The period of time that the allowed number of API requests is applied. After this duration, the number of API requests will reset.
- Allowed Number of API Requests - The number of API requests that are allowed within the allotted period.
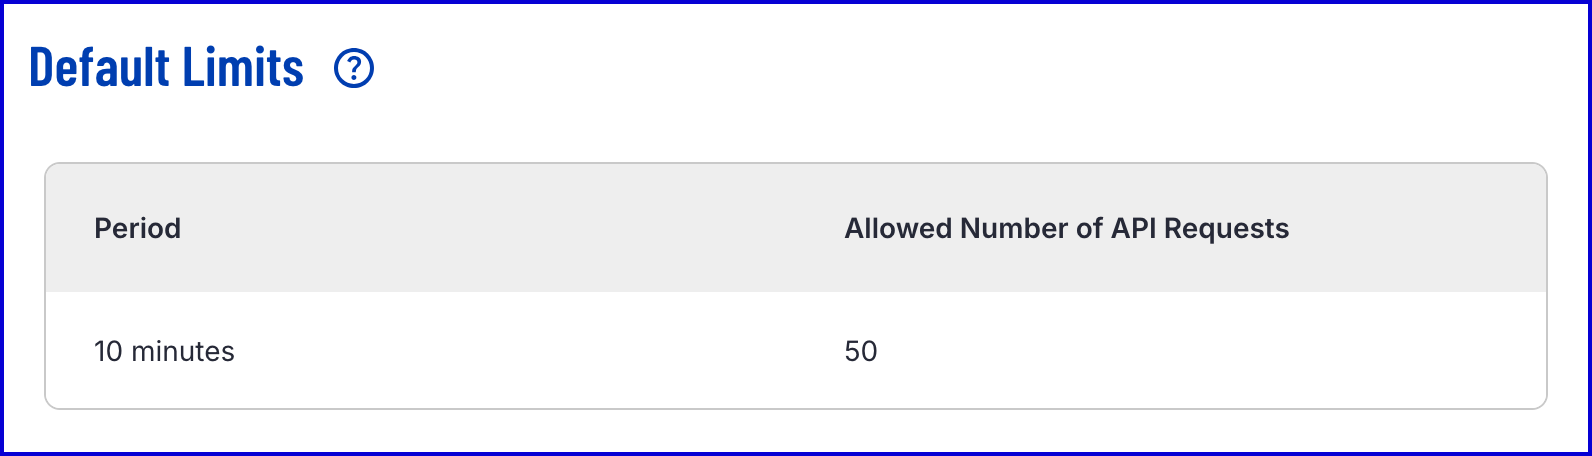
From the example above, the default limit is configured to allow 50 API requests within a 10 minute period. After the 10 minute period, the number of allowed API requests will reset back to 50. If more than 50 API requests are sending during a 10 minute period, TrustX will send a "throttling observe limit exceeded" alert and any further API requests will be blocked until the 10 minute period has ended.
API Endpoints
This section displays the configured API limits per individual API endpoints for instances where different limits depending on the API request. This includes a 'Period' and 'Allowed Number of API Requests' value.
- Period - The period of time that the allowed number of API requests is applied. After this duration, the number of API requests will reset.
- Allowed Number of API Requests - The number of API requests that are allowed within the allotted period.
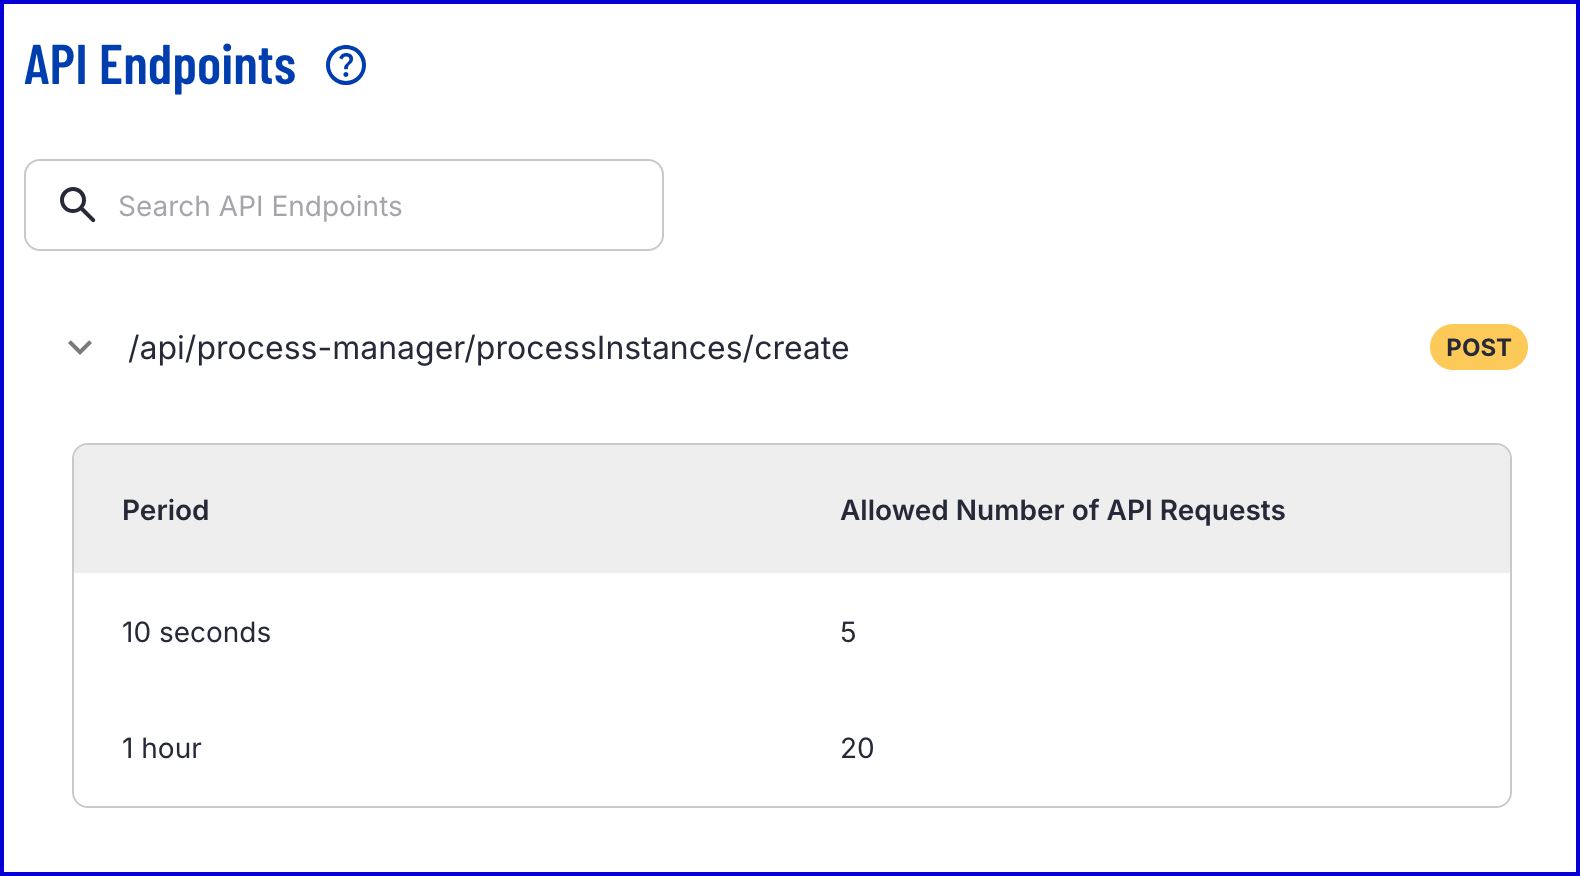
From the example above, two configurations have been made for the /processInstances/create endpoint. An allowed number of API requests of 5 is allowed during a 10 second period. Additionally, an allowed number of API requests of 20 are available during an hour period.
Each API request made within the 10 second period will remain counted for the 1 hour period until the allotted time has passed.
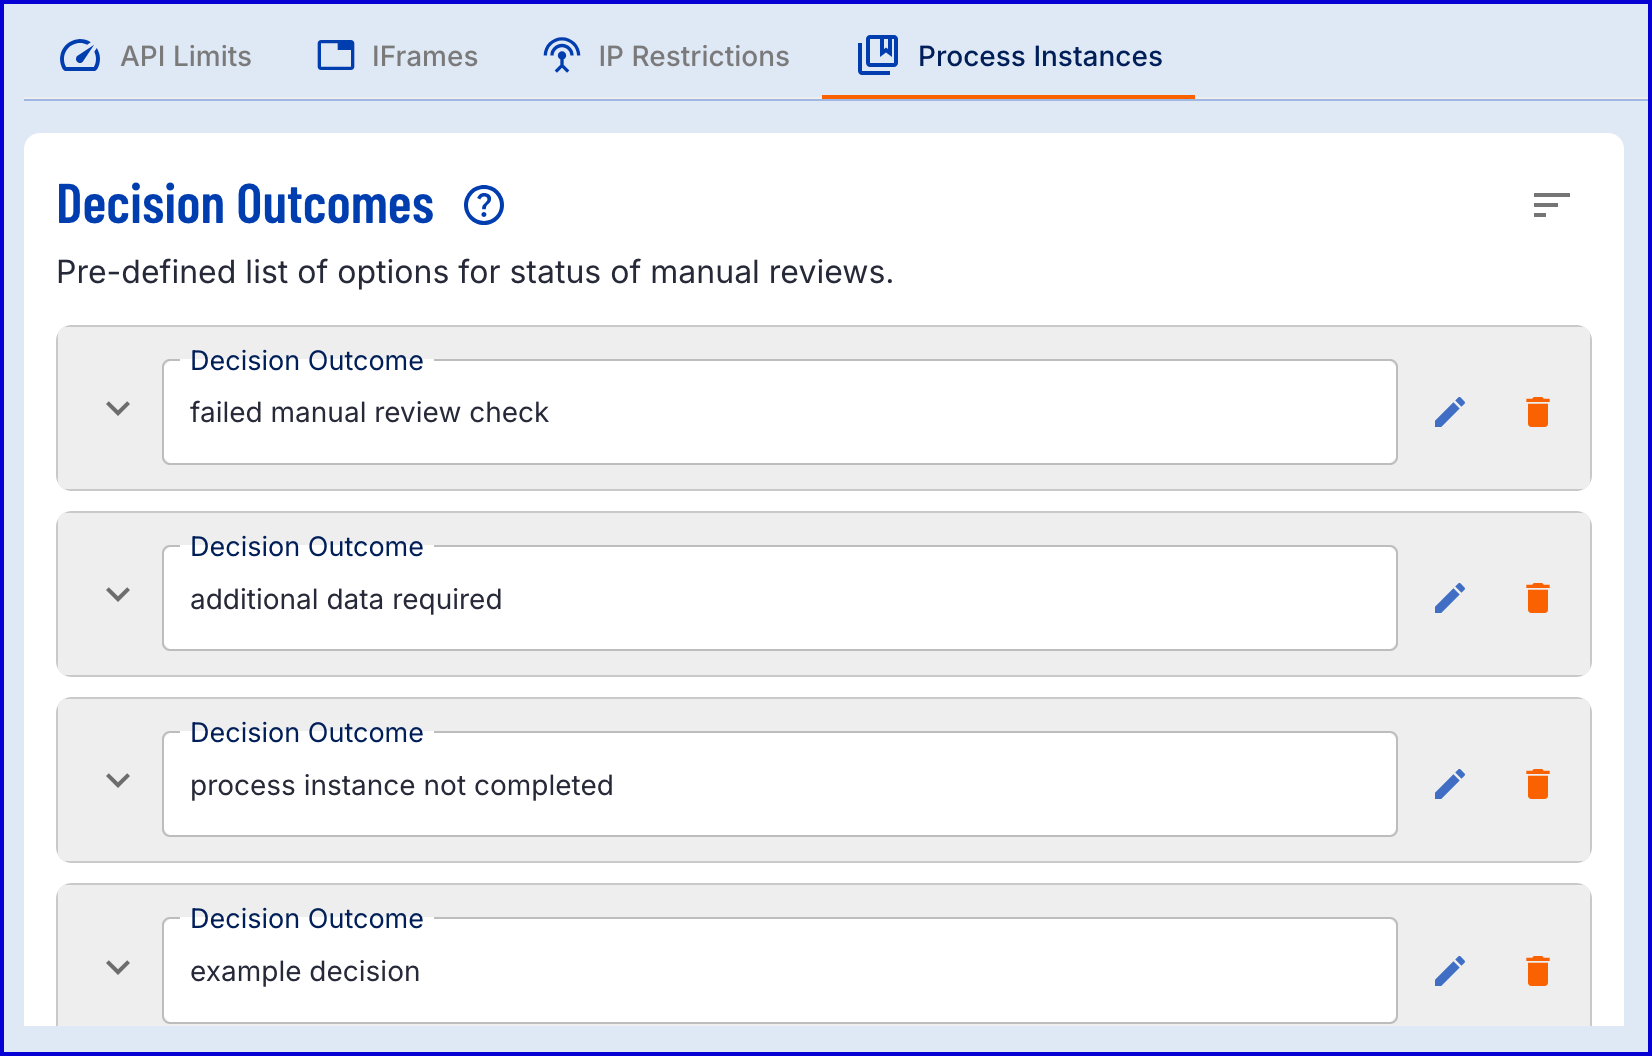
Process Instances Decision Outcomes
The Settings page enables users to configure Process Instance decision outcomes that can be then set to Process Instance that enter the manual review status.
To access this option, select the Process Instances tab from the top menu.
Create a new Decision Outcome
A new decision outcome can be created by selecting the 'Add Decision Outcome' found at the bottom of the outcomes list.
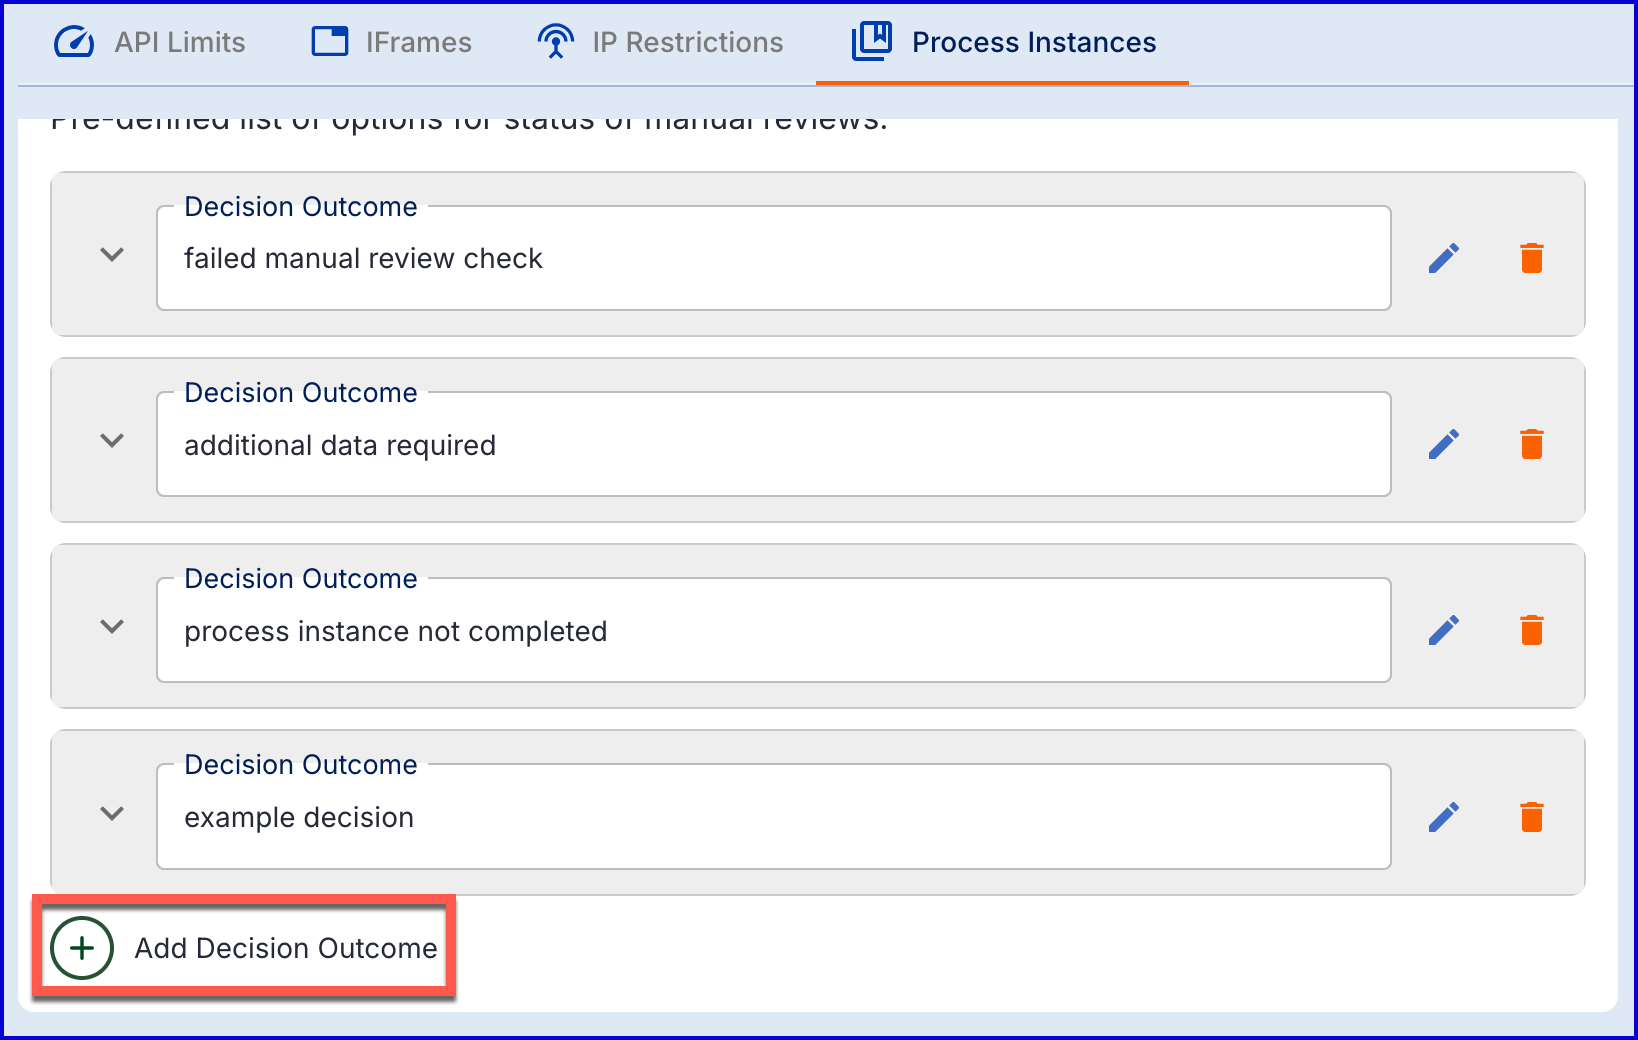
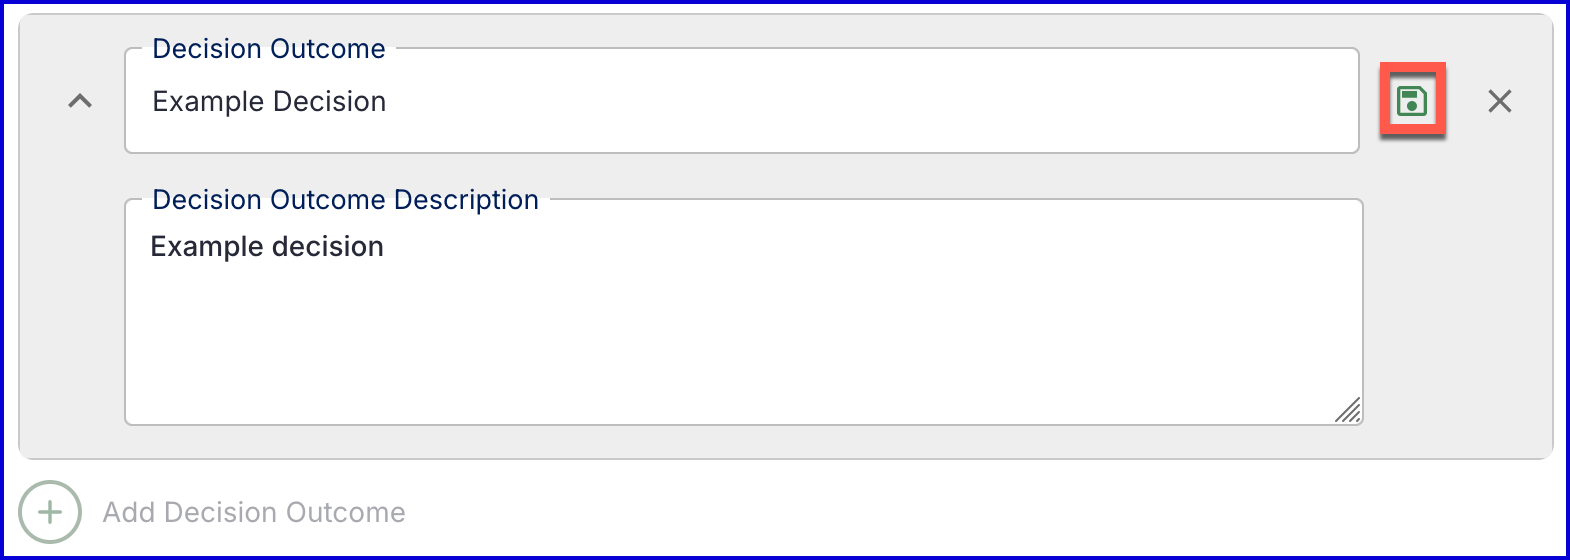
Selecting the decision outcome will open a new list entry where the following attributes can be defined:
- Decision Outcome - The name of the decision outcome. This will be shown when selecting the decision outcome in the manual review options.
- Decision Outcome Description - A brief description of the decision outcome.
Once each attribute is defined, click the green 'save' icon to finalize the configuration and create the new decision outcome.
Modify an Existing Decision Outcome
Once a decision outcome is created, it can be edited or deleted using the available controls next to the entry.

Both the name and description of the decision outcome can be edited. Note that when a decision outcome is deleted, it cannot be recovered.
Assign a Decision Outcome
A decision outcome can be assigned to a manual review that has been rejected in the Backoffice. To assign a decision outcome, follow the steps outlined below.
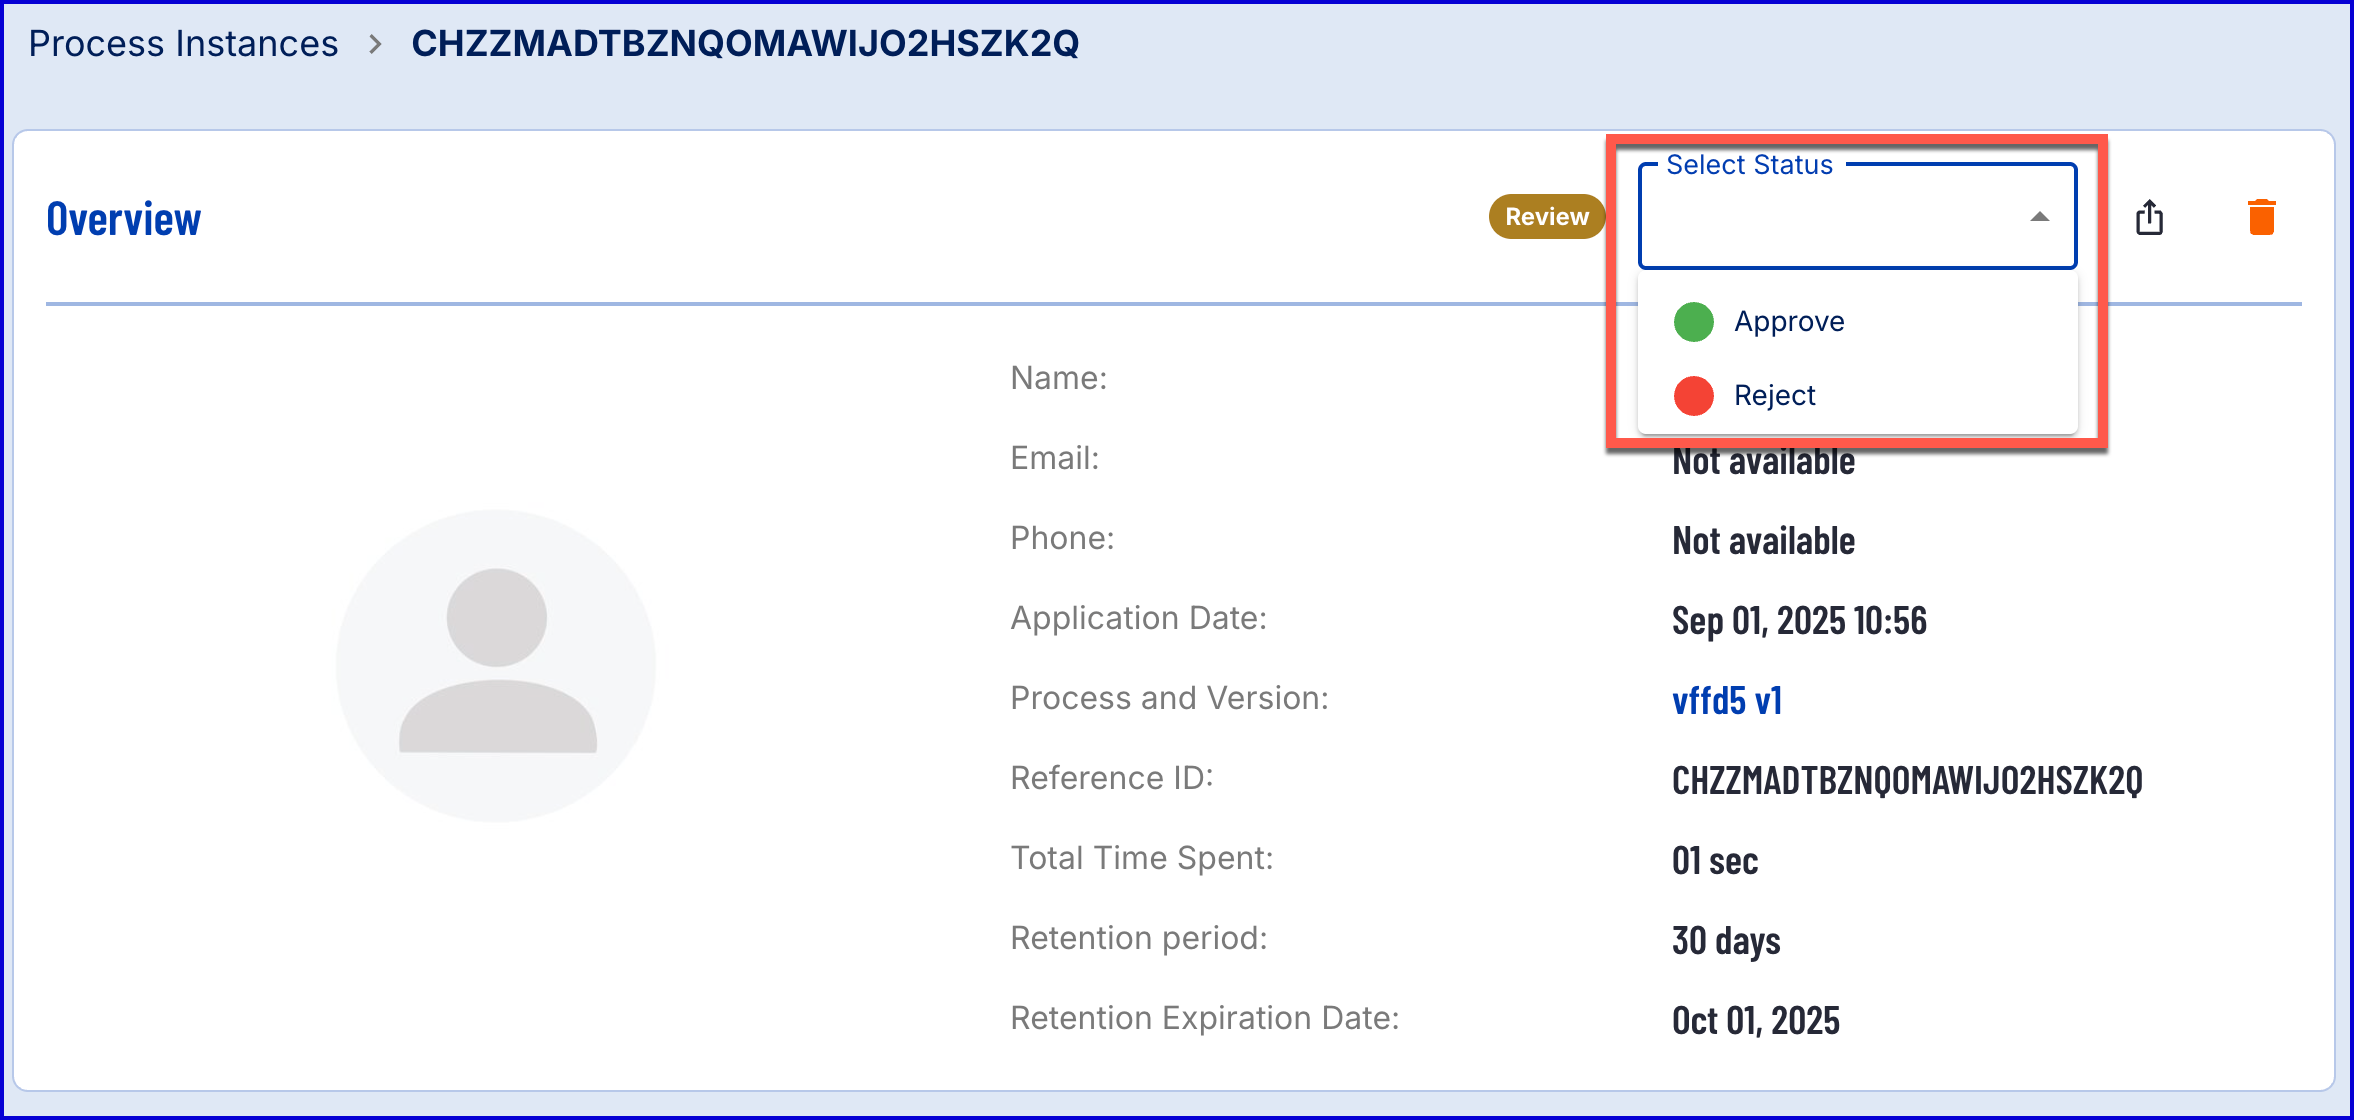
- In the Backoffice, find the Process Instance with a status of 'Review' by navigating to the Process Instance > For Review page from the left navigation bar.
- From the list of available Process Instances in the review status, select the Process Instance.
- From the top of the individual Process Instance page, click the 'Select Status' drop-down list and select 'Reject'.
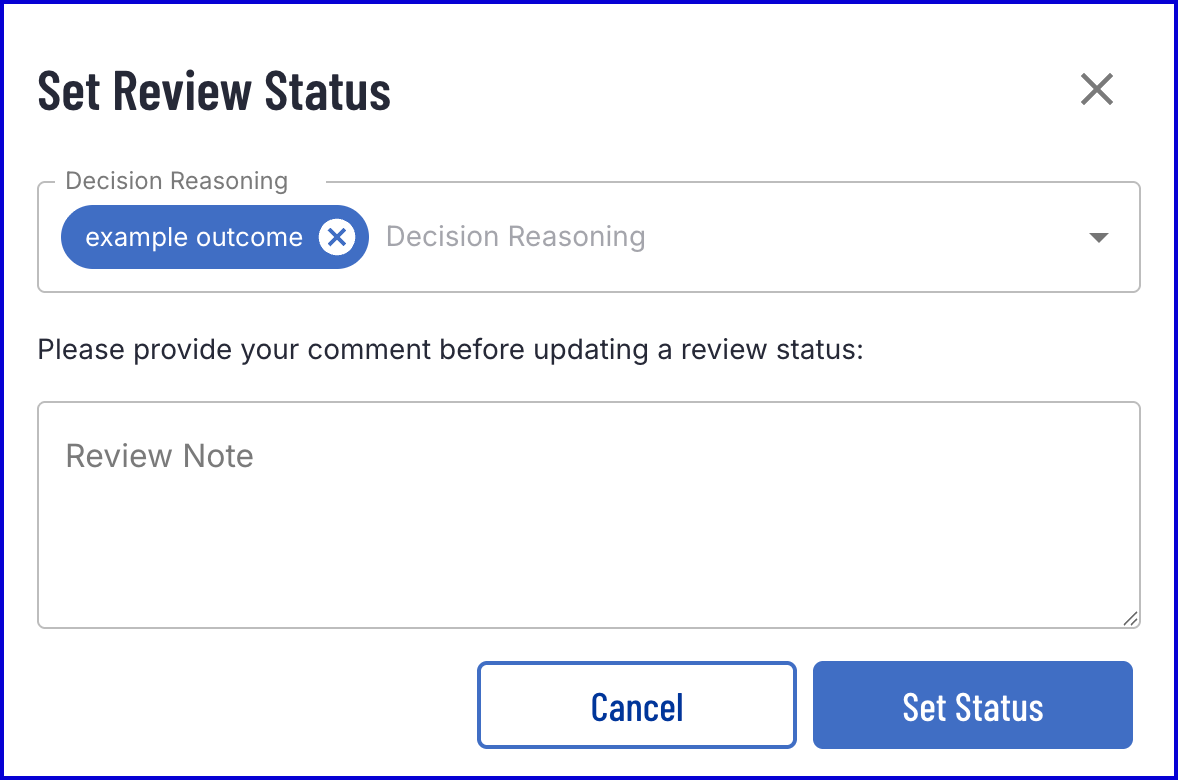
- A pop-up box will appear allowing you to set one ore more 'Decision Reasoning' items and the review status comment.
When configuring the manual review Process Definition, it is important to use the 'Review Required V2' and 'Waiting for B/O review V2' activities to ensure that the decision outcome is viewable within the Backoffice and recorded in the summary report. See the Manual Review Guide for more information on the Manual Review process.