Overview
Webhooks offer users end to end oversight of the ID&V process with TrustX. Callbacks and webhooks provide visibility of the status of an end user session, and return the end user back to a given registration flow on completion of the ID&V process with TrustX.
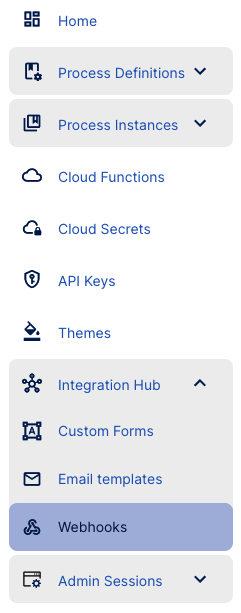
Webhooks can be managed by navigating to the "Webhooks" tab found on the left-side navigation bar.
Webhooks Overview
The Webhooks landing page offers an overview of all the user's Webhooks currently created in the system.
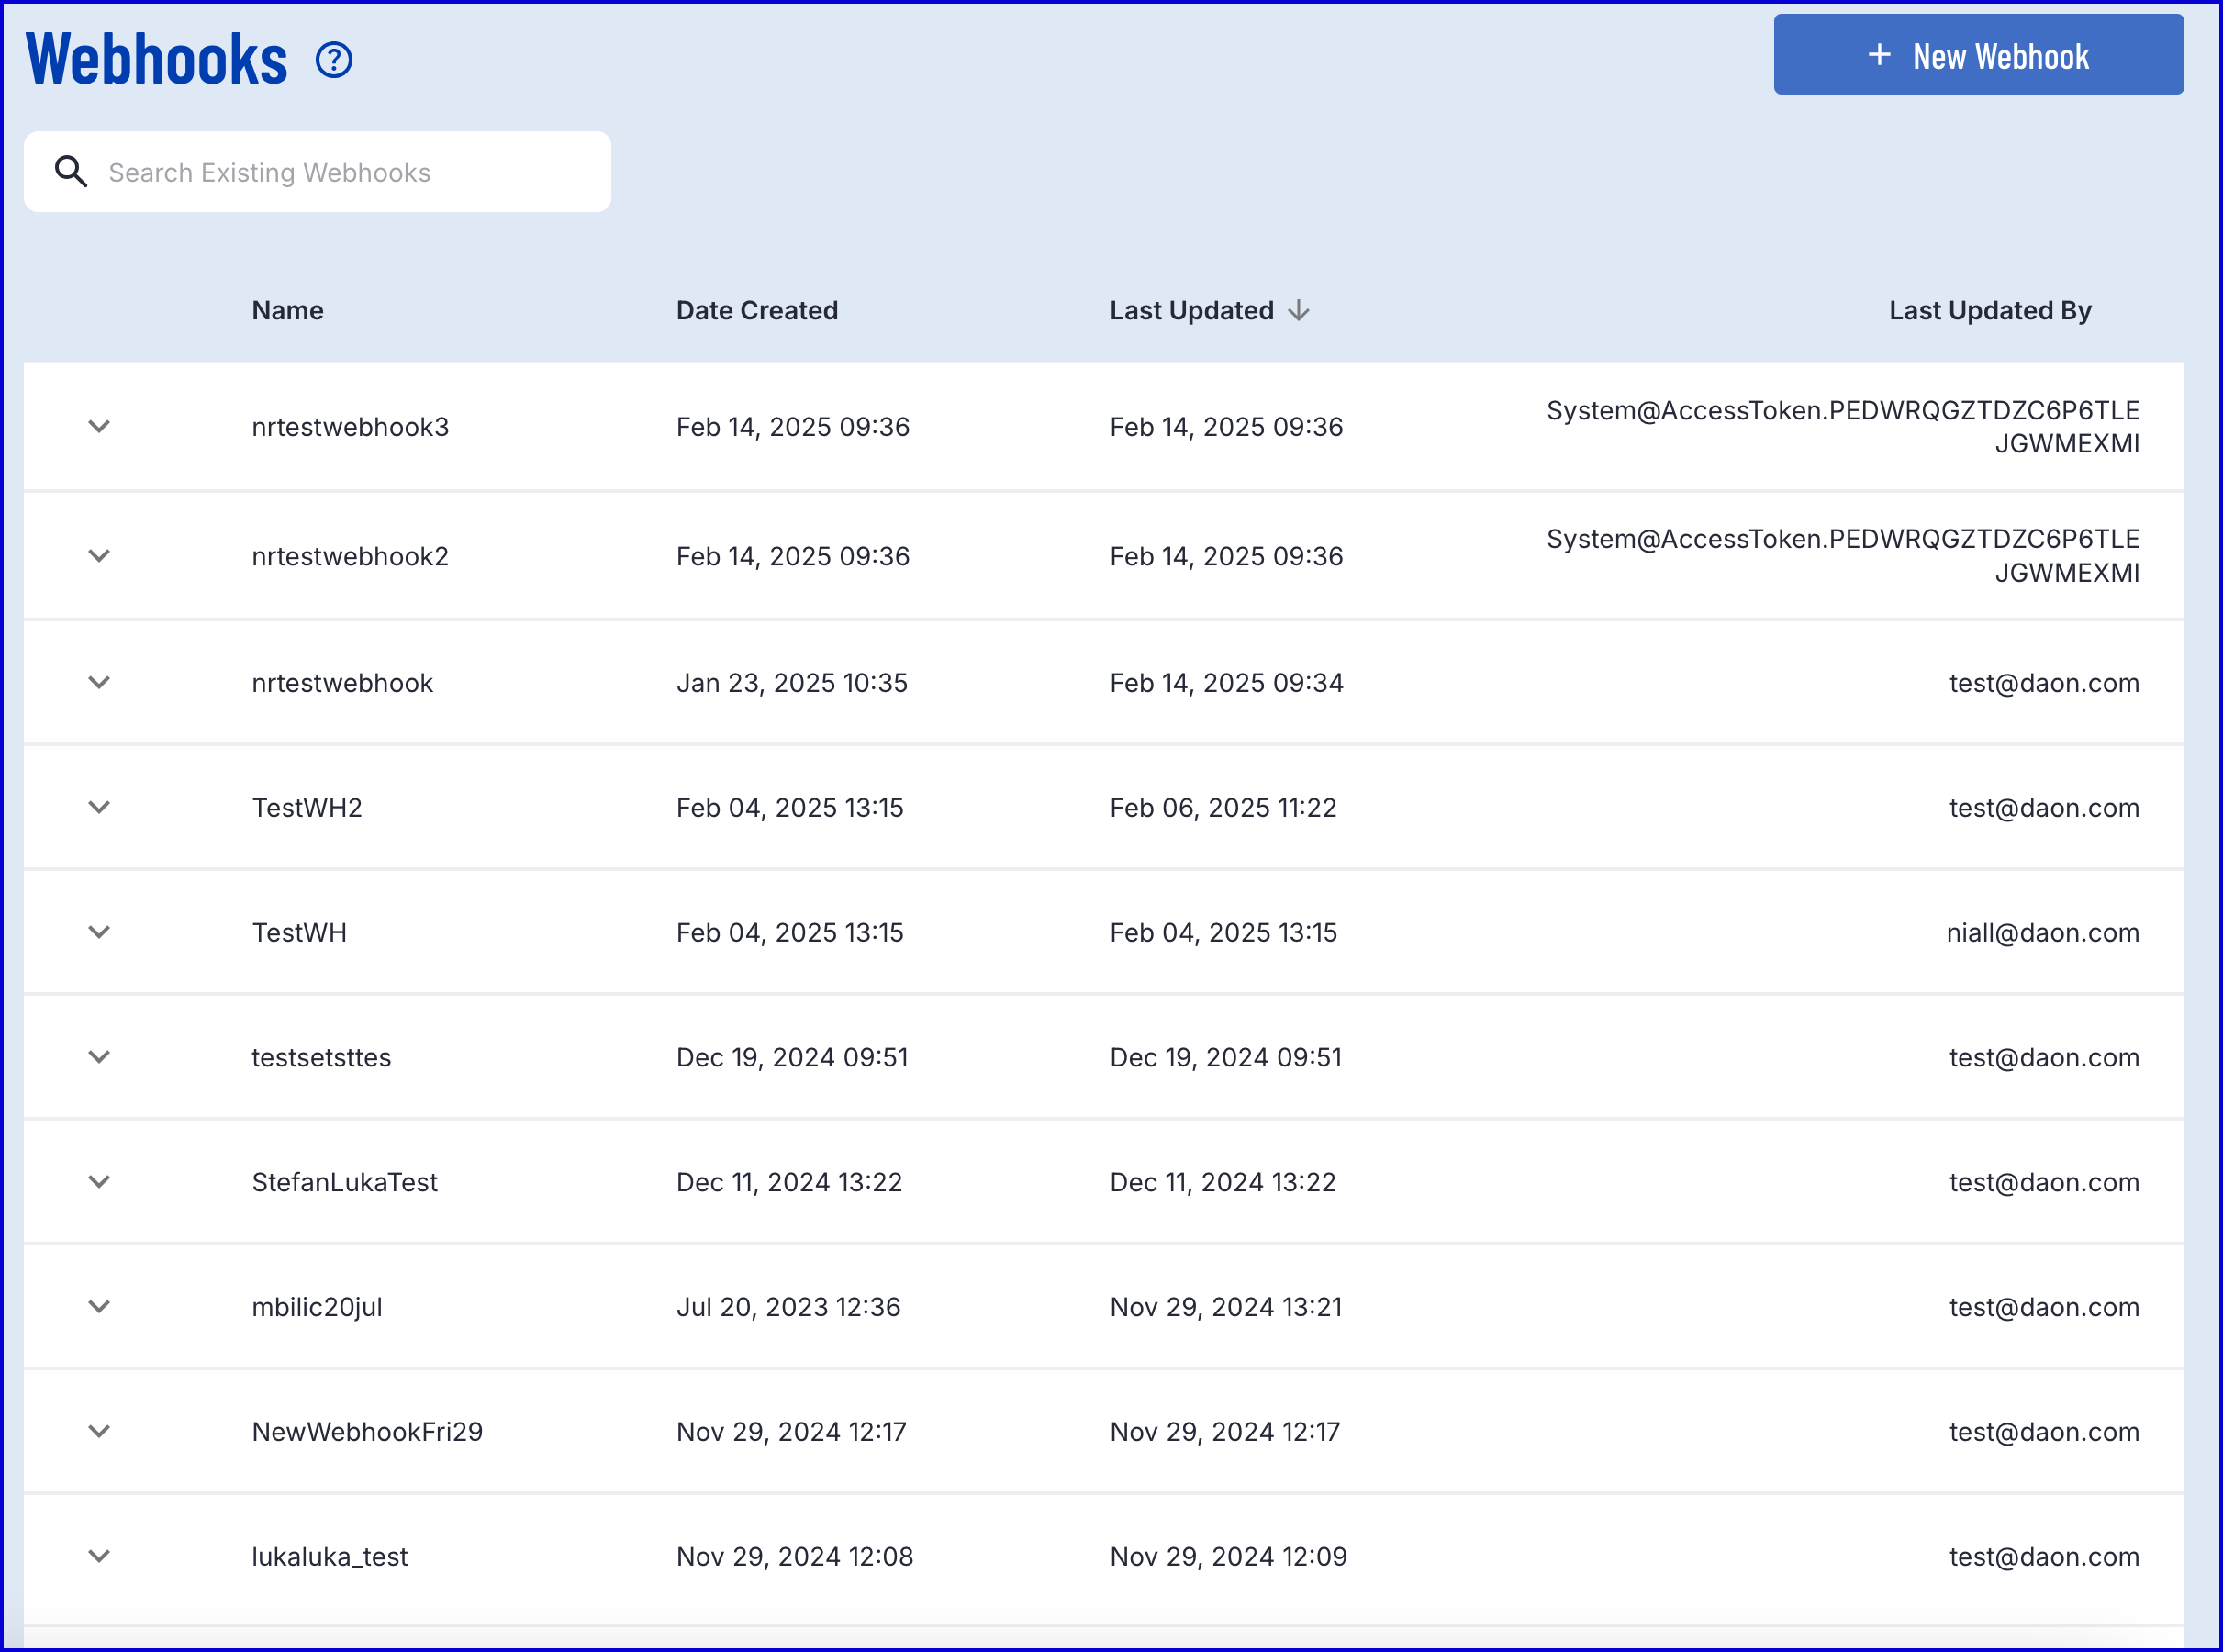
From here, users can search for a webhook, view version information, and edit individual details using the options listed under the 'Actions' column. For more information on editing webhooks, see the 'Edit Webhook' section.
Create a Webhook
To create a webhook, click the orange 'New Webhook' button from the webhooks landing page. This will redirect the user to a page where details of the webhook will be entered.
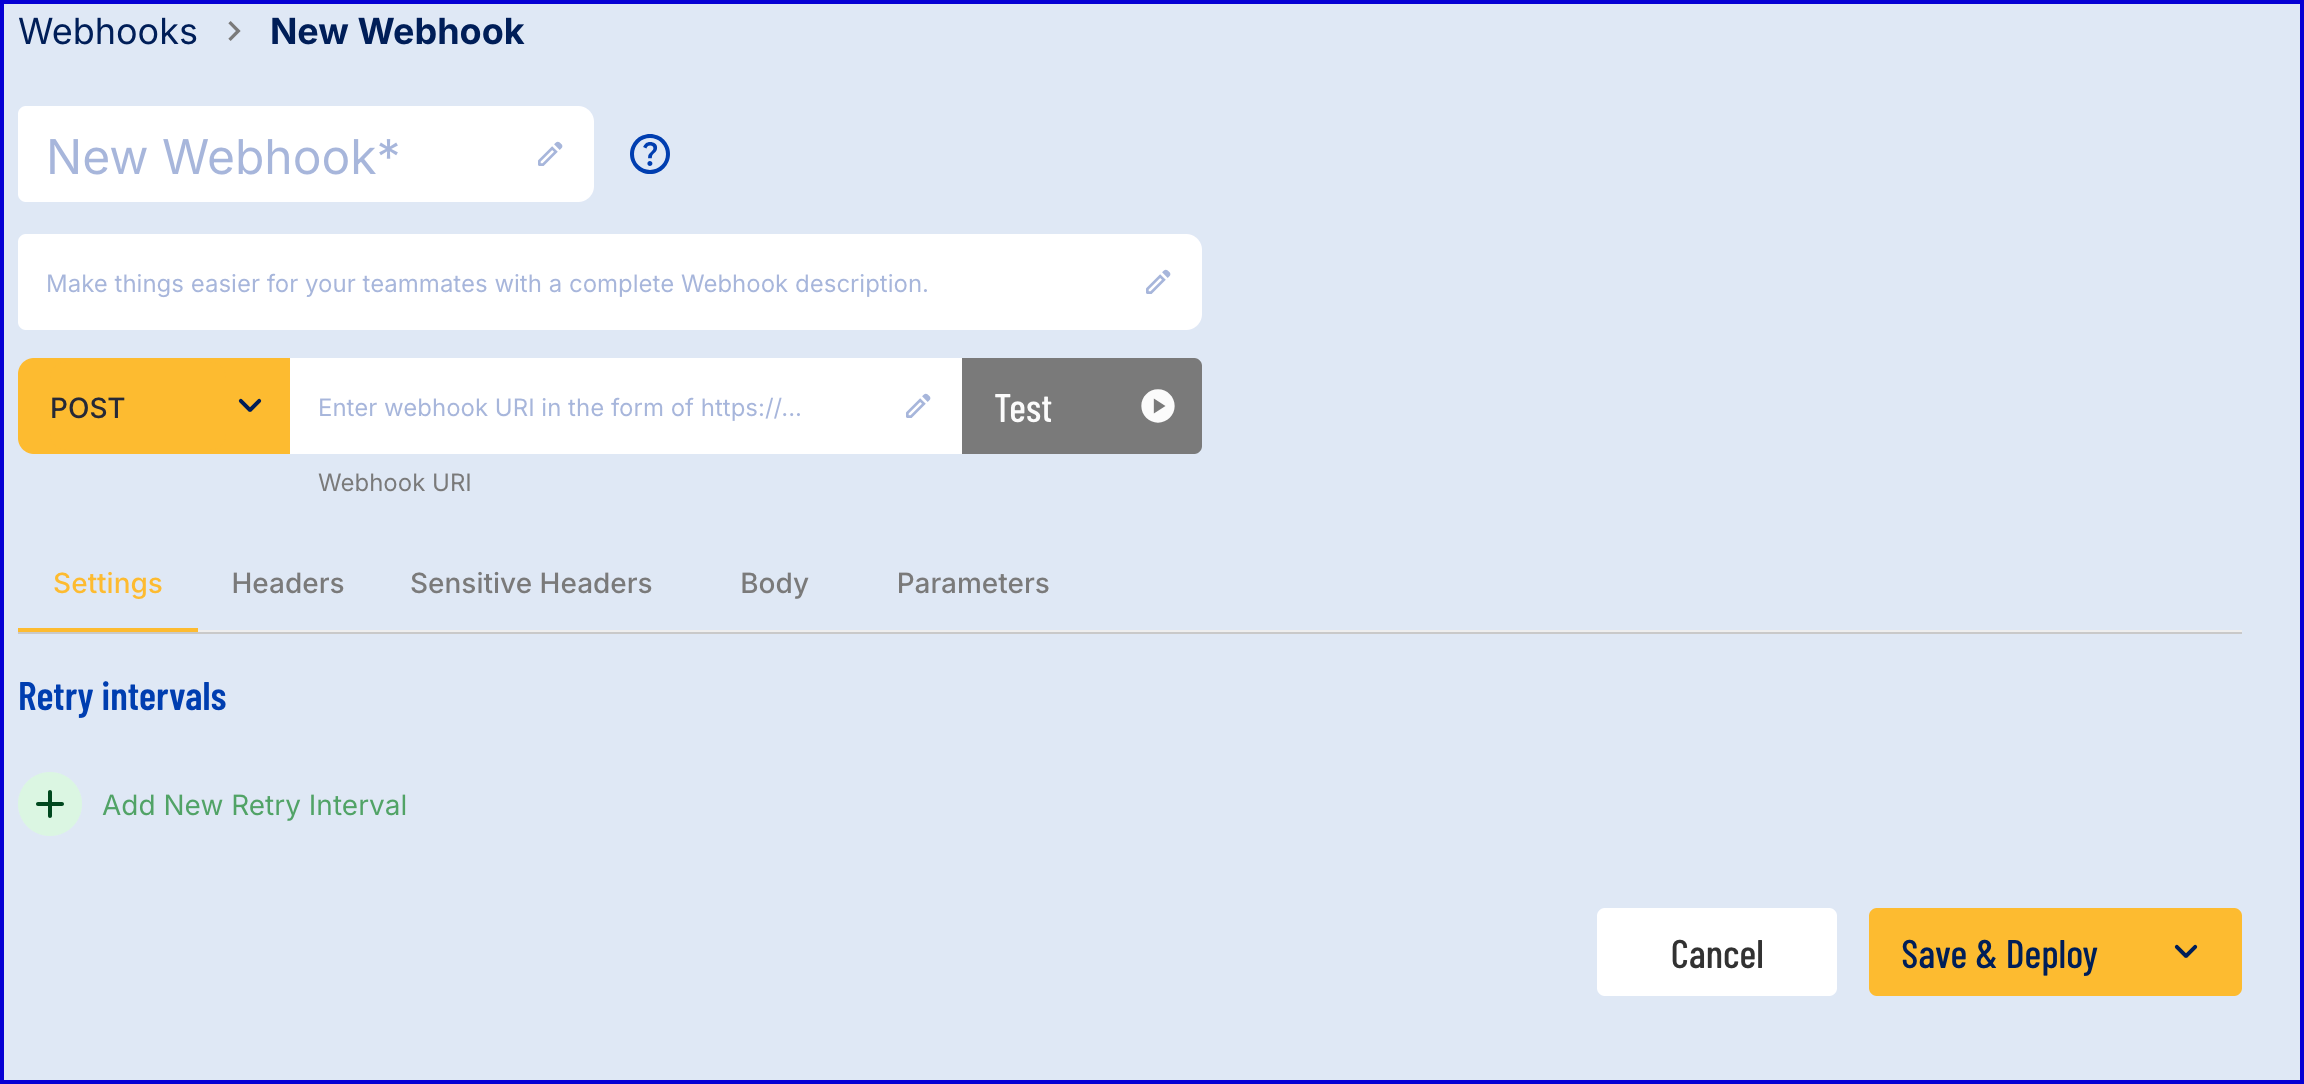
Each of the listed parameters are required to successfully create a new webhook.
- Name - A name for the new webhook.
- Description - A description associated with the webhook.
- POST/GET - Whether the webhook will utilise the POST or GET methods when retrieving data from TrustX.
- Webhook URL - The webhook UR: that the data retrieved from TrustX will be sent to. Supports up to 2047 characters in length.
Each webhook also consists of a Header, Sensitive Header, Body and additional Parameters. Each field accepts JSON format to define the following:
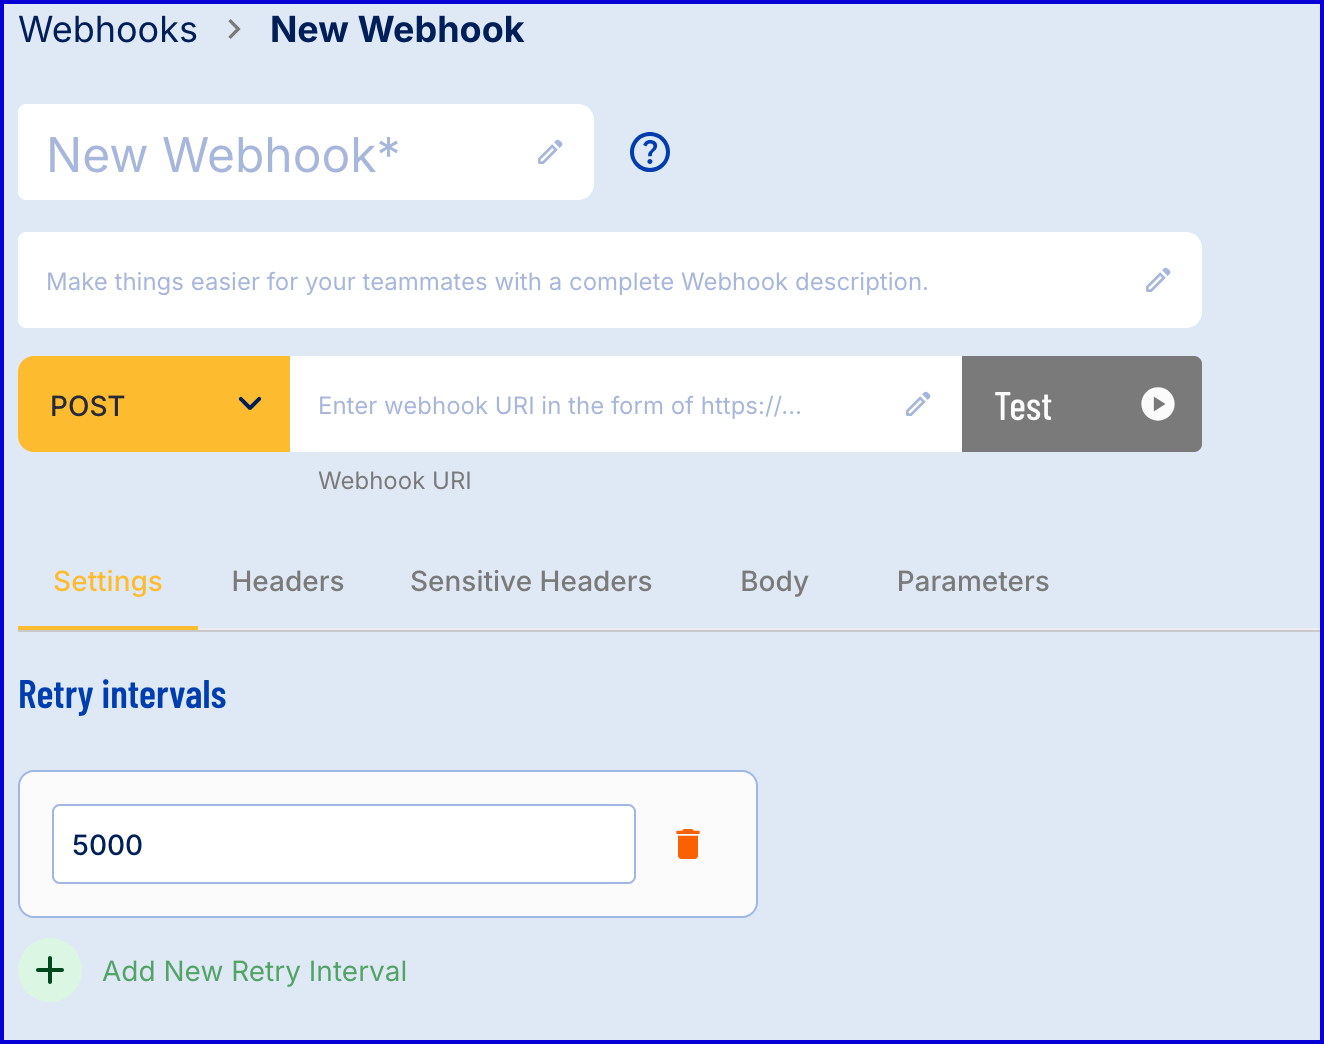
- Settings - Allows users to add Retry intervals. Each interval is a count in milliseconds (ms).
- Headers - A set of key:value pairs that will be sent from the webhook.
- Sensitive Headers - A set of key:value pairs that will be included in the webhook but will not be visible externally.
- Body - The main body of the webhook that will from the webhook, including data collected during the ID&V flow.
- Parameters - Any additional parameters to be sent from the webhook.
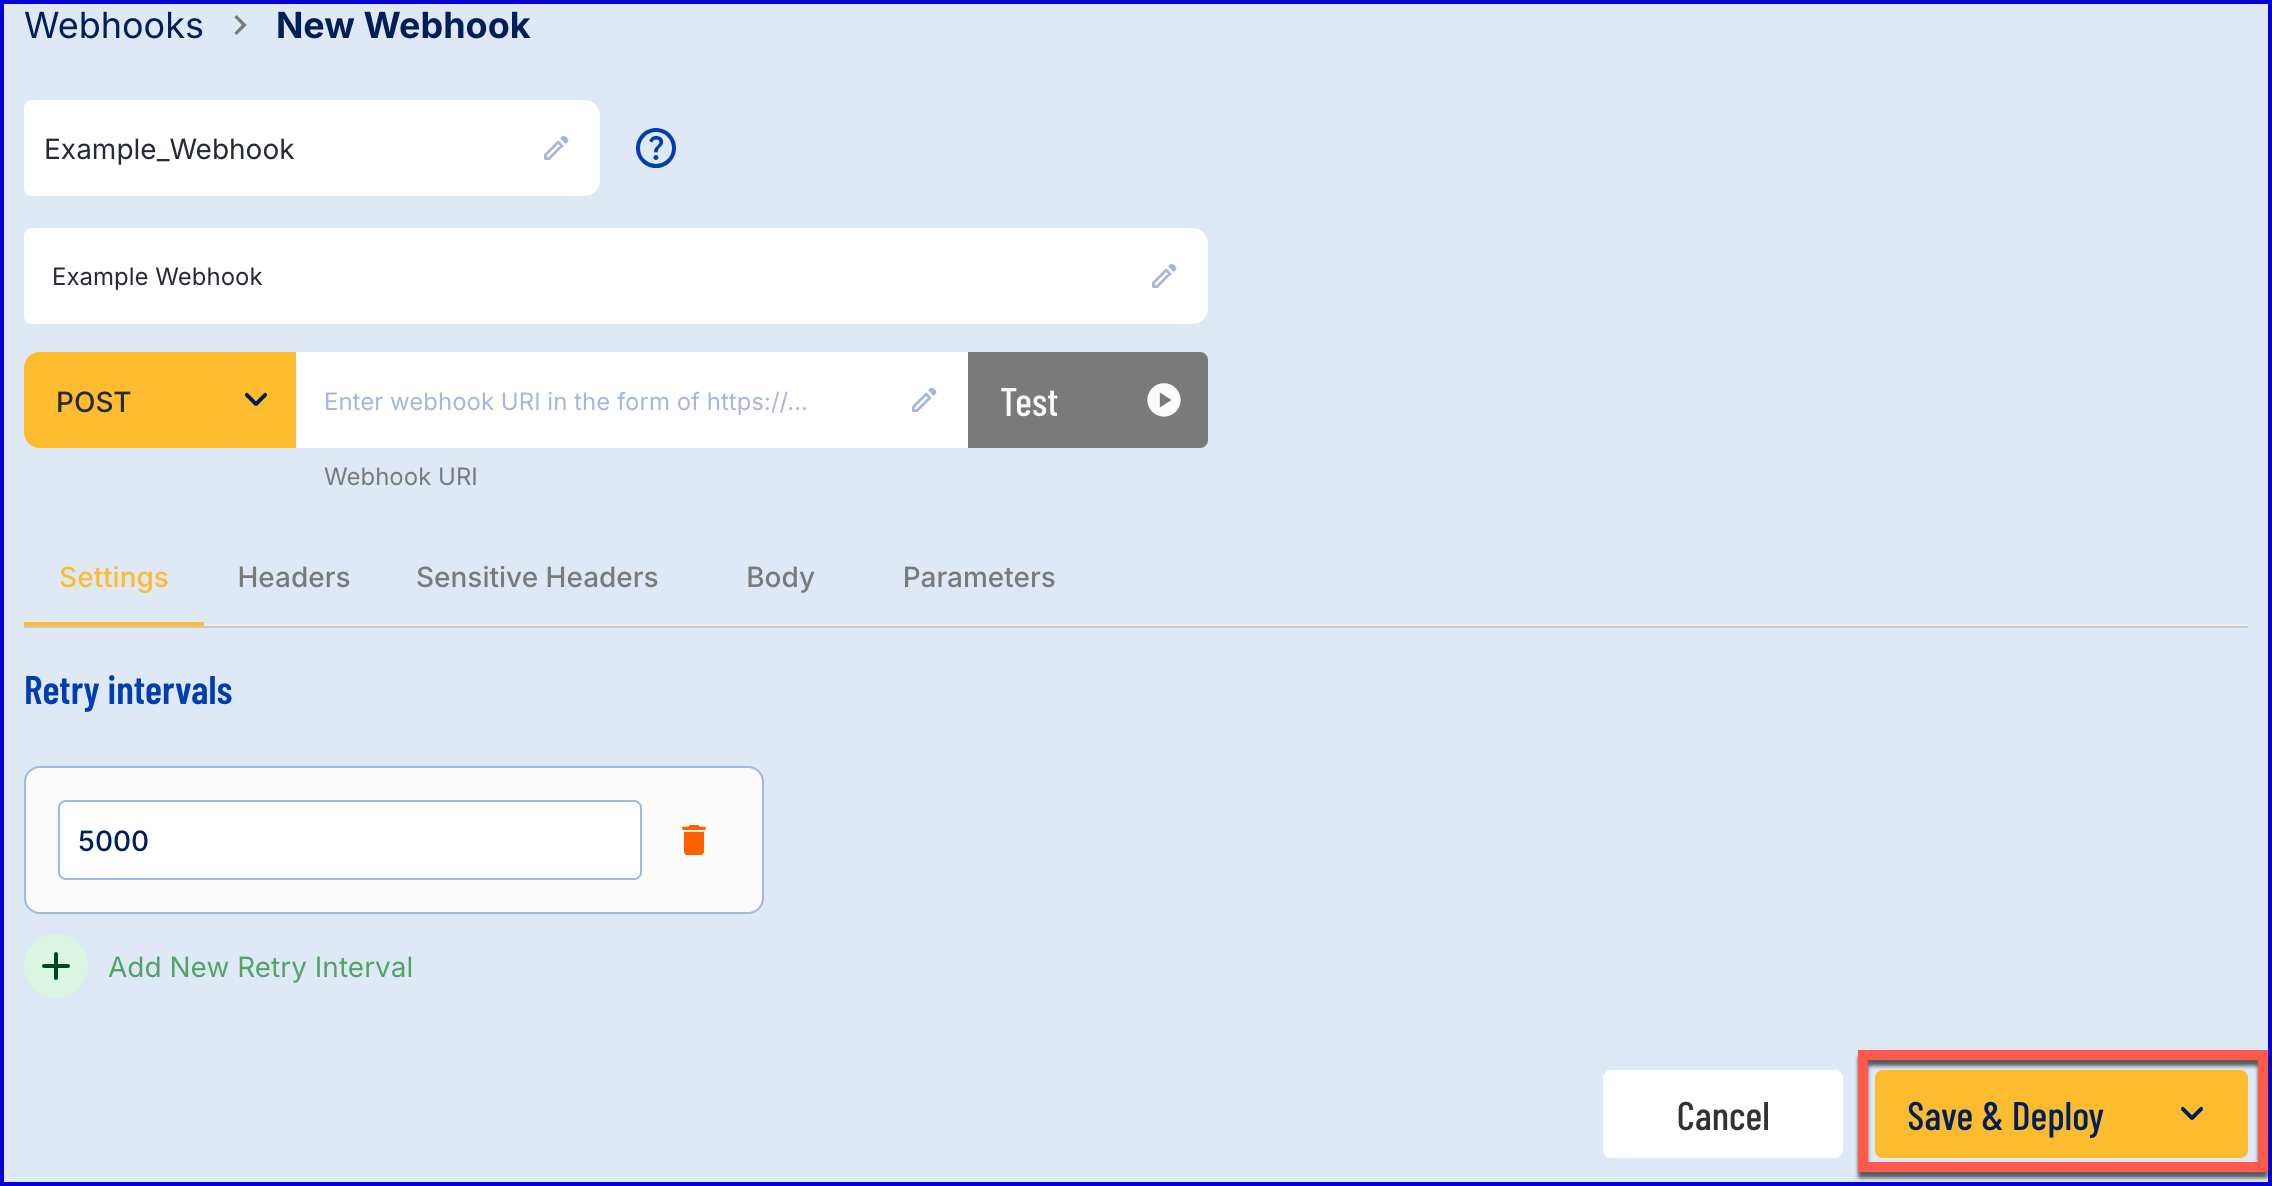
Settings
The settings section enables users to enter retry intervals. This value revers to the amount of time that will pass before the webhook will be sent again. This value is in milliseconds (ms).
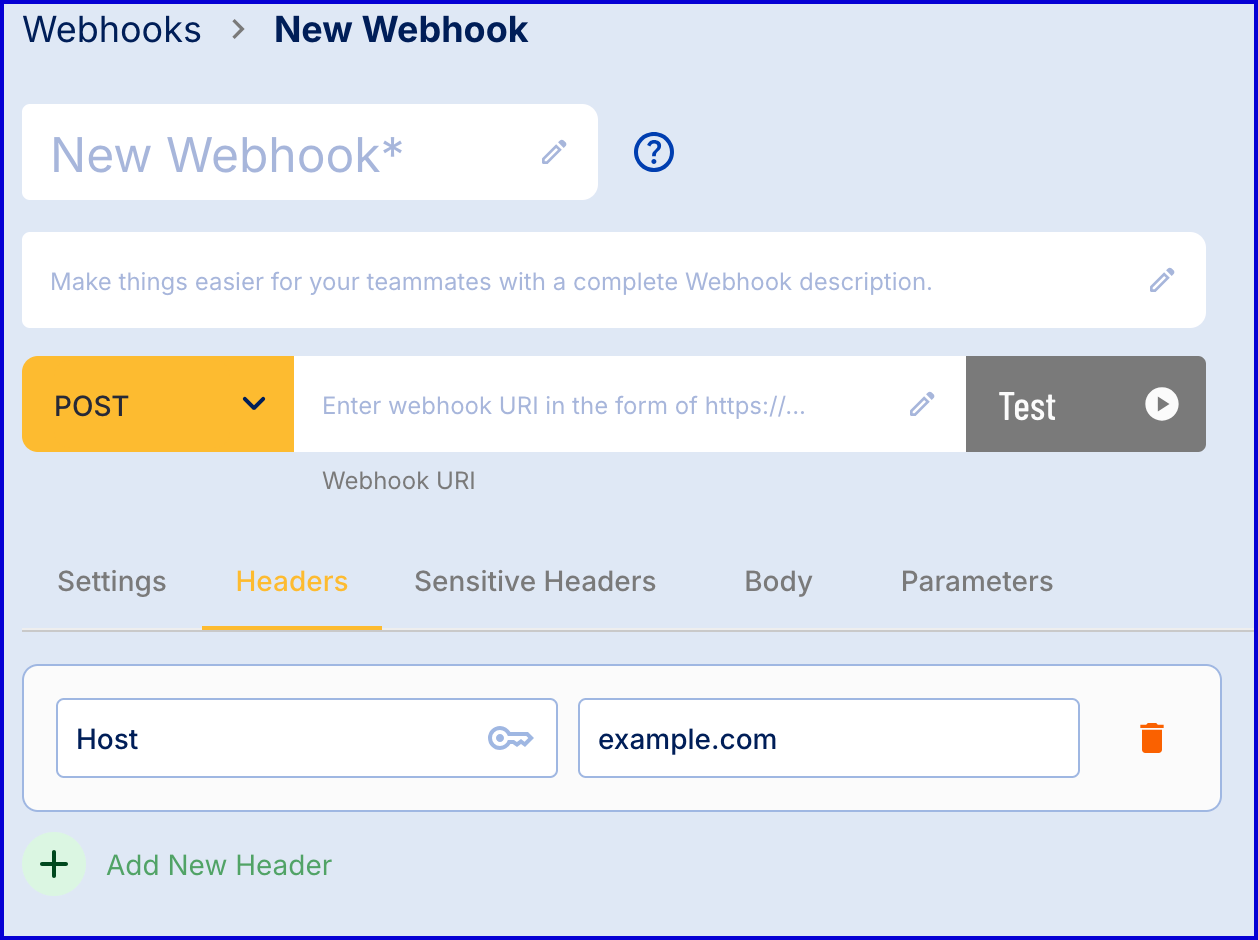
Headers
Headers are represented as a key:value pair that describes the webook. For example, this can be used to describe the data type or HTTP client.
Sensitive Headers
Sensitive headers are represented as a key:value pair that describes sensitive data about the webhook that will be kept secret such as authentication data.

Body
The main body of the webhook is represented as a JSON formatted string.

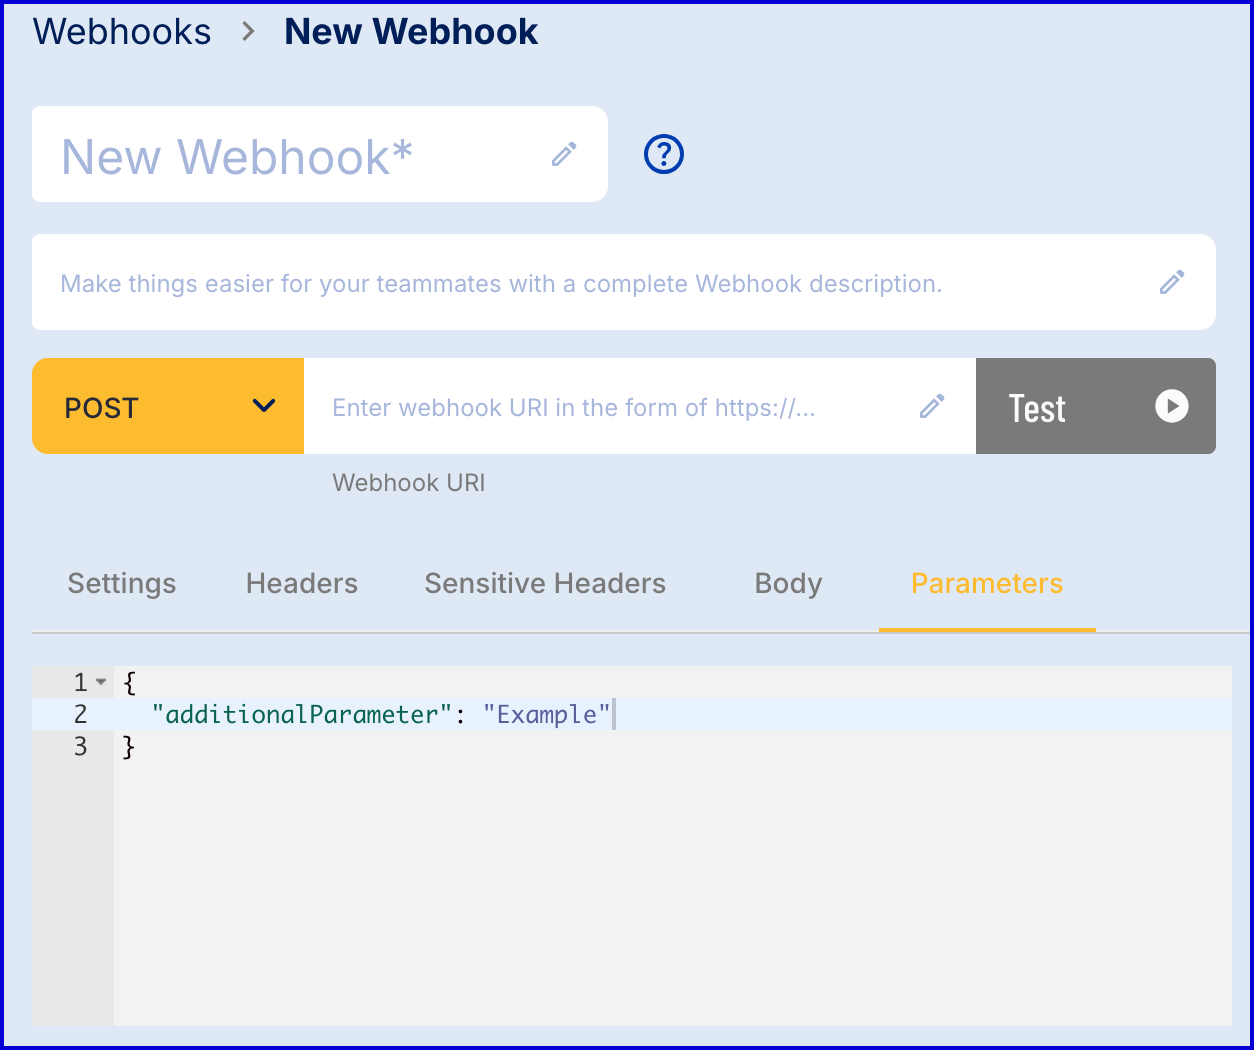
Parameters
The parameters section enables users to send additional parameters within the webhook that will be separate from the main body. This is represented by a JSON formatted string.
Finalizing Webhook Creation
Once all fields are entered, click the 'Save' button to create the new webhook.
Once a webhook is created in the Backoffice, it cannot be deleted.
Edit Webhook
A webhook that has not been deployed can be edited from the webhooks landing page. Expand the options menu of the webhook to be edited and select the selecting the edit pencil button from the Actions column.
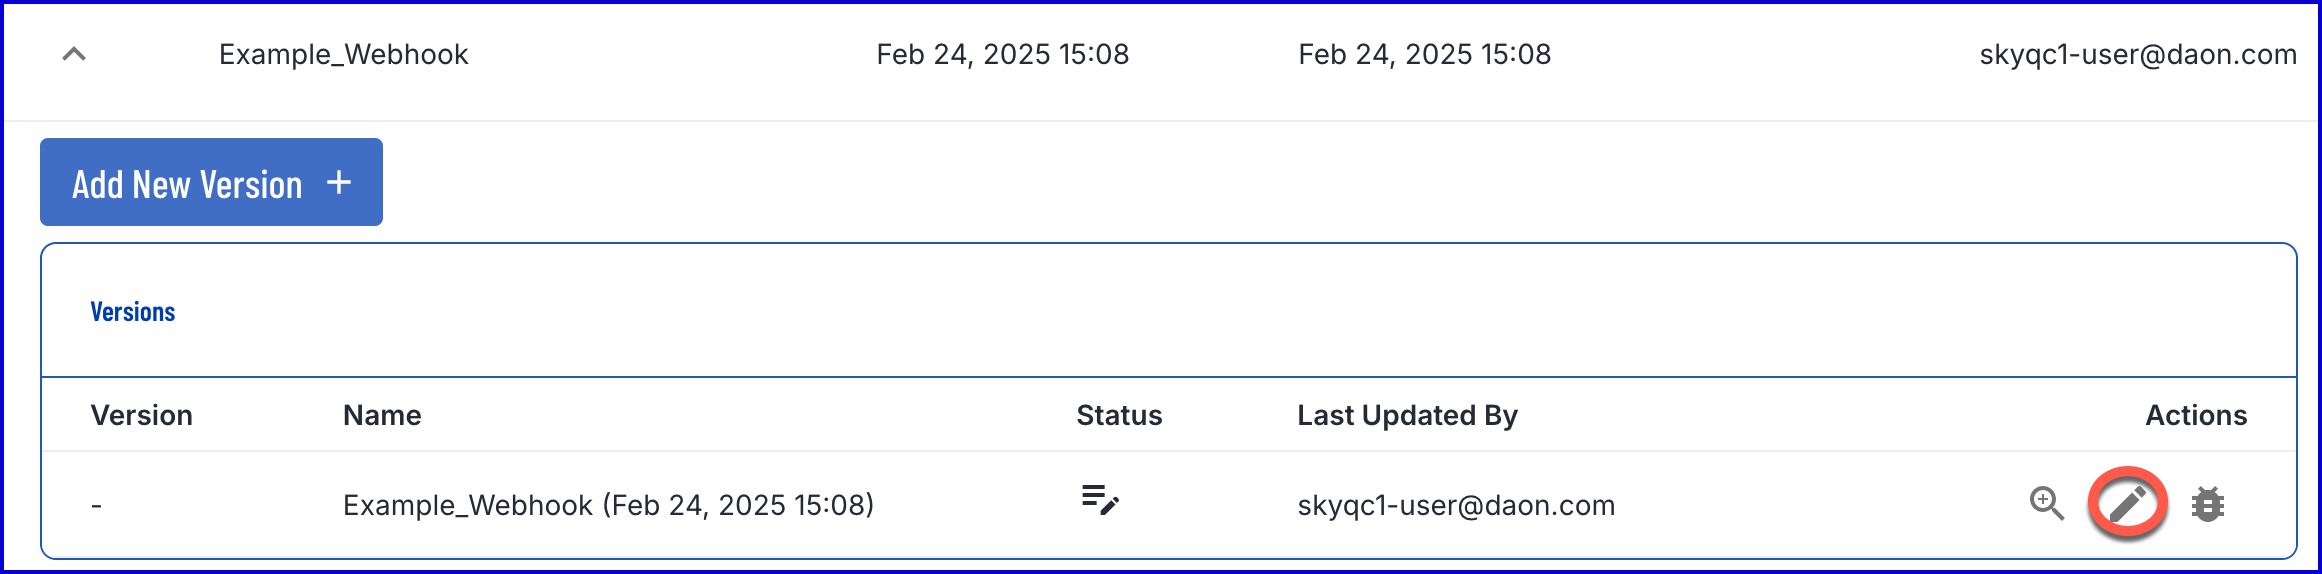
Selecting this option will redirect the user to the 'Edit' page, allowing user to modify and test the webhook functionality.

Testing the Webhook
A webhook functionality can be tested by using the green 'Test' button found next to the POST/ GET method of the webhook.

Clicking this button will execute the webhook and report on the execution status of the test.
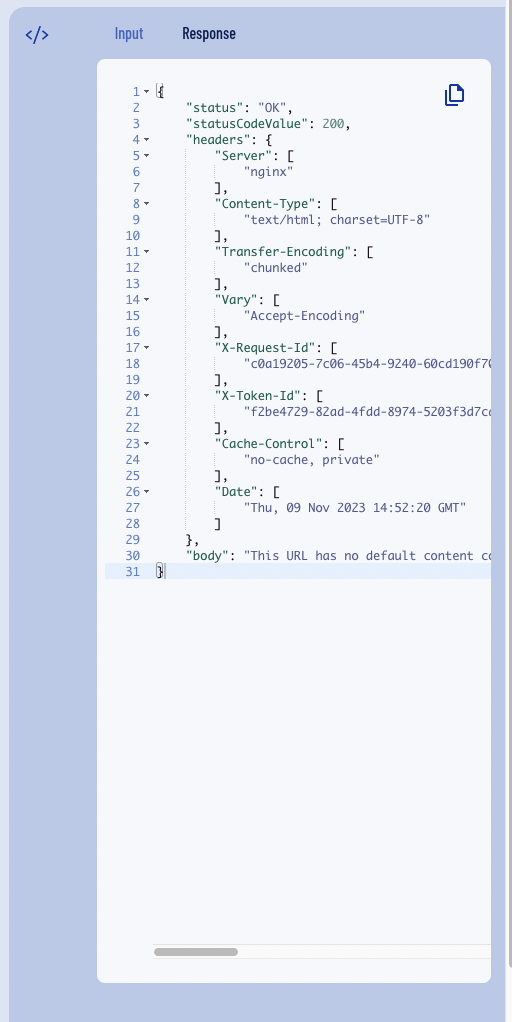
Click the '</>' button to expand the console provided. Two tabs are available that allow the user to test specific Input and receive a Response regarding the input provided.
Add a New Version
A new Version can be created for a webhook via the webhook landing page.
Adding Webhooks to the Process Definition
A webhook can be included as part of a Process Definition by using the BPMN diagram editor. For more information on creating a Process Definition, see the Process Instances Guide.
Once the Process Definition has been created, the 'Send Webhook' activity can be used to initiate a previously created webhook and send information regarding the ID&V flow to the user's application.
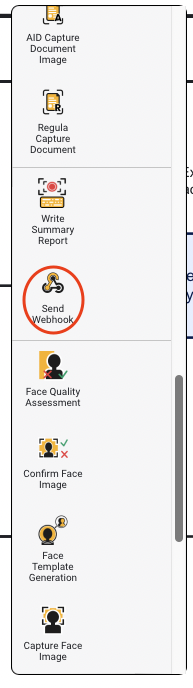
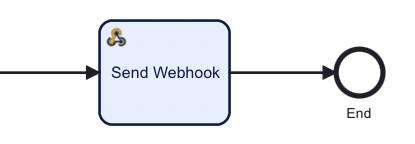
Click and drag the 'Send Webhook' activity onto the diagram editor and connect the activity using the Sequence Flow arrow elements.
To select which Webhook will be sent to the user application, find the Input Parameters detailed in the right-most Service Task menu.
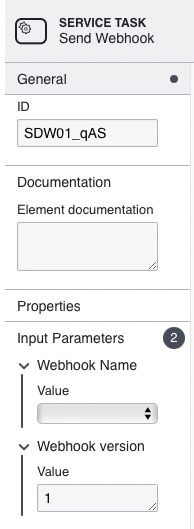
Two Input Parameters are displayed, allowing the user to specify the name and version of the webhook that will be sent.
- Webhook Name - A dropdown list of all webhooks created by the user that are available.
- Webhook Version - The integer value of the webhook version to be sent.
Webhook Fixed IP Addresses
When sending a webhook, TrustX will send the webhook from one of the following IP addresses for each region. If your environment applies rules around permitted IP addresses, then the appropriate IP address will need to be included in the allowed IP address list.
Daon recommends adding the following IPs to your list of allowed IP addresses.
| Europe | Australia | United States |
|---|---|---|
| 54.72.38.54 | 13.239.103.224 | 44.214.25.202 |
| 54.154.174.216 | 3.104.114.35 | 52.4.236.191 |
| 34.255.32.208 | 13.55.128.224 | 100.52.147.100 |
| 34.242.242.172 | 13.54.176.94 | 100.49.229.30 |
| 35.157.159.91 | 16.51.160.118 | 52.52.109.2 |
| 3.72.26.212 | 16.26.170.68 | 50.18.195.161 |
| 18.194.113.237 | 16.26.146.254 |