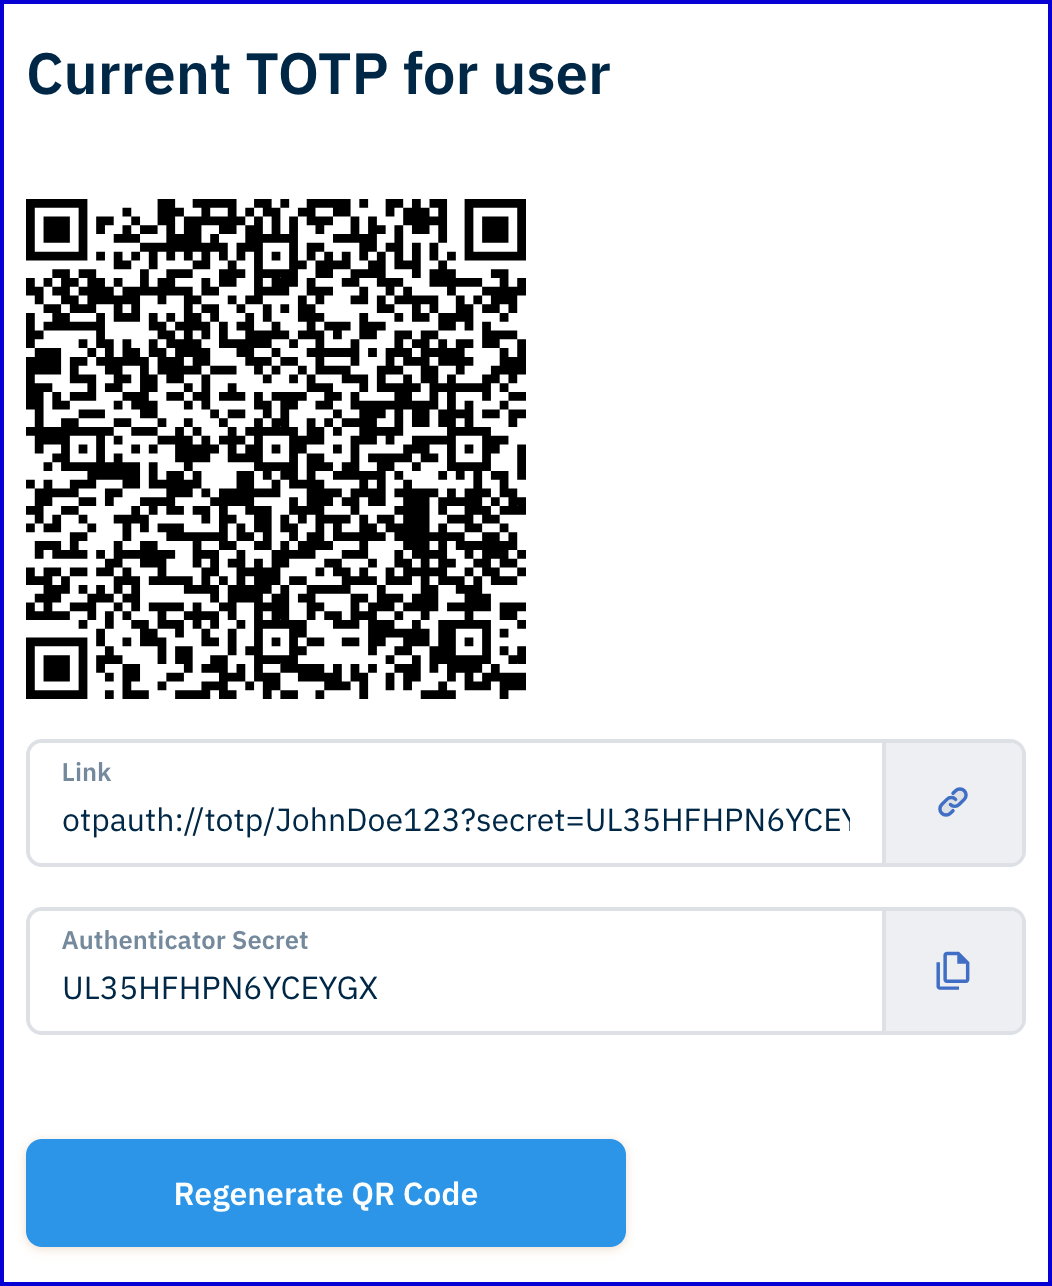
Get Current TOTP Registration
A user that has already completed TOTP registration on one device can reregister TOTP on a separate device using the same secret key. To achieve this, it is possible to display the same QR Code that was used in the initial registration so that is may be scanned again on another device. This guide will describe how to use the 'Get TOTP' activity to retrieve an existing secret key and display it to the user using a Custom Data Form.
Before retrieving the current TOTP registration, it is first required that an Identity Store User has successfully registered with a TOTP configuration. See the TOTP Registration for information on registering with TOTP.
Step 1 - Prepare the Custom Form
In this flow, a Custom Form will display the previously registered QR Code and secret key.
- In the Backoffice application, navigate to Integration Hub > Custom Forms.
- Click the 'New Custom Form' button to create a new form.
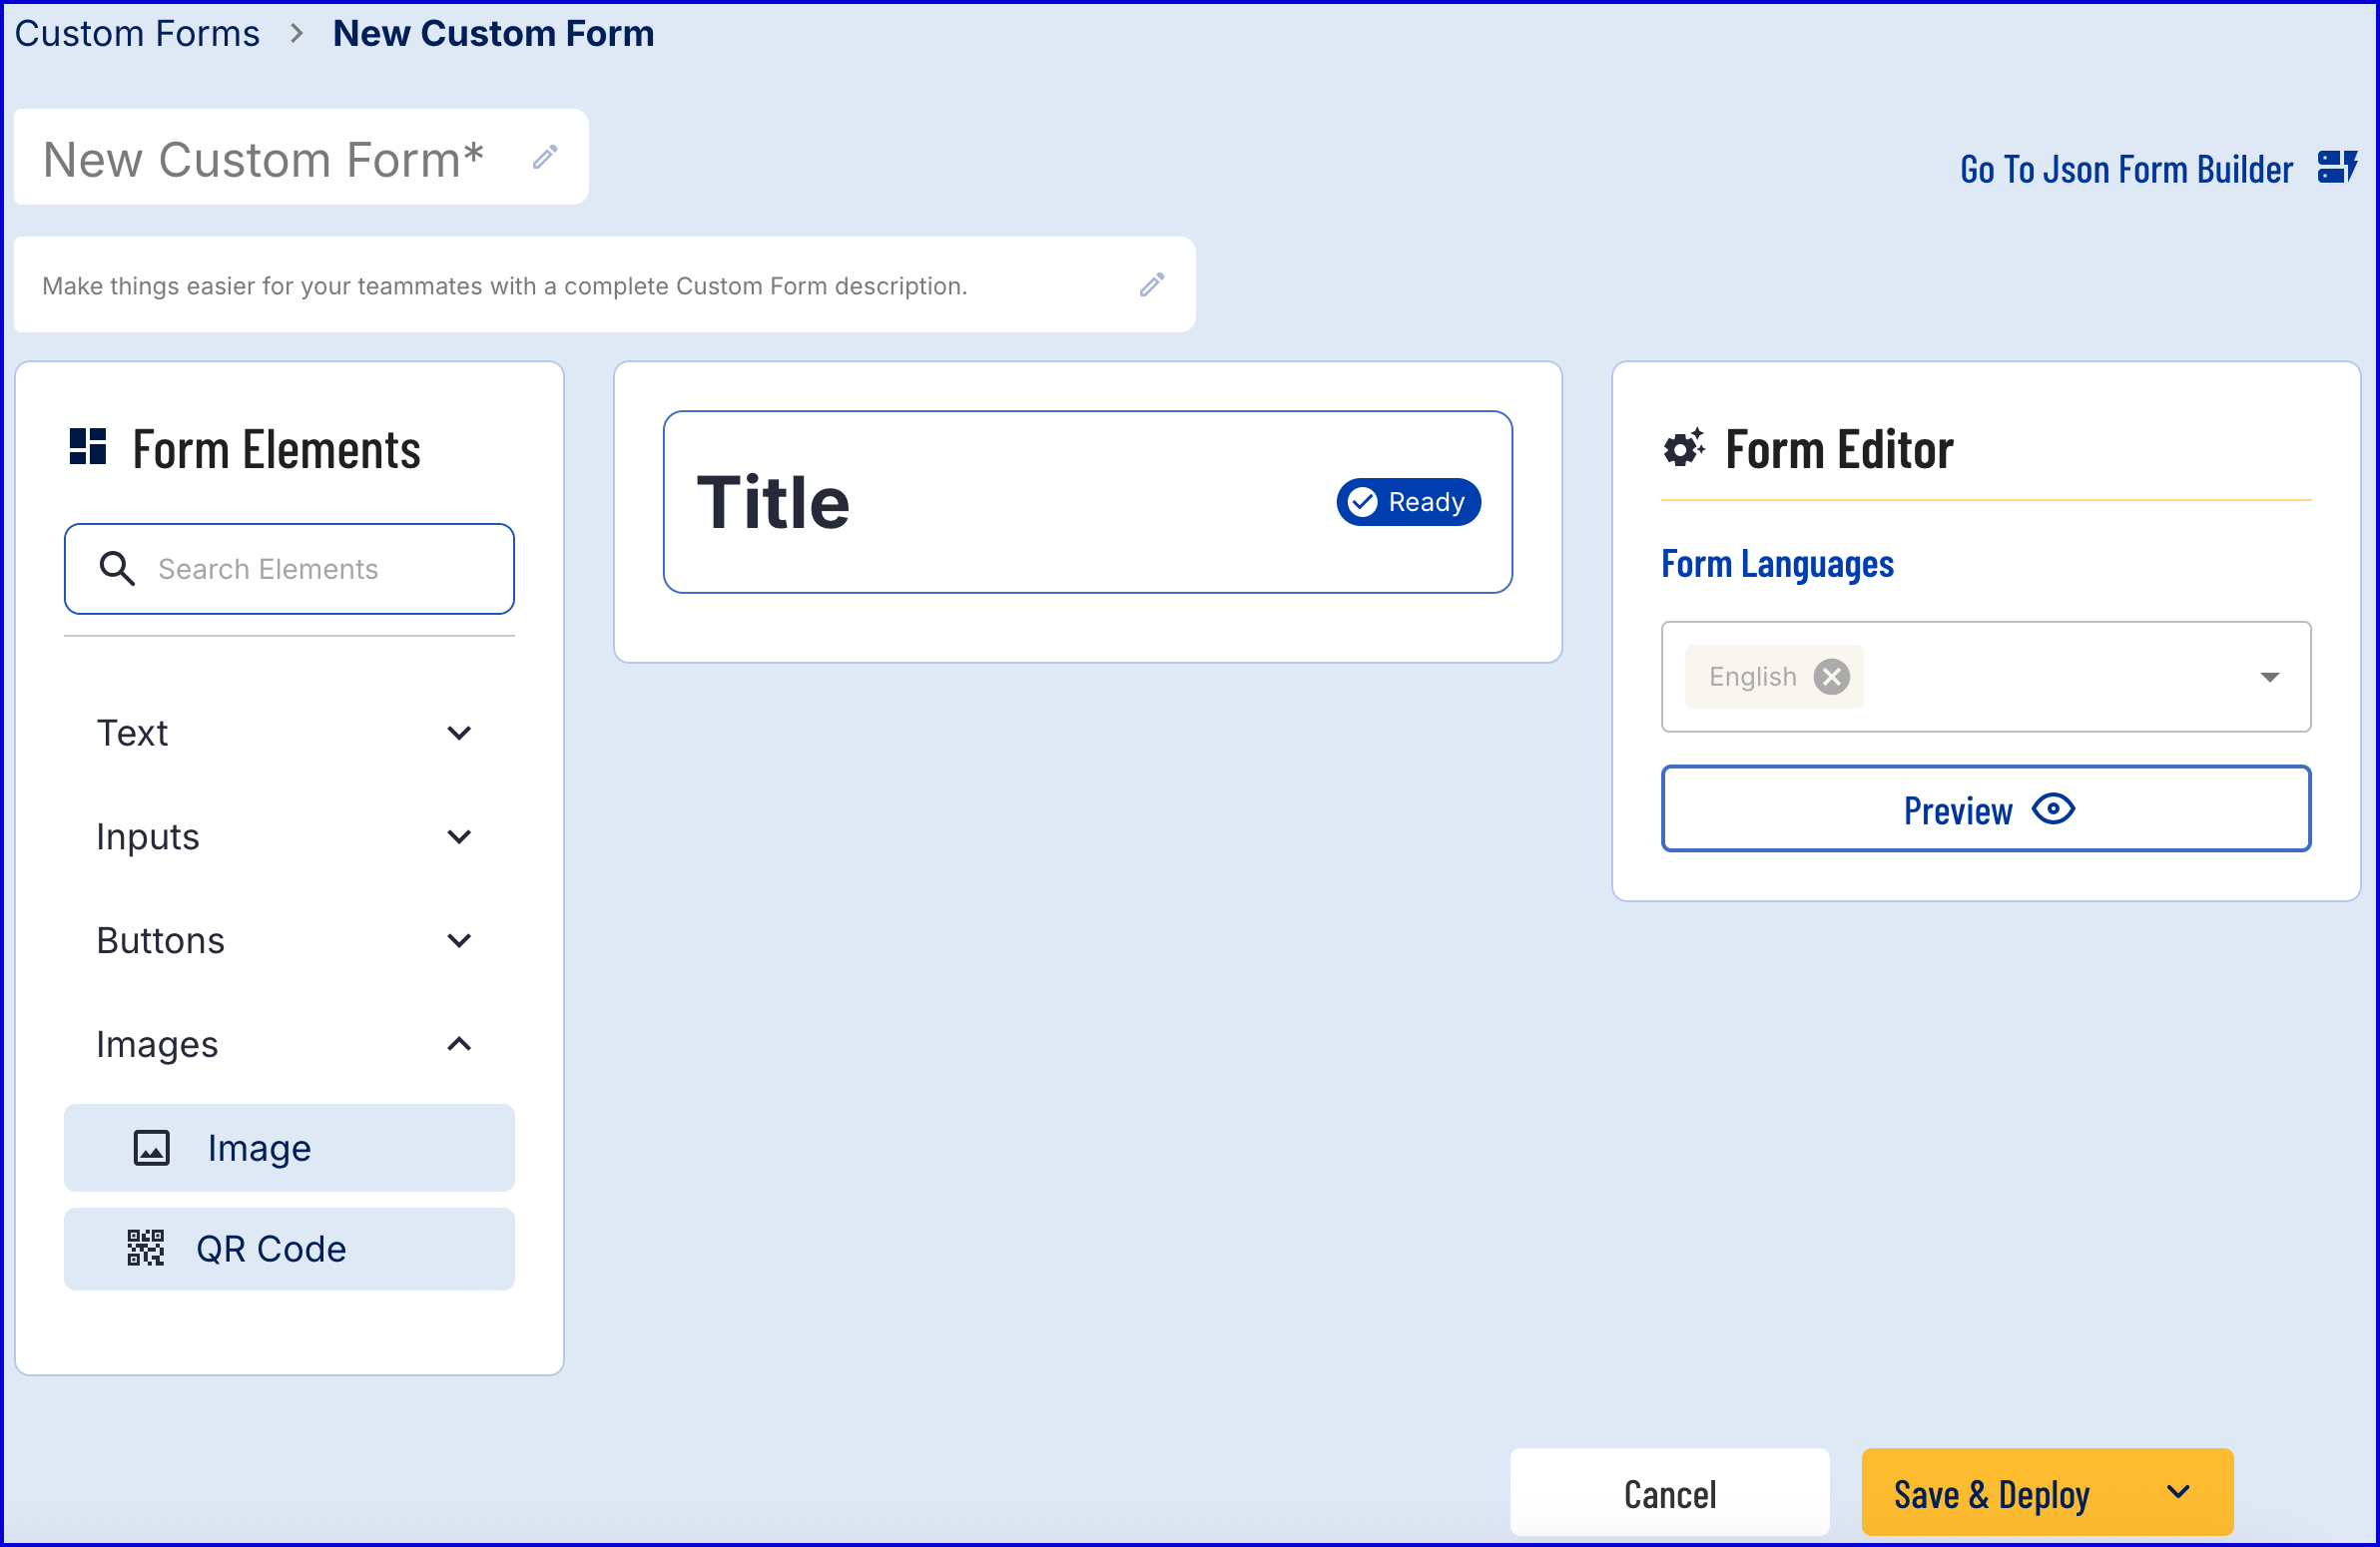
- The form builder provides a drag-and-drop Visual Form Builder or a JSON Form Builder to create a new Custom Form. In this example, the Visual Form Builder will be used. For more information on using this feature, see the Custom Data Forms guide.
- Add a 'QR Code' form element found under the 'Images' dropdown list.
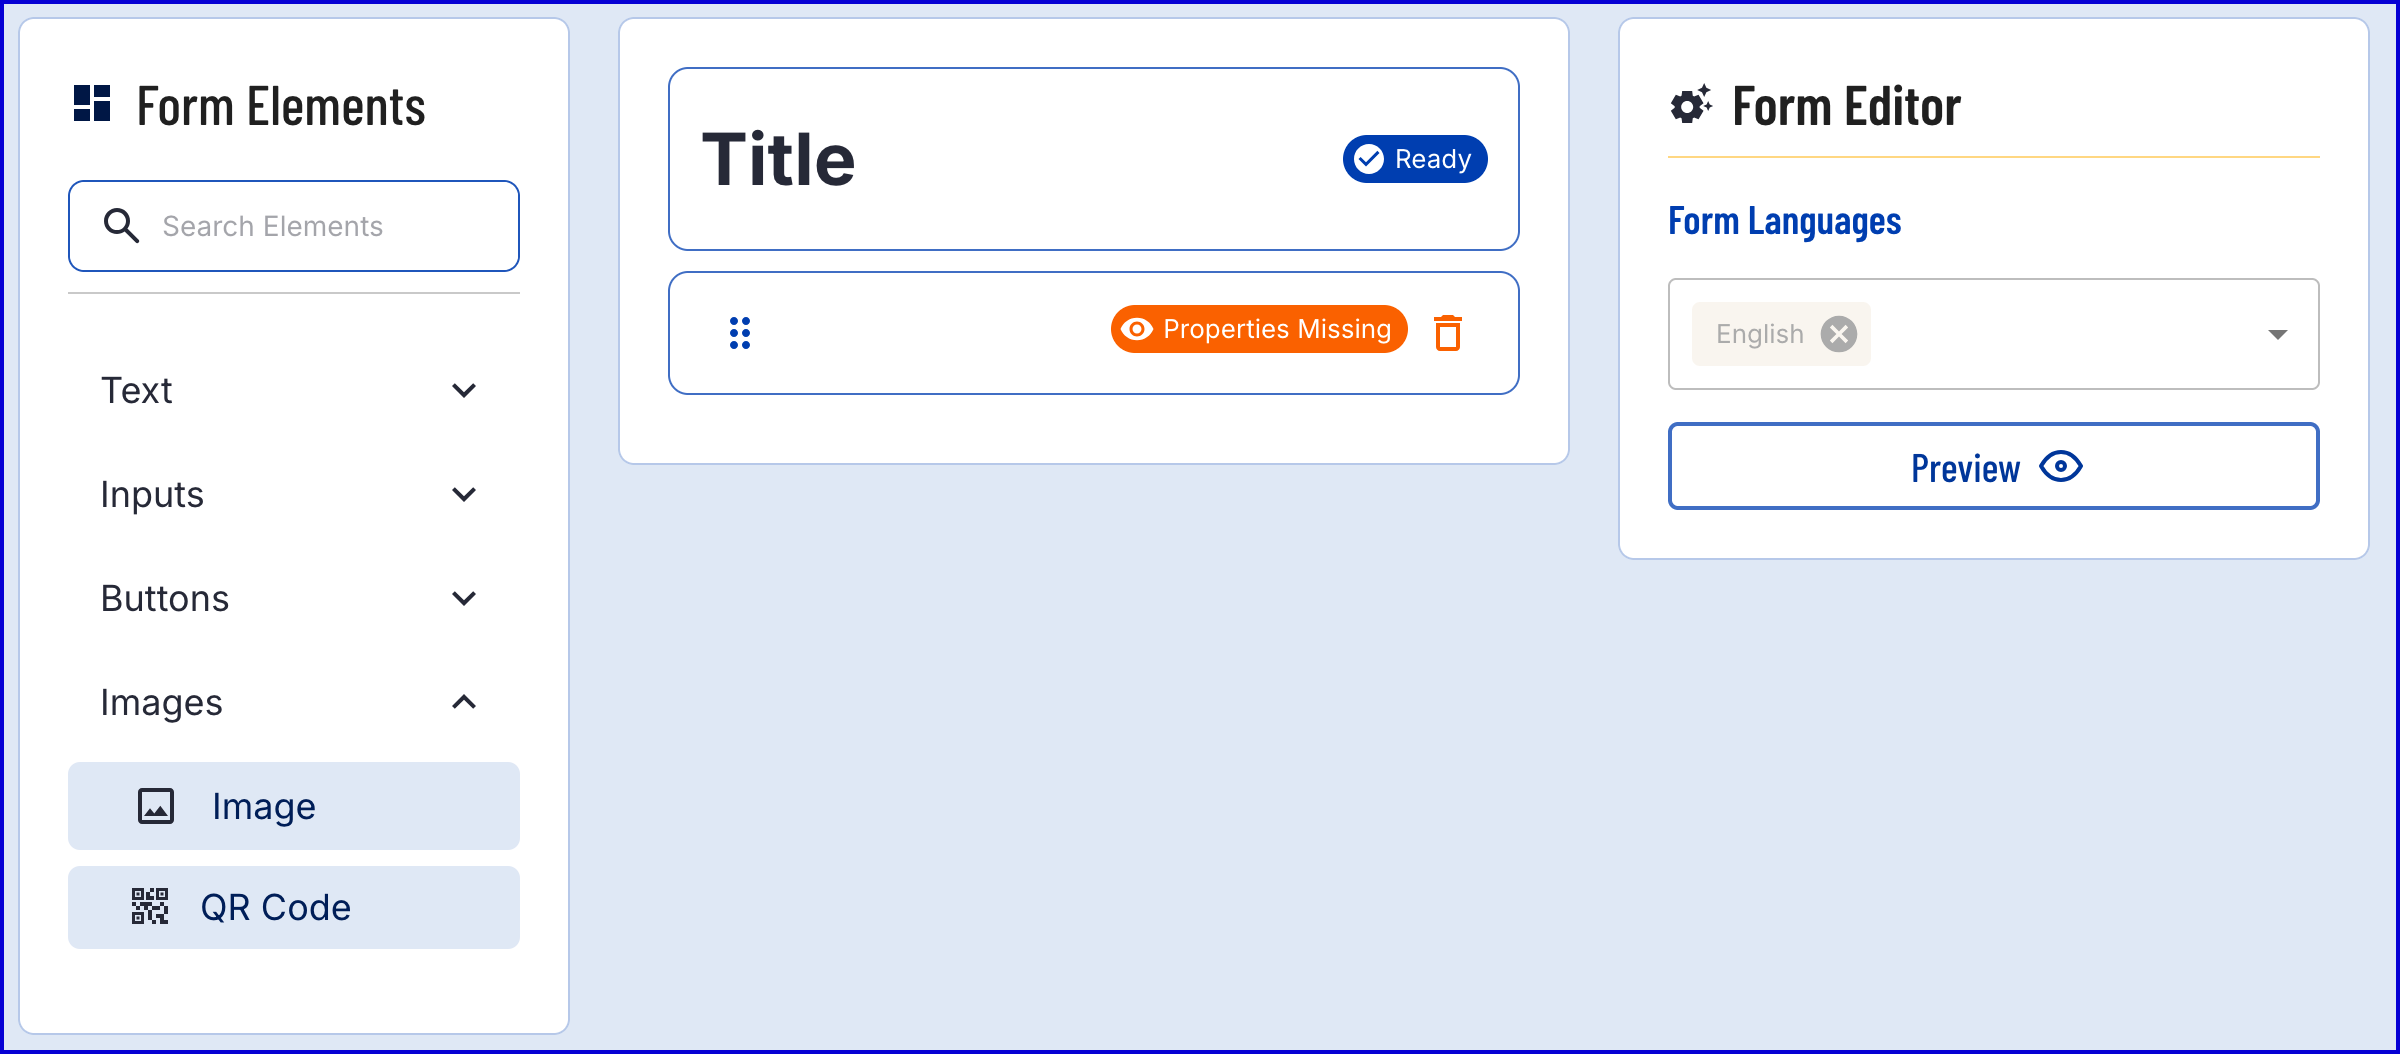
- The new form element will be added beneath the title and will display a "Properties Missing" error. To resolve this, click on the element to open the configuration settings in the Form Editor section.

- The QR Code contains the following properties:
| Property | Description |
|---|---|
| Element ID | The unique identifier of the QR Code form element. |
| QR Content | |
| Size | The size of the QR code that will be displayed. |
- For this example, the properties are set as follows:
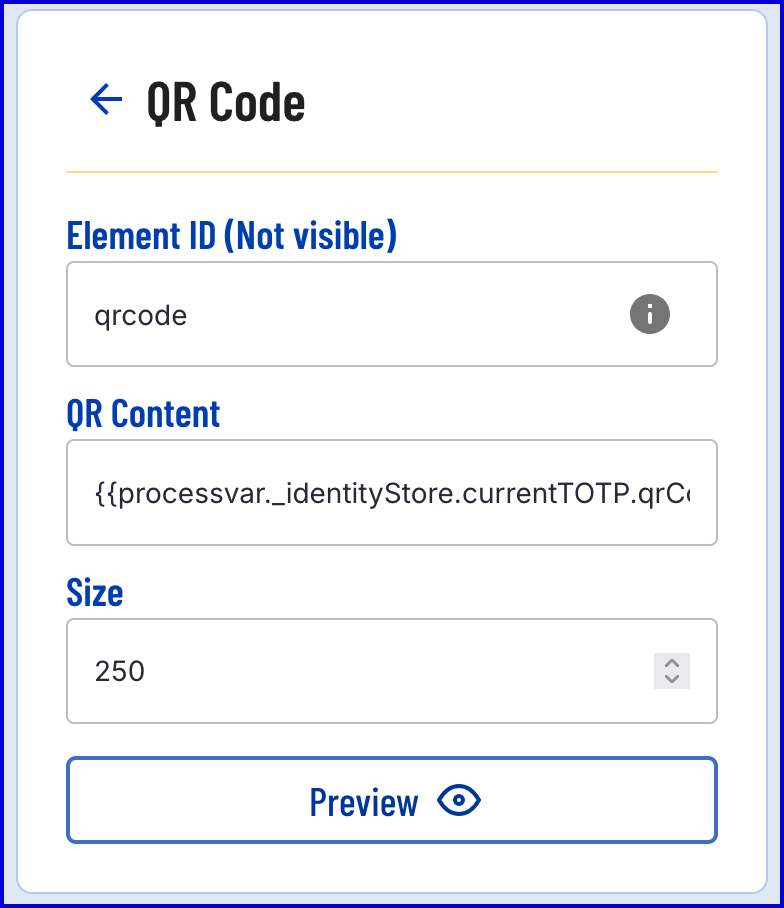
From the example above, the QR Content is set to
{{processvar._identityStore.currentTOTP.qrCodeString}}. This string can be understood as follows:- processVar - Access the process variables table. This contains variable data generated during the Process Instance.
- _identityStore - Access the Identity Store table to retrieve the current TOTP.
- .currentTOTP - Access the currentTOTP variable containing data regarding the currentTOTP for the User. This information will be retrieved when the 'Get TOTP' activity is run during the Process Instance.
- .qrCodeString - Retrieves a string representation of the current TOTP.
Once the QR Code form element is defined, add a 'Link' form element, found under the 'Buttons' dropdown list.
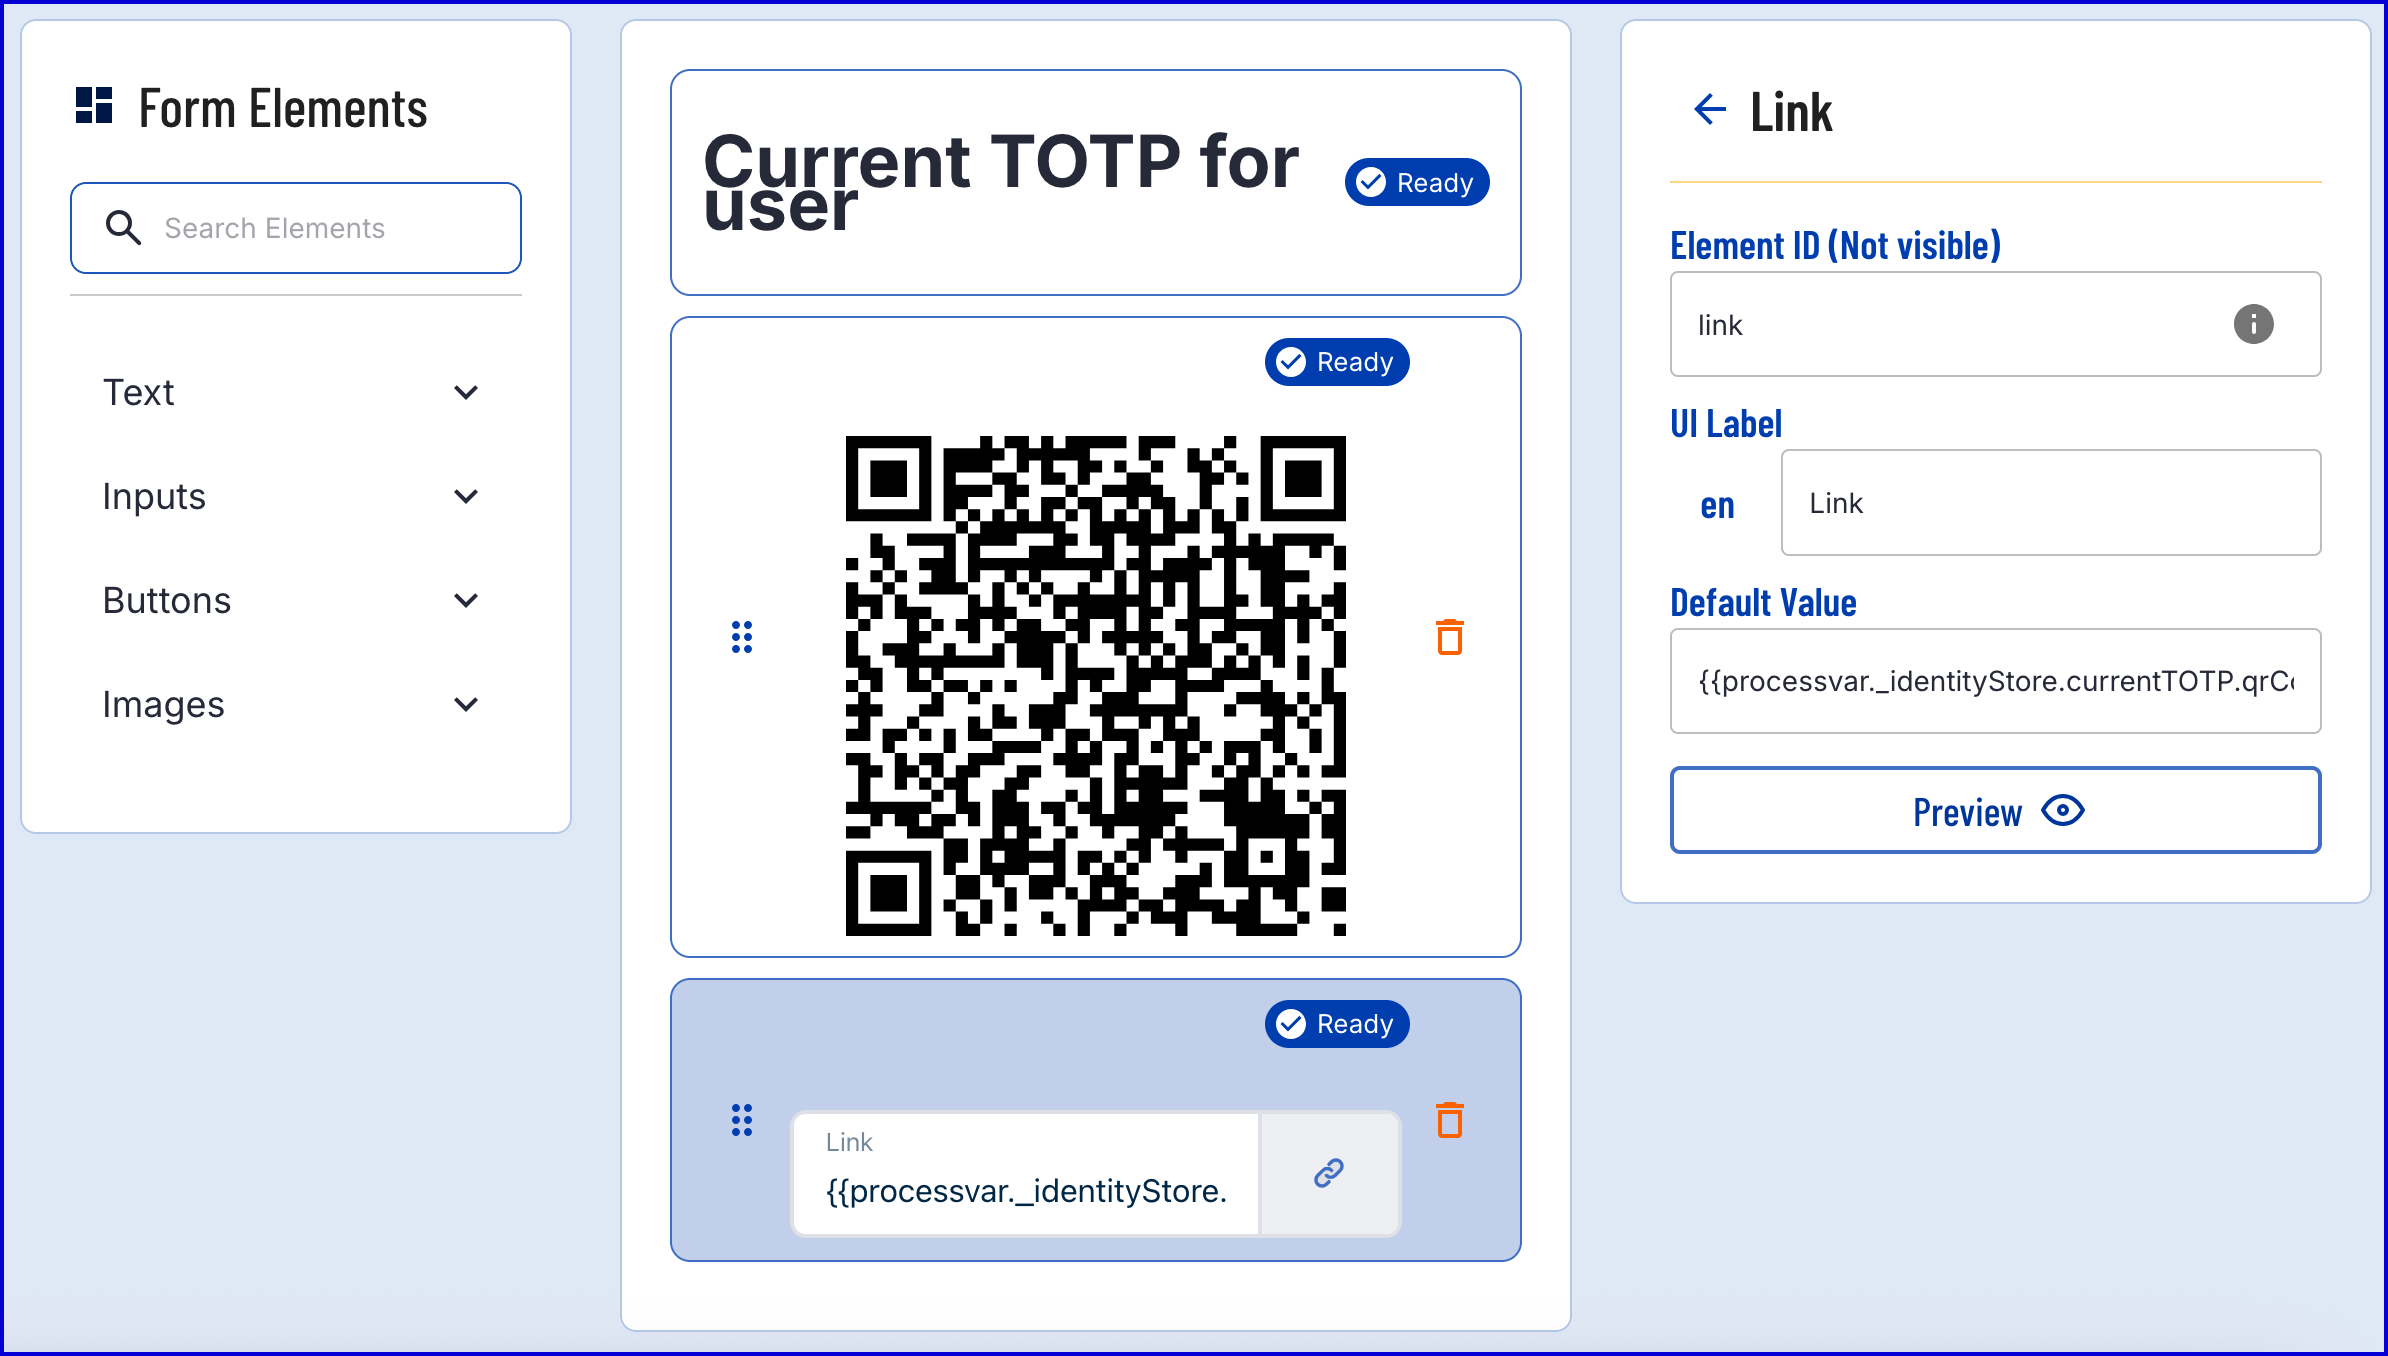
- The 'Link' form element contains the following properties:
| Property | Description |
|---|---|
| Element ID | The unique ID of the form element |
| UI Label | A UI label that will be displayed to the user in the TrustWeb application. |
| Default Value | The default value of the link that will be displayed to the user. |
- In the example above, the URL will also use the
{{processvar._identityStore.currentTOTP.qrCodeString}}value. When the link is clicked, the user's default authenticator application will open to register the TOTP password. - Add a 'Copy' form element found under the 'Buttons' dropdown list.
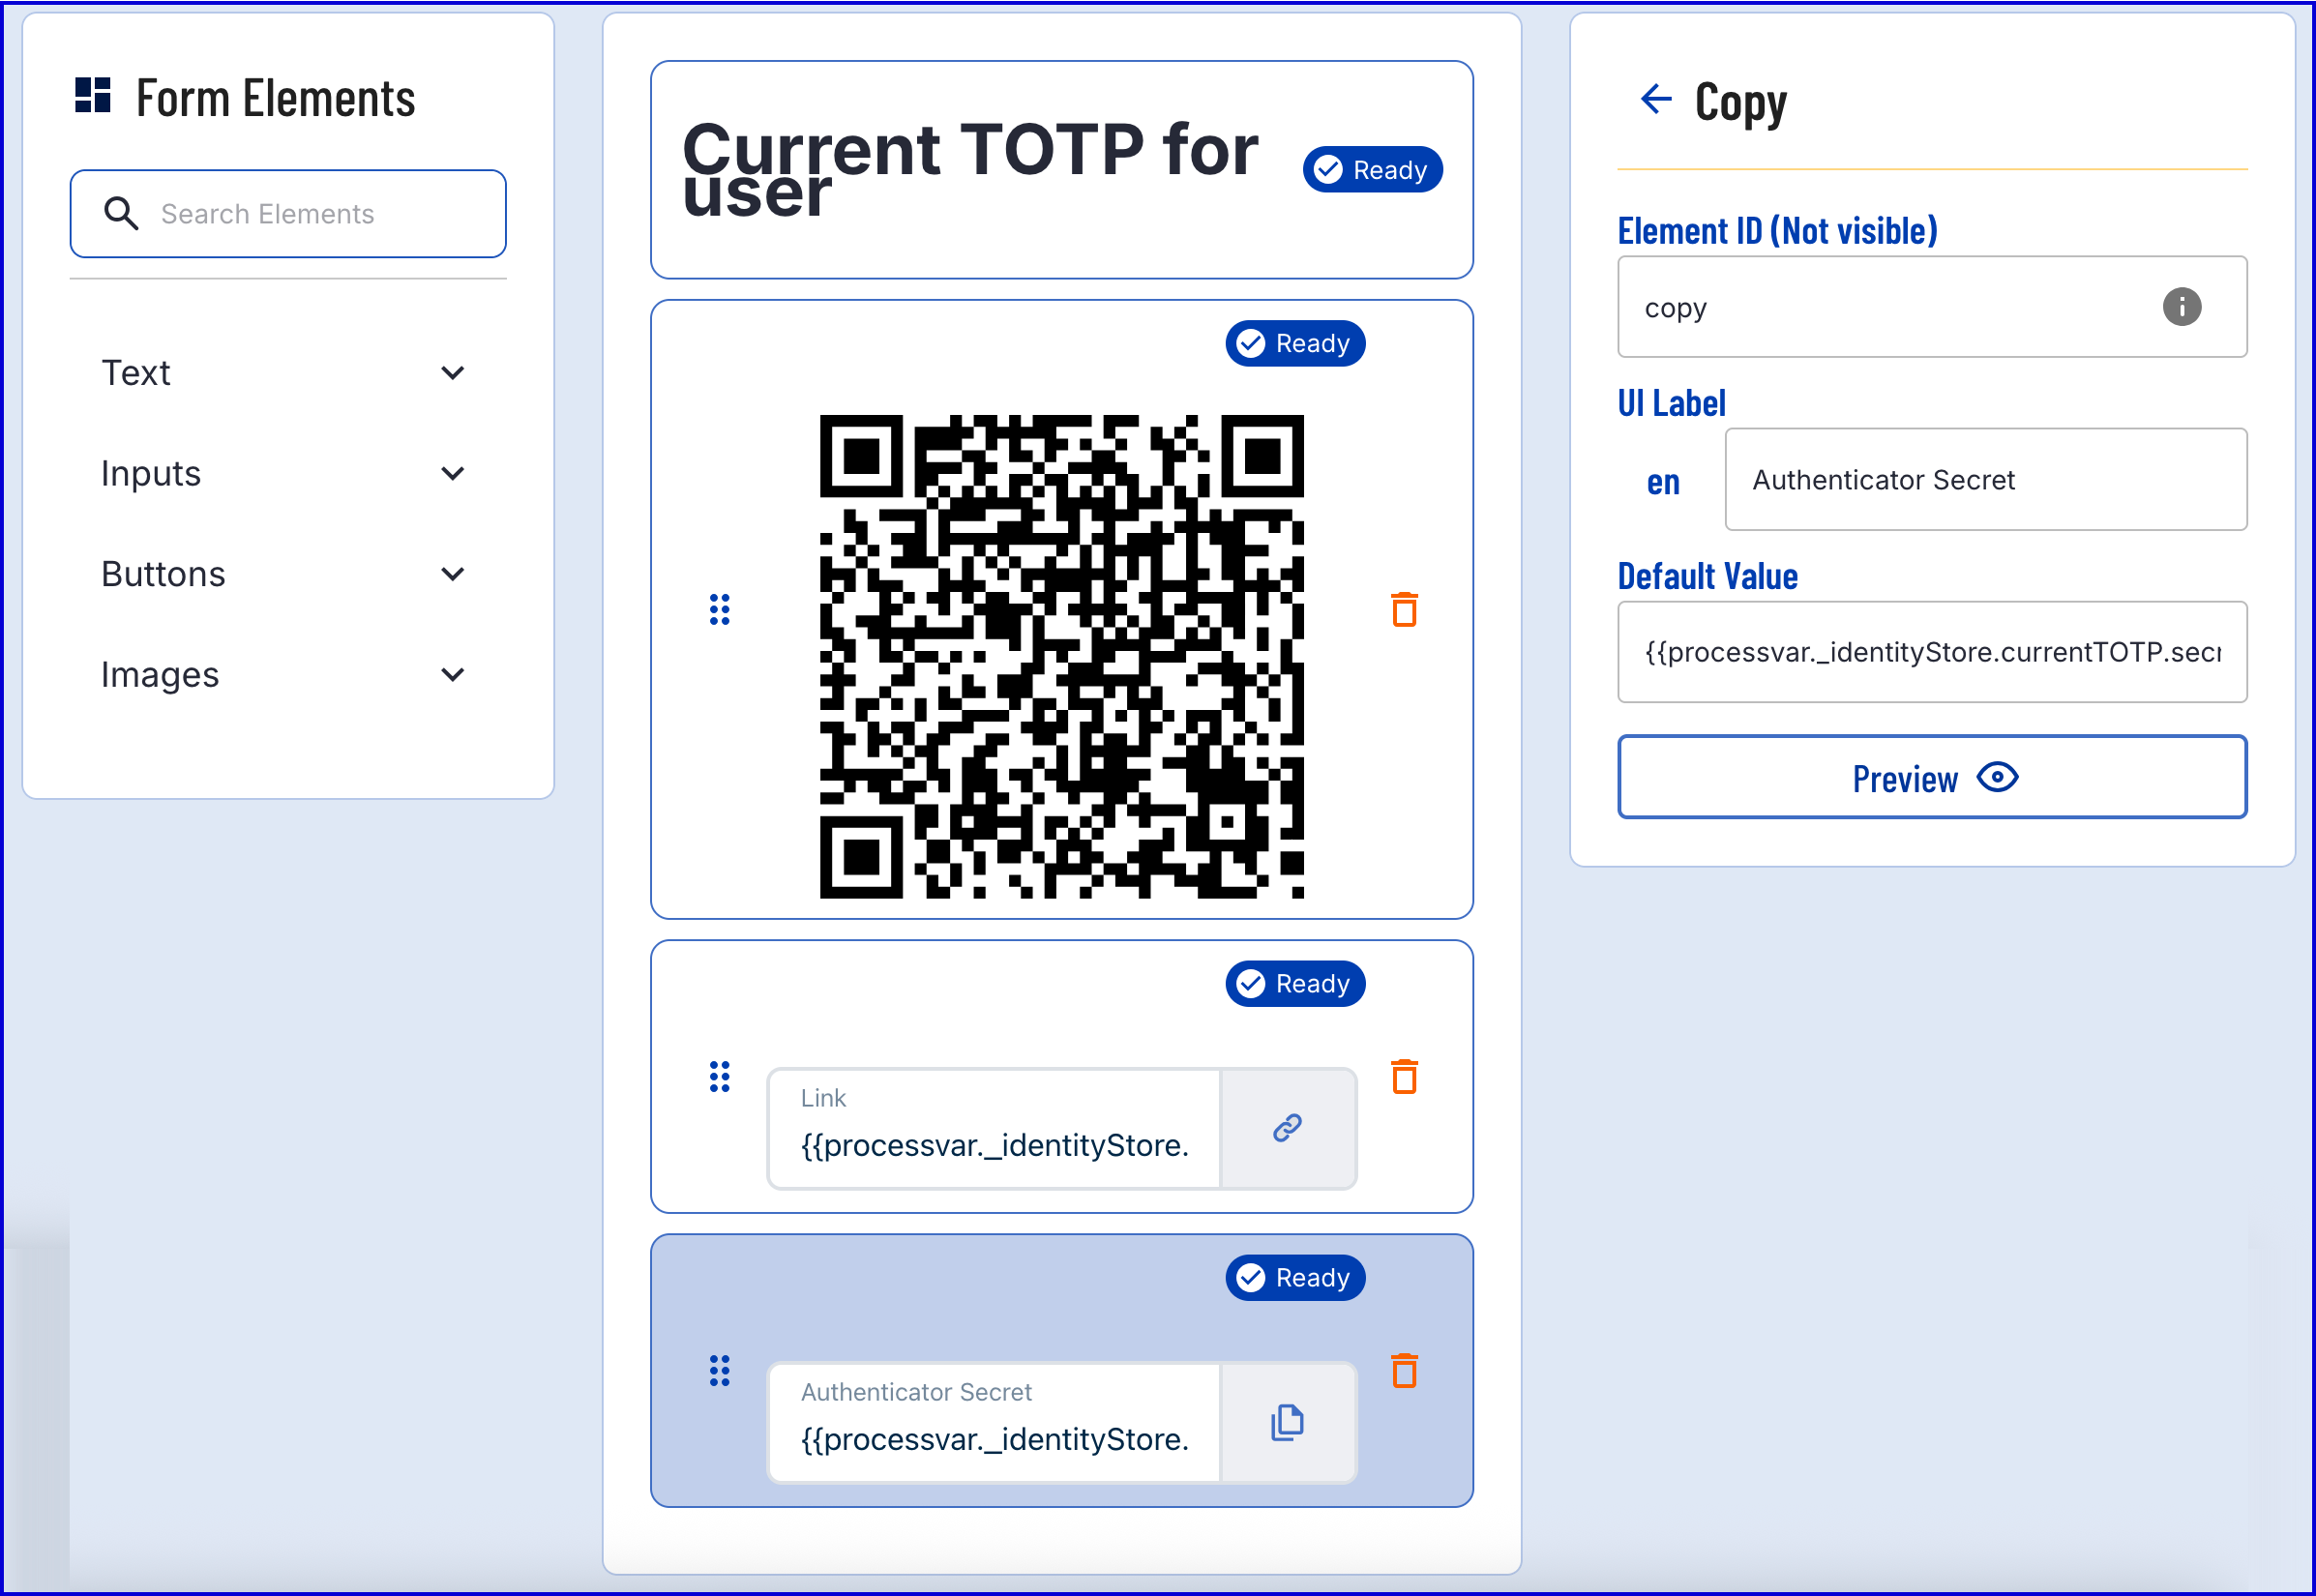
- The 'Copy' element has the following properties:
| Property | Description |
|---|---|
| Element ID | The unique ID of the form element |
| UI Label | A UI label that will be displayed to the user in the TrustWeb application. |
| Default Value | The default value that will be copied to the user's clipboard when the copy button is pressed. |
- In the above example, the default value is set to
{{processvar._identityStore.currentTOTP.secret}}. This will retrieve the secret of the QR code and make it available to copy directly to the clipboard for manual configuration in the authenticator app. - Add a 'Submit' button found under the the 'Buttons' dropdown menu. This will be used to continue the Process Definition.
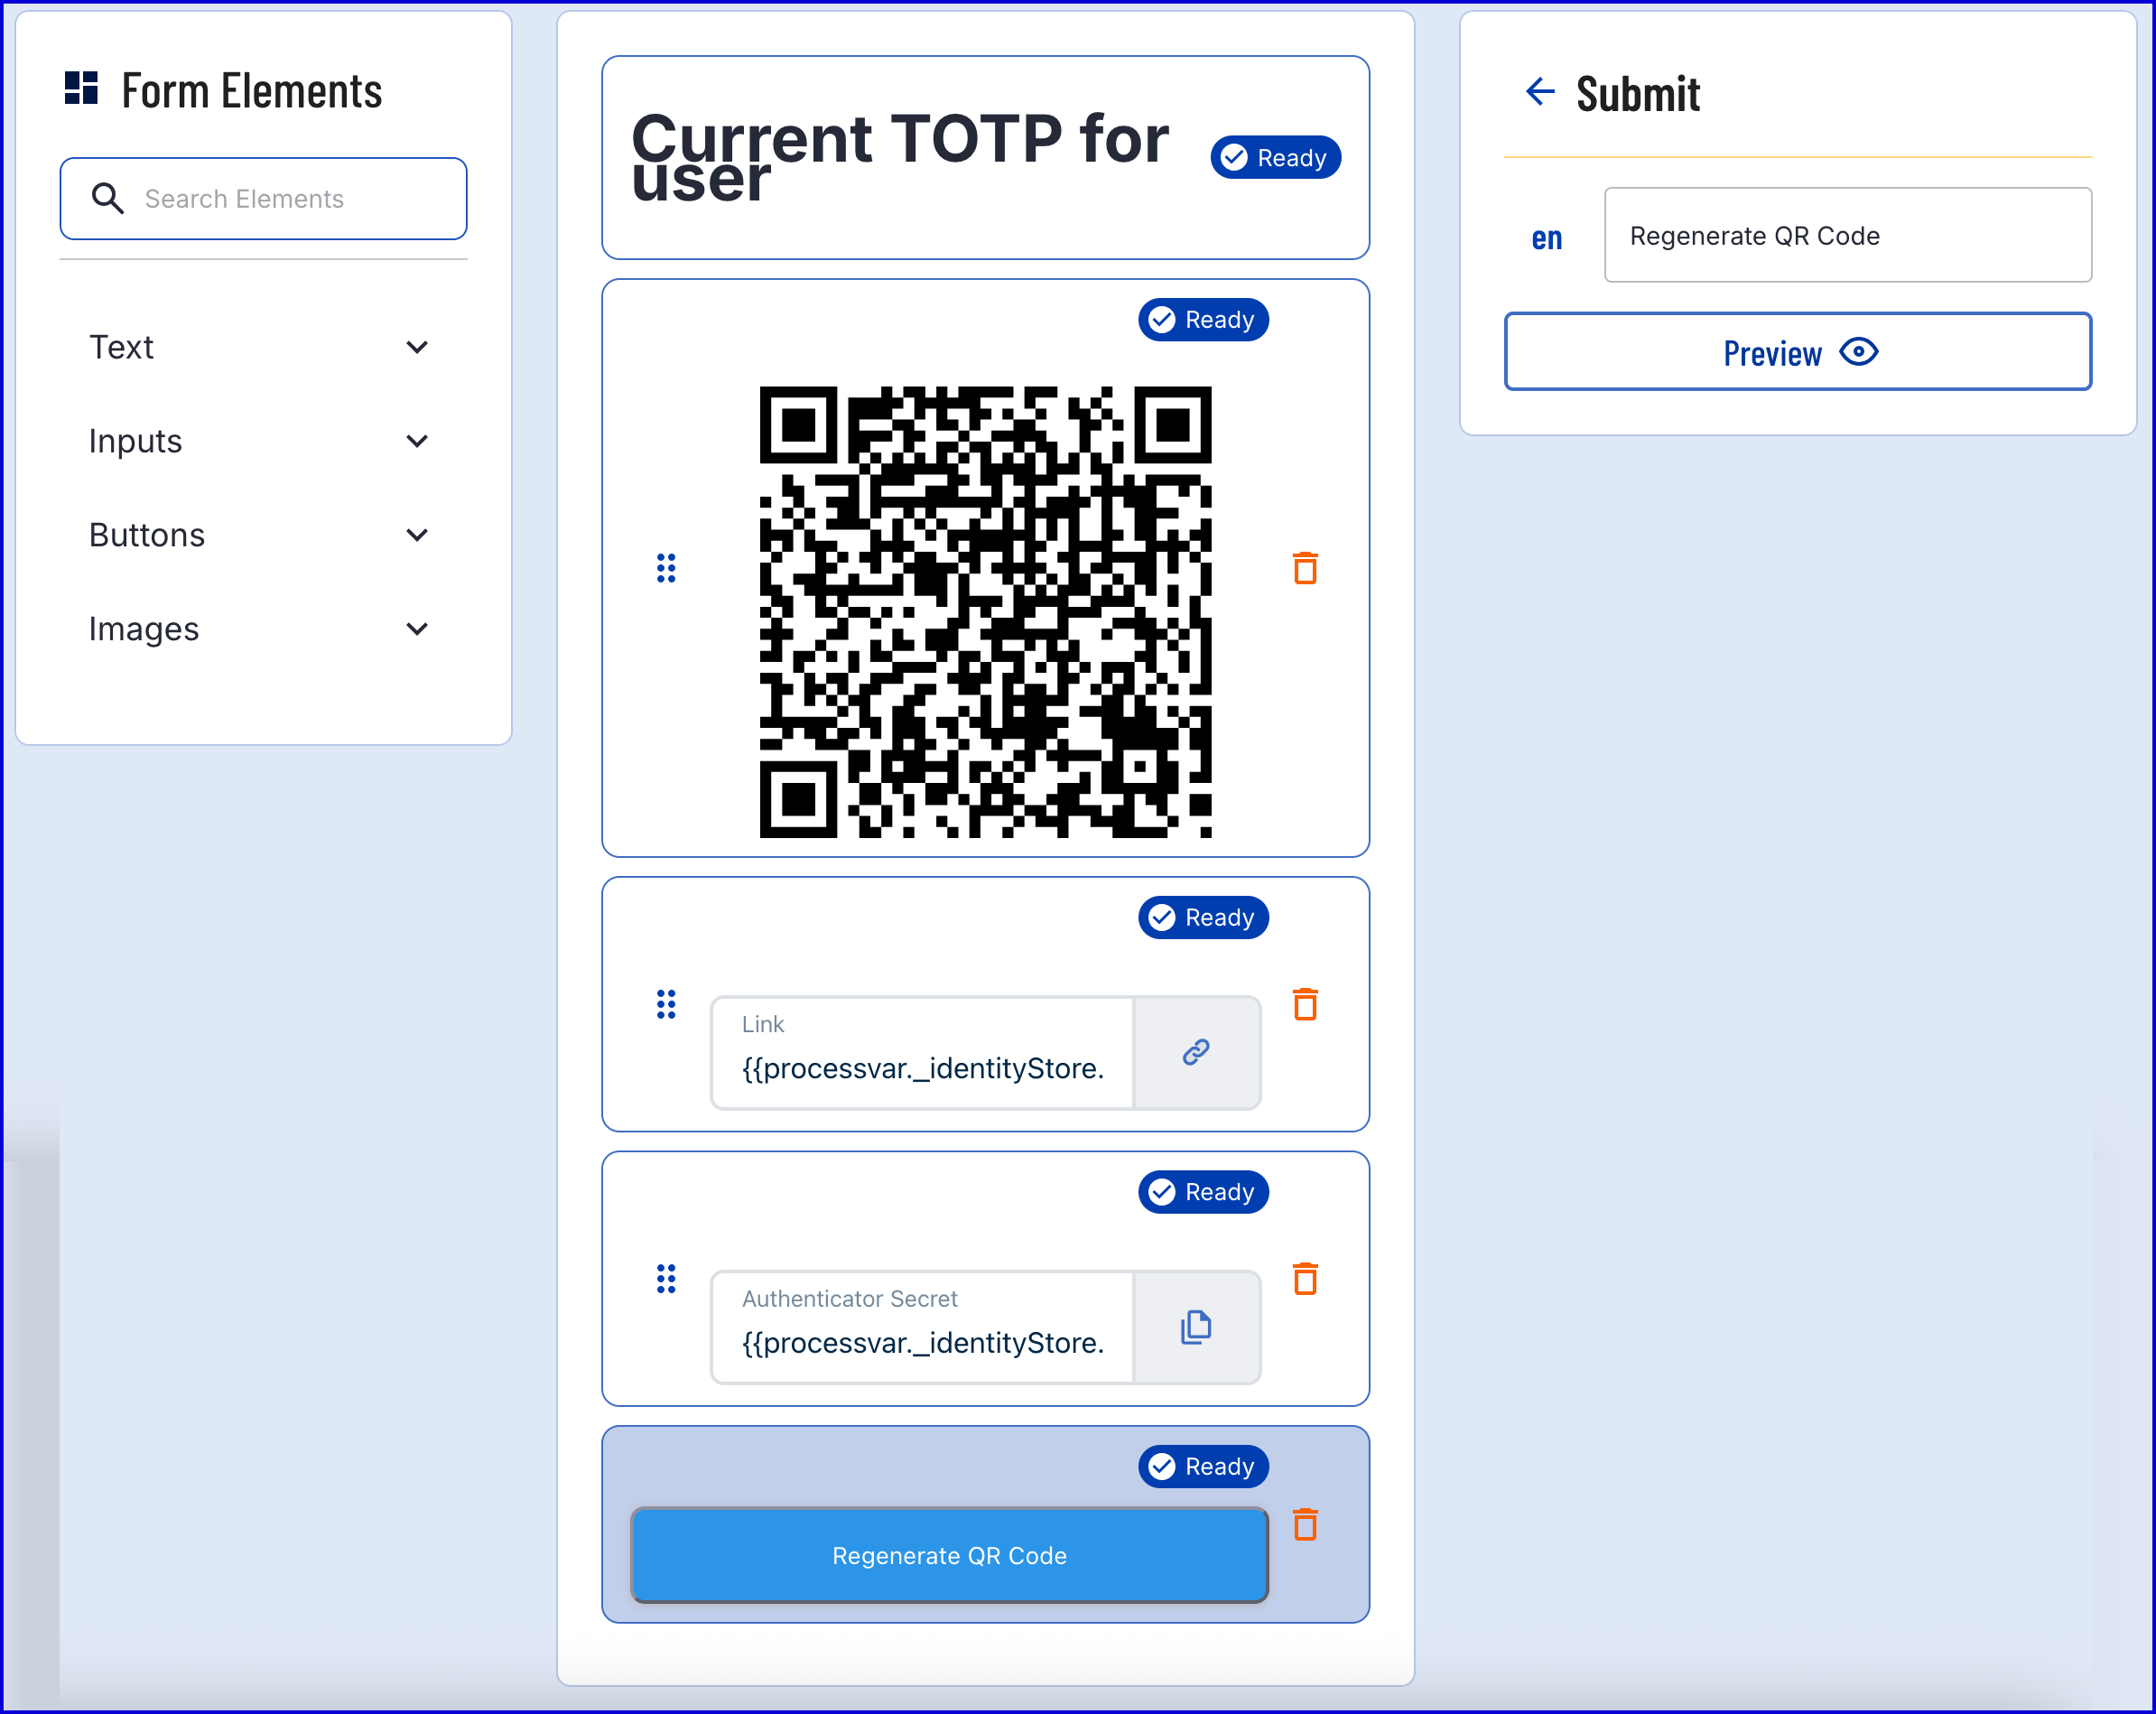
- Once the Custom Form is finalized, click the 'Save & Deploy' button.
Step 2 - Create a Process Definition
- Create a new Process Definition by navigating to Process Definitions > New Process Definition in the Backoffice application.
- Add a 'Create Start Event' to the Process Designer.
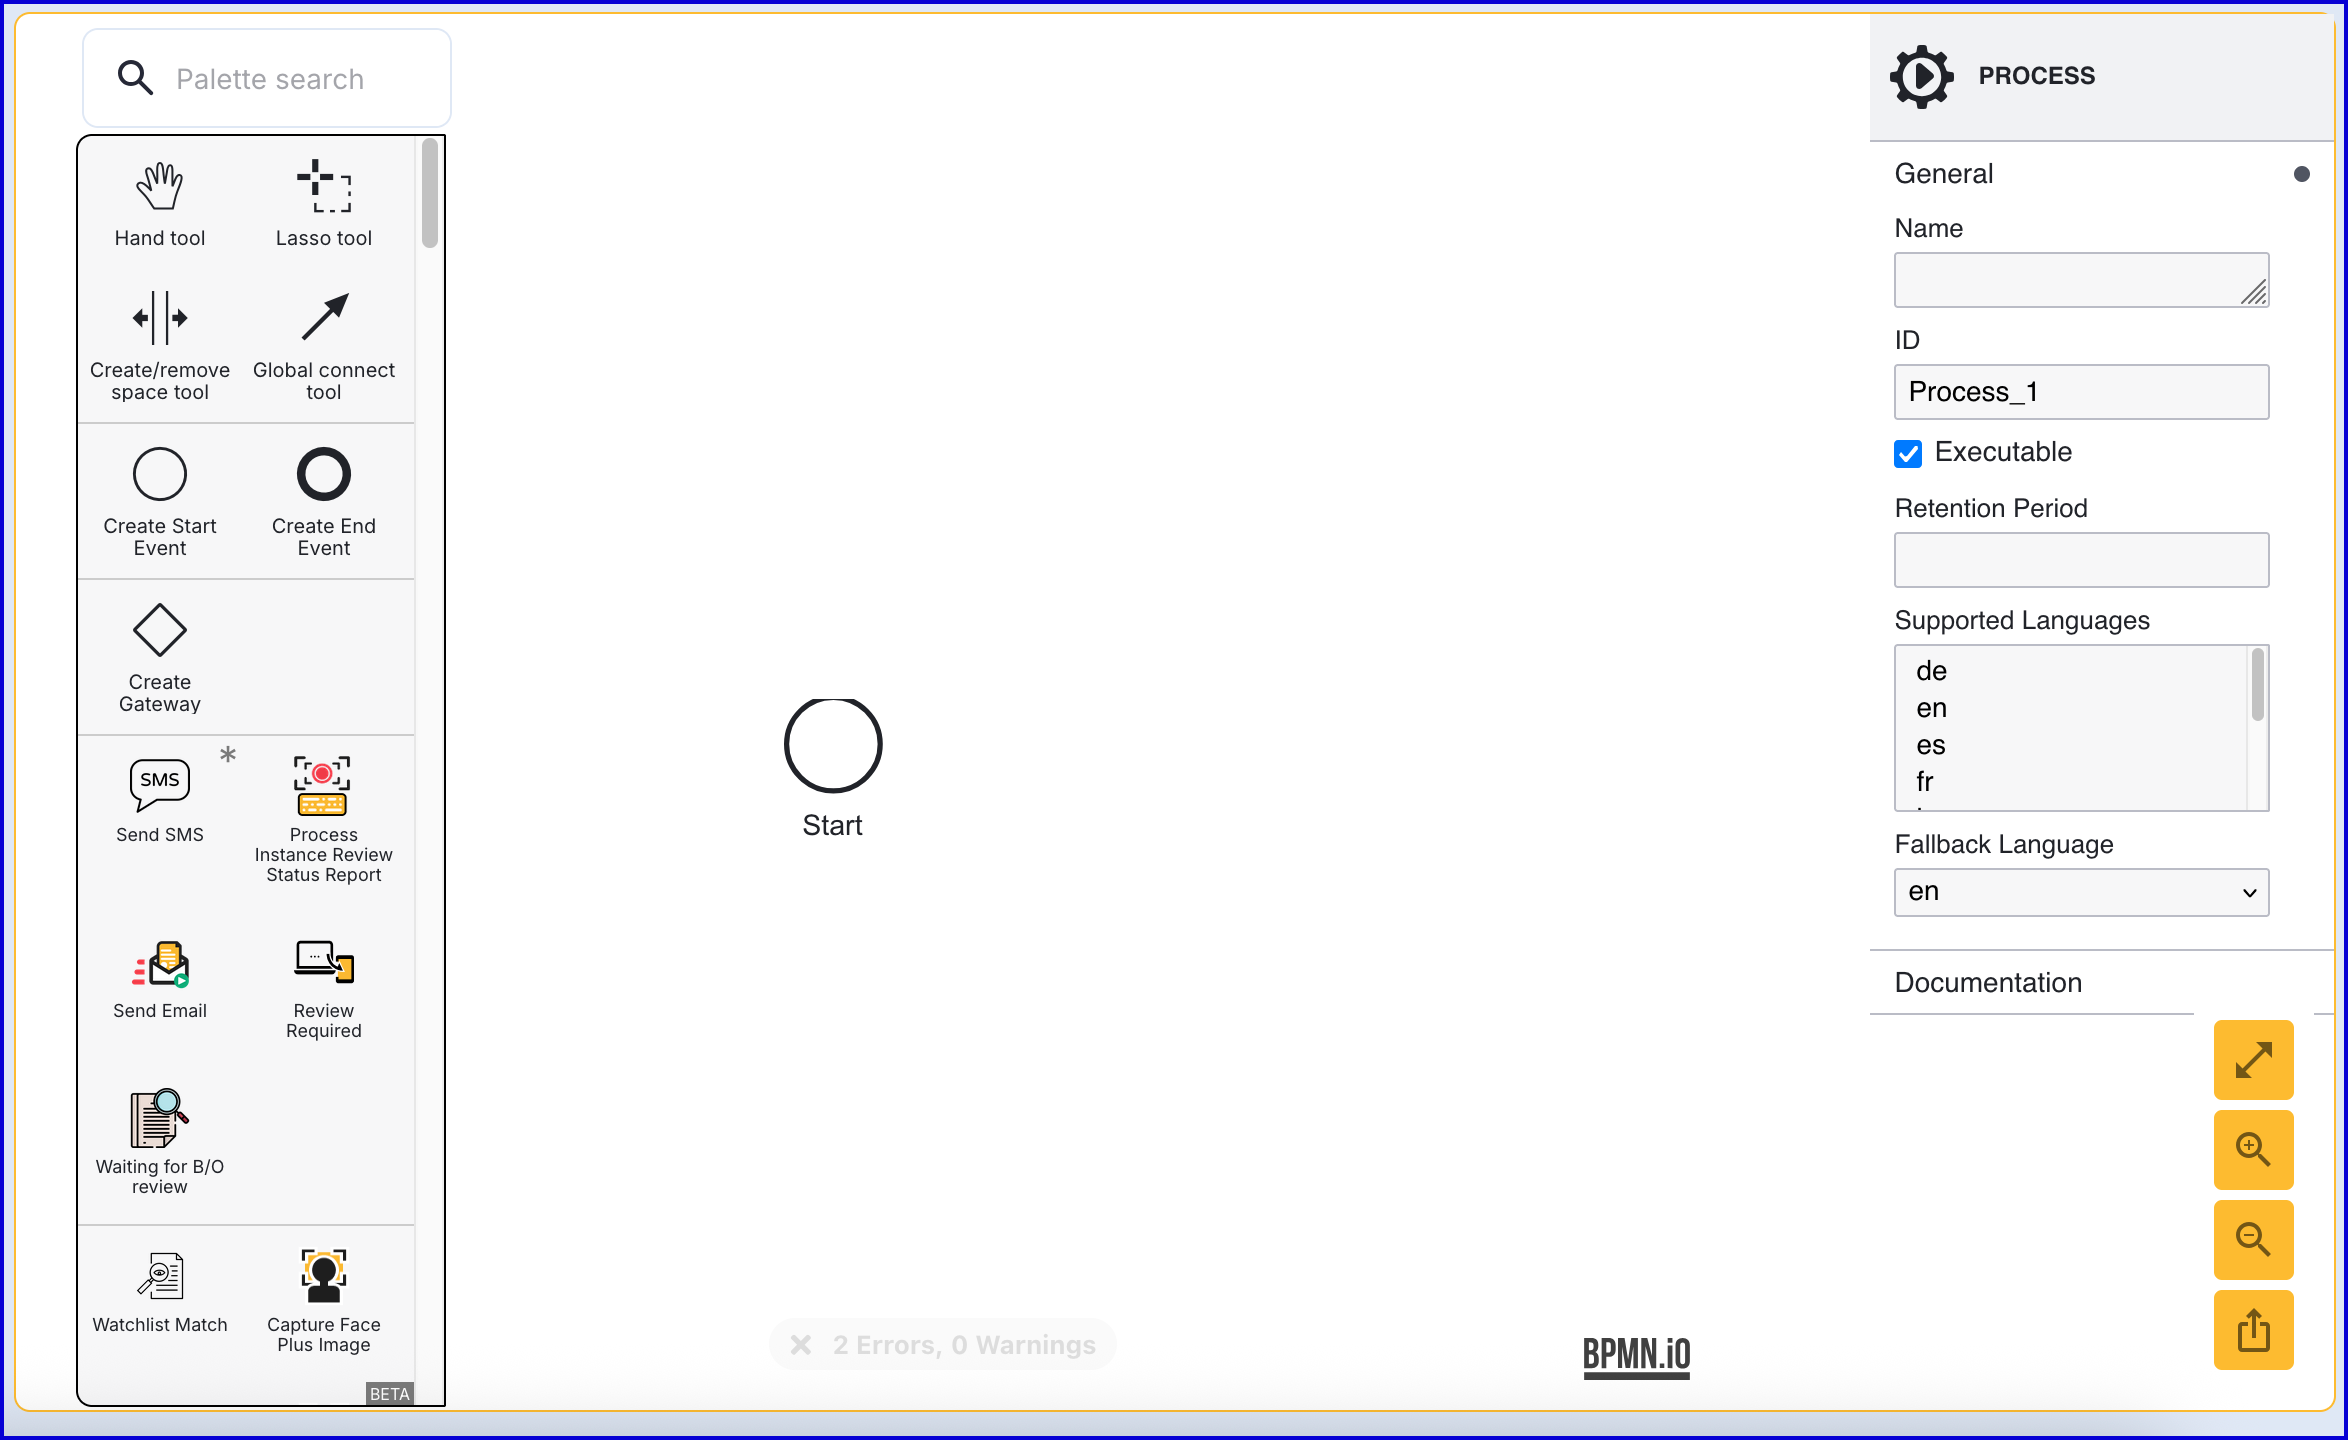
- Click the 'Start' event to open the right-side contextual menu and enter a name for the 'Name' input parameter.
- Add a 'Create End Event' to the Process Designer and connect it to the 'Start' event using a sequence flow arrow.
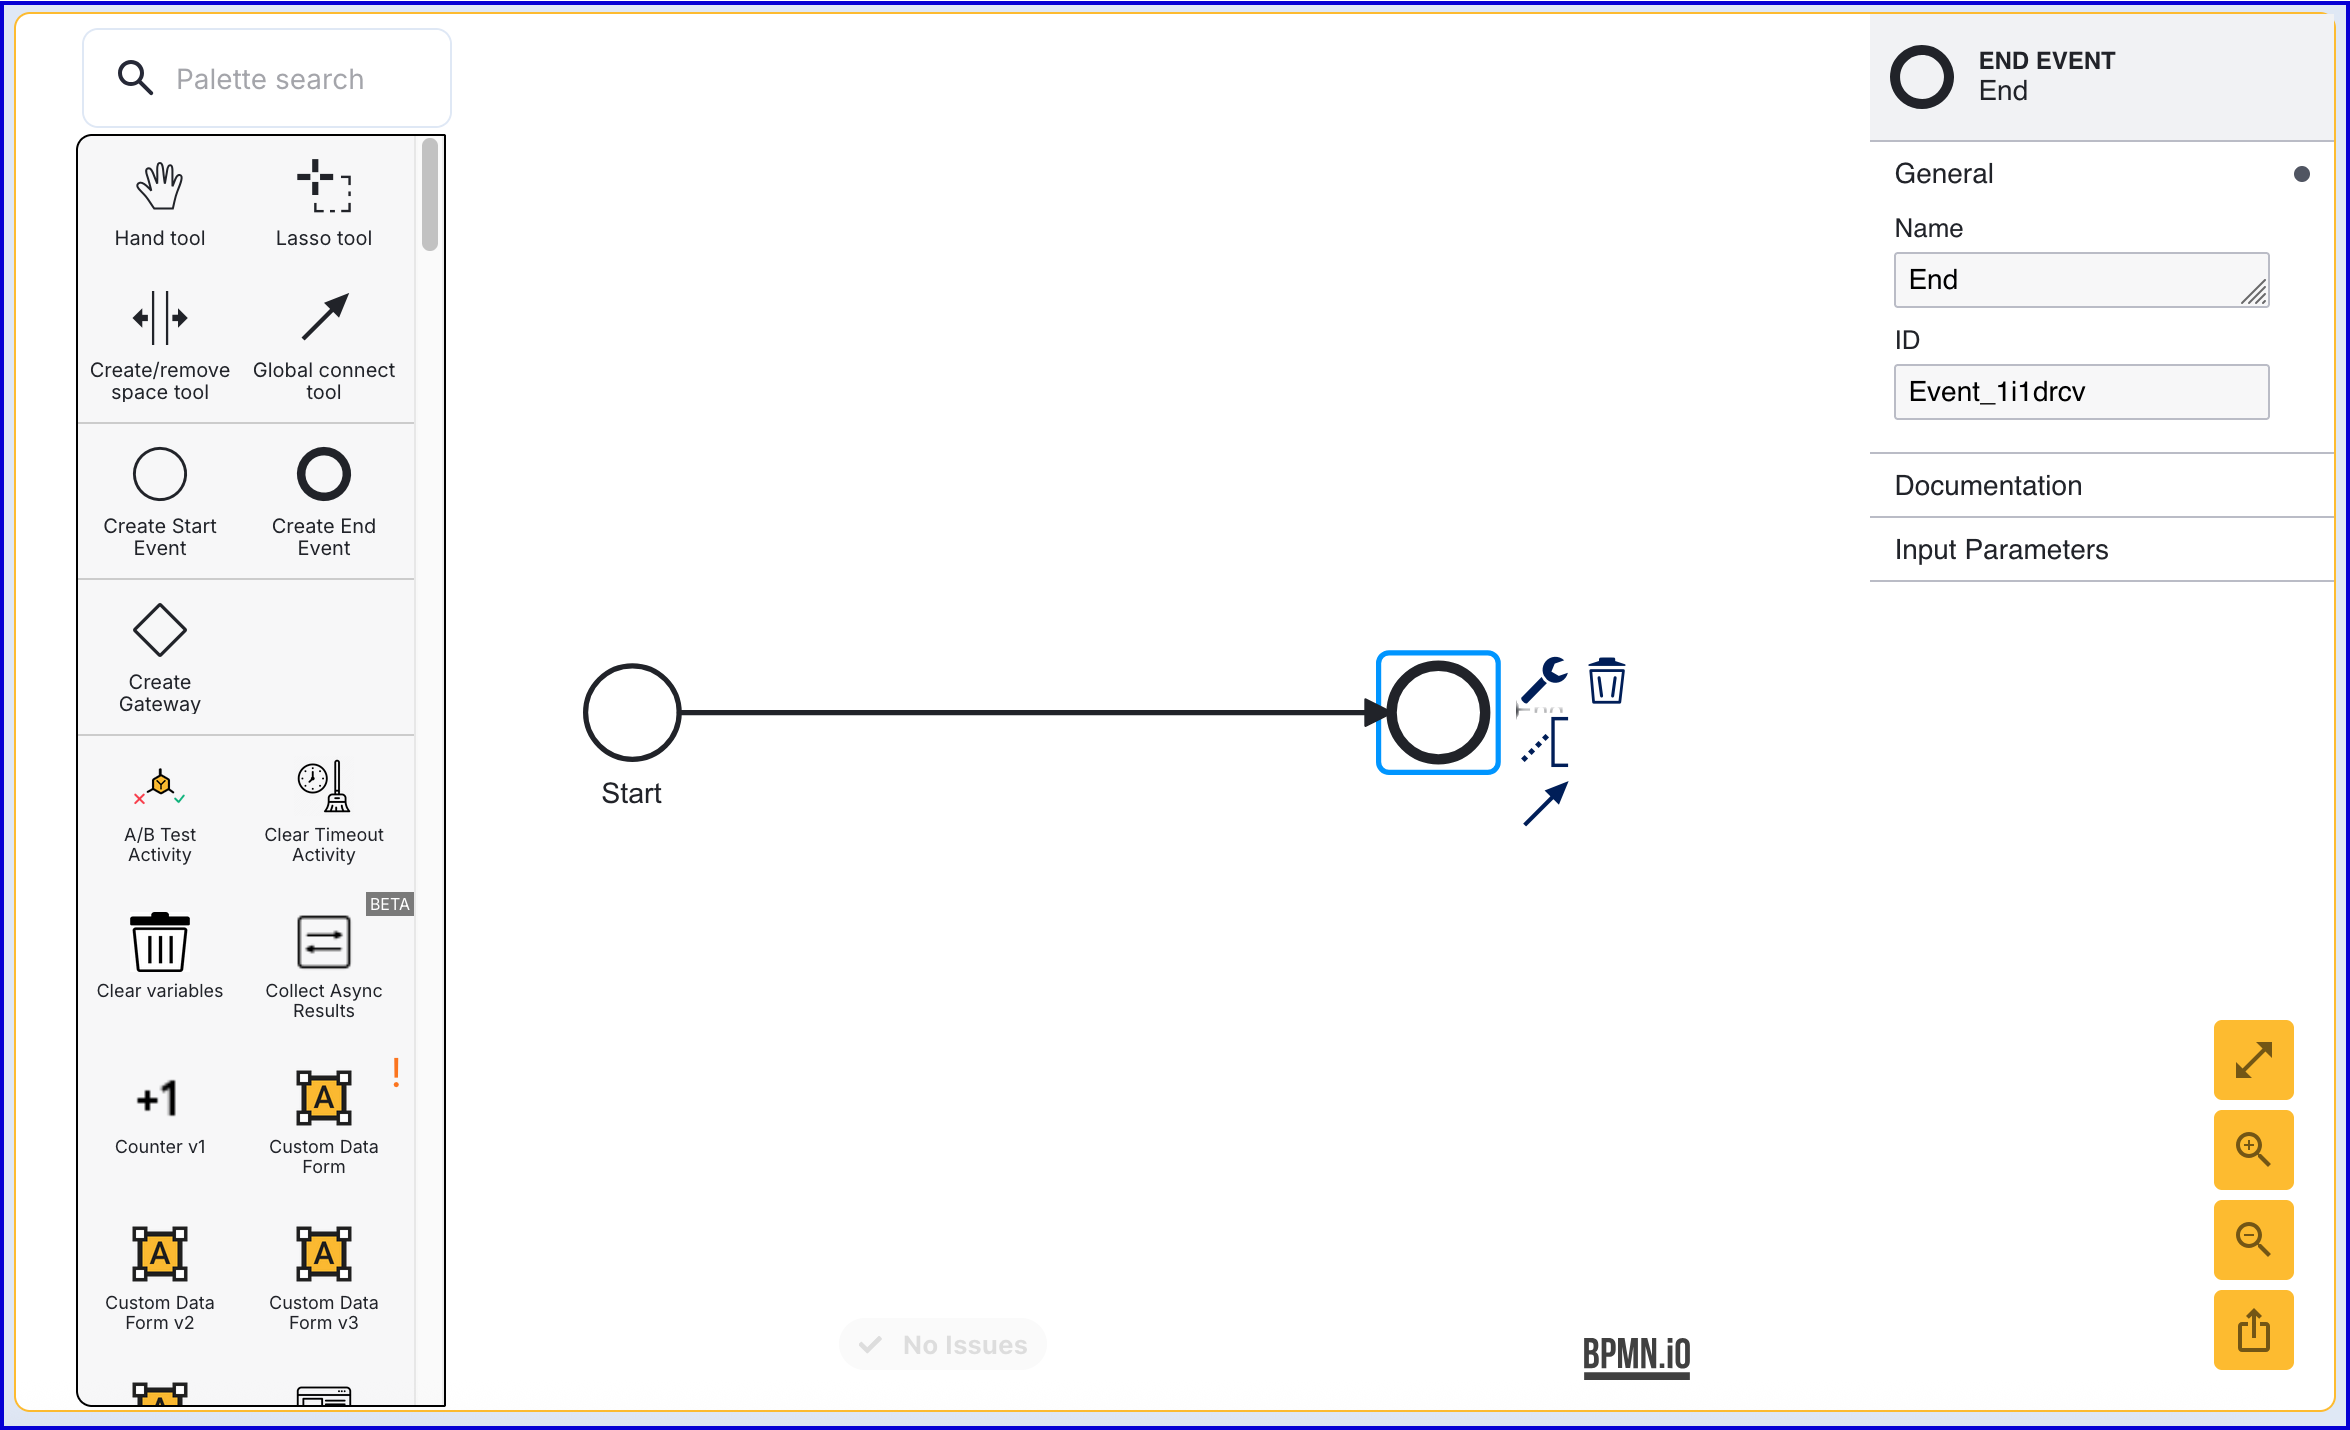
- Click the 'End' event to open the right-side contextual menu and enter a name for the 'Name' input parameter.
Step 3 - Get User
Retrieve the User for which the current TOTP applies using the 'Get User' activity.
- Add a 'Get User' activity to the Process Designer and connect it to the 'start' event using the global connect tool.
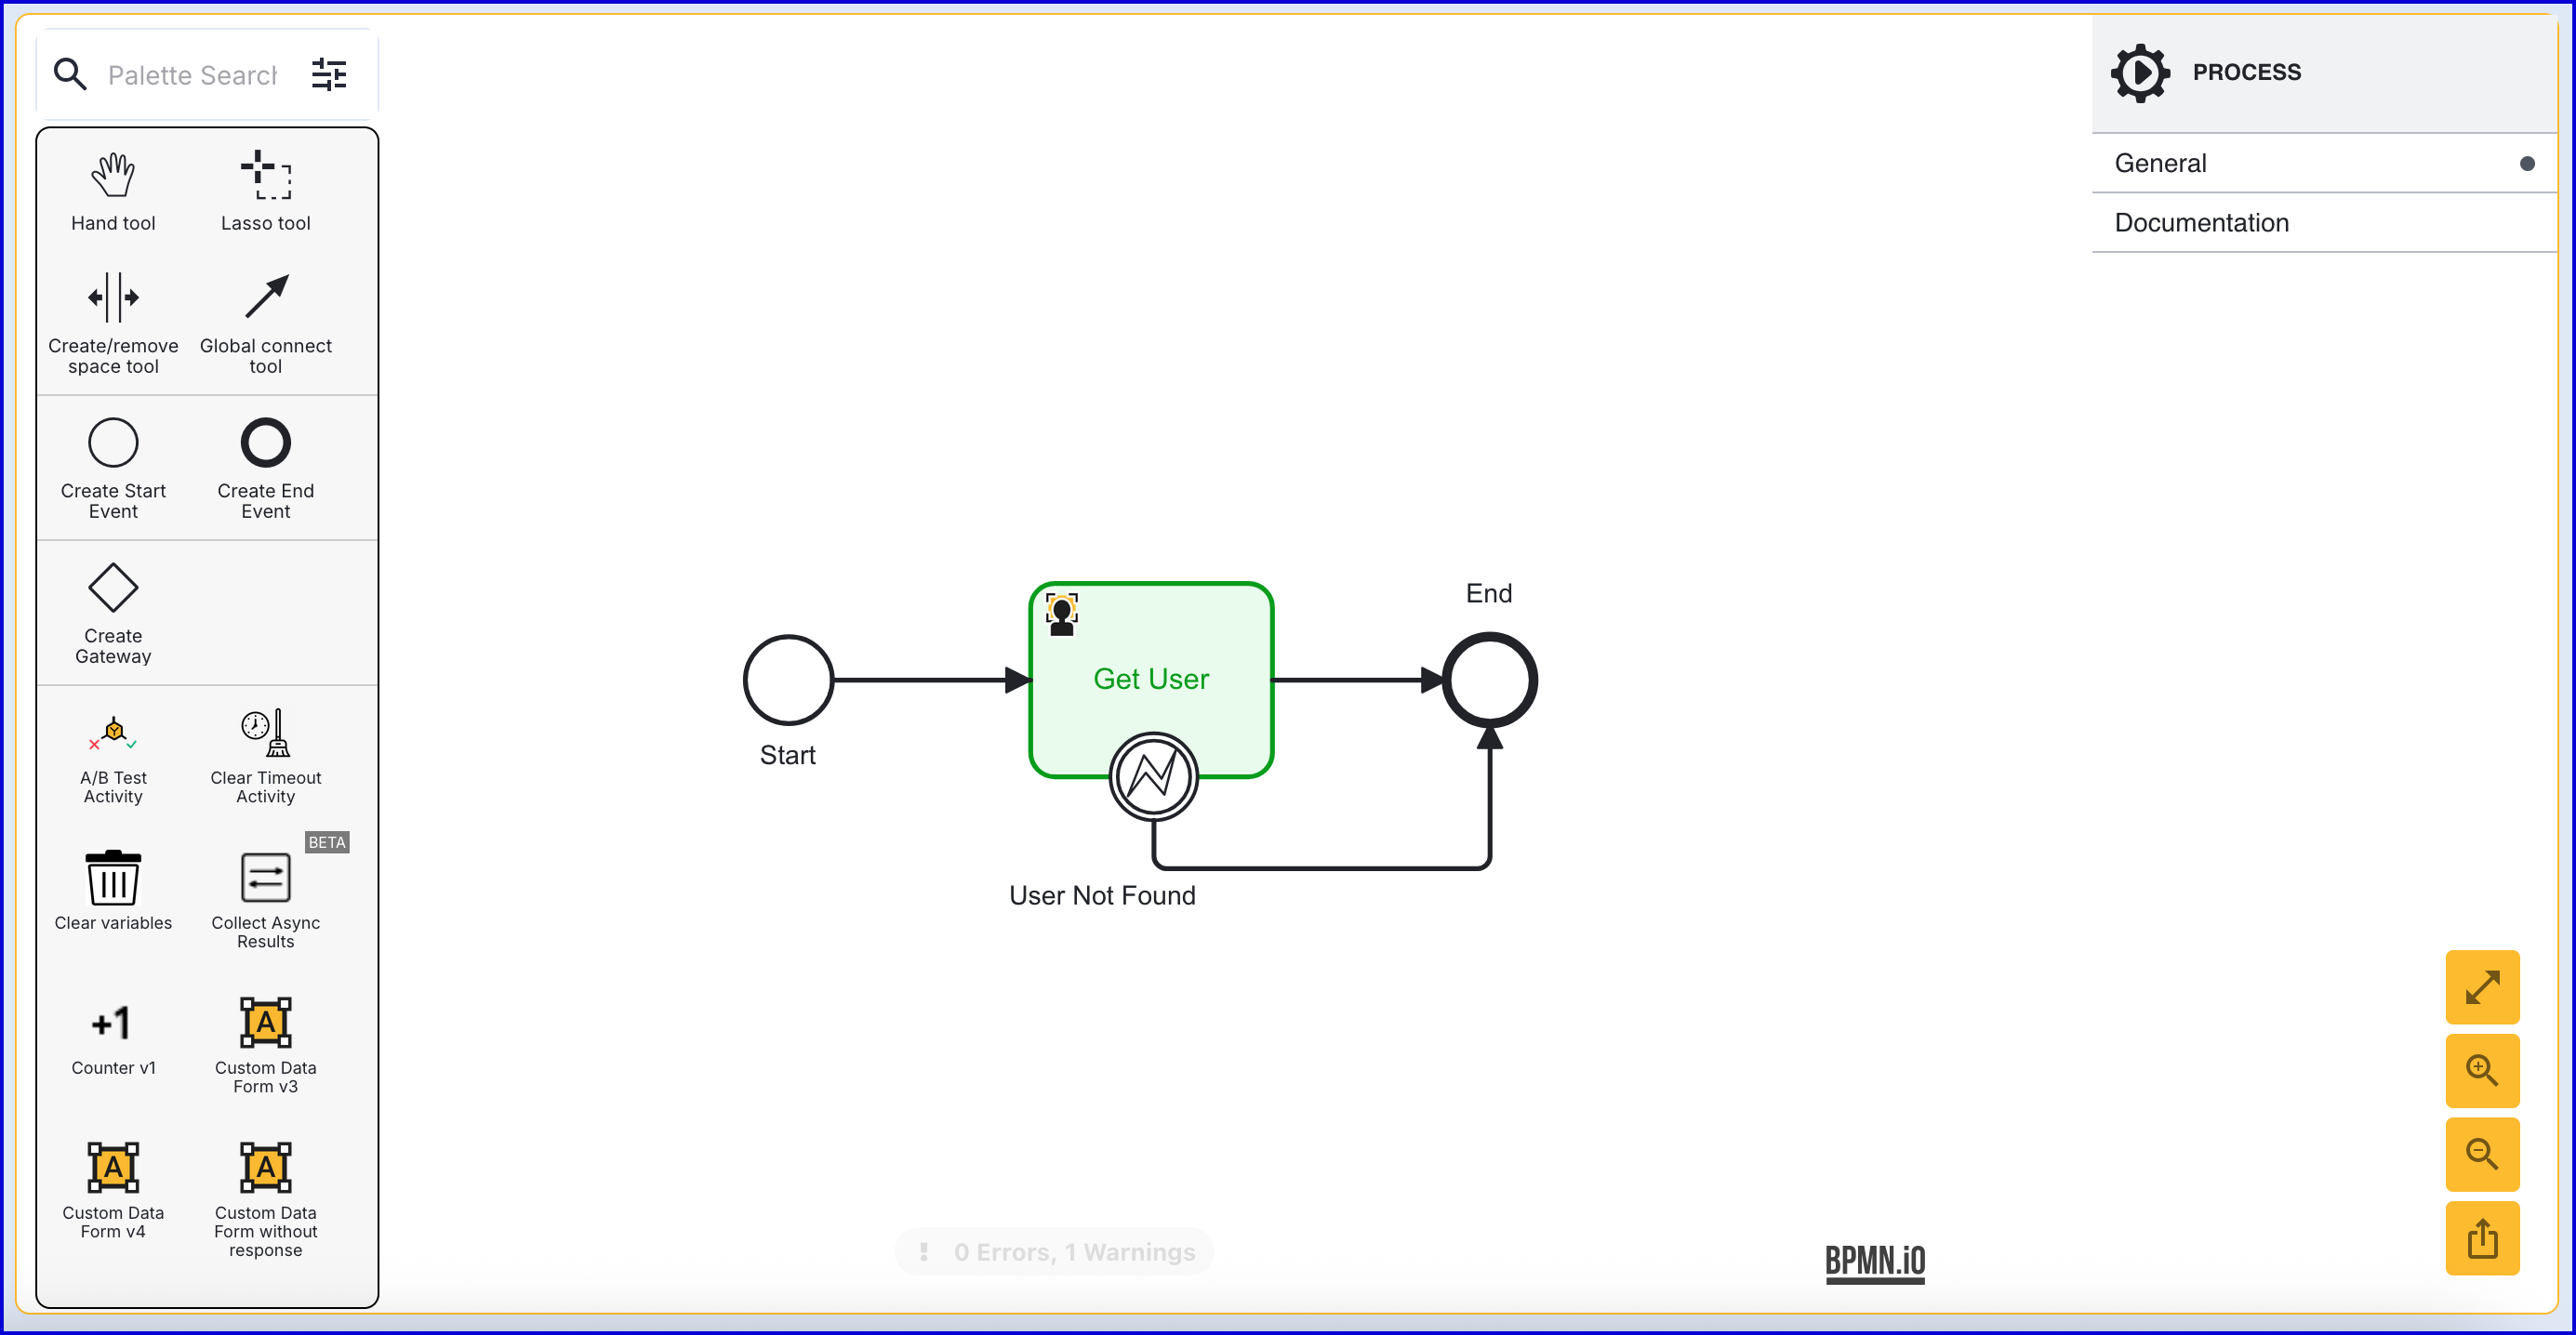
- The 'Get User' activity includes the following input parameters:
| Parameter | Description | Type | Default |
|---|---|---|---|
| Store Name | Required - Represents the Identity Store that the User belongs to. | String | |
| User External ID | The External ID of the User to be returned. | String | |
| User ID | The ID of the User to be returned. | String | |
| User Key | The User Key of the User to be returned. | String | user1 |
Step 4 - Get TOTP
The currentTOTP variable defined in Step 1 is populated using the 'Get TOTP' activity.
- Add the 'Get TOTP' activity to the Process Designer and connect it to the 'Get User' activity using the global connect tool.
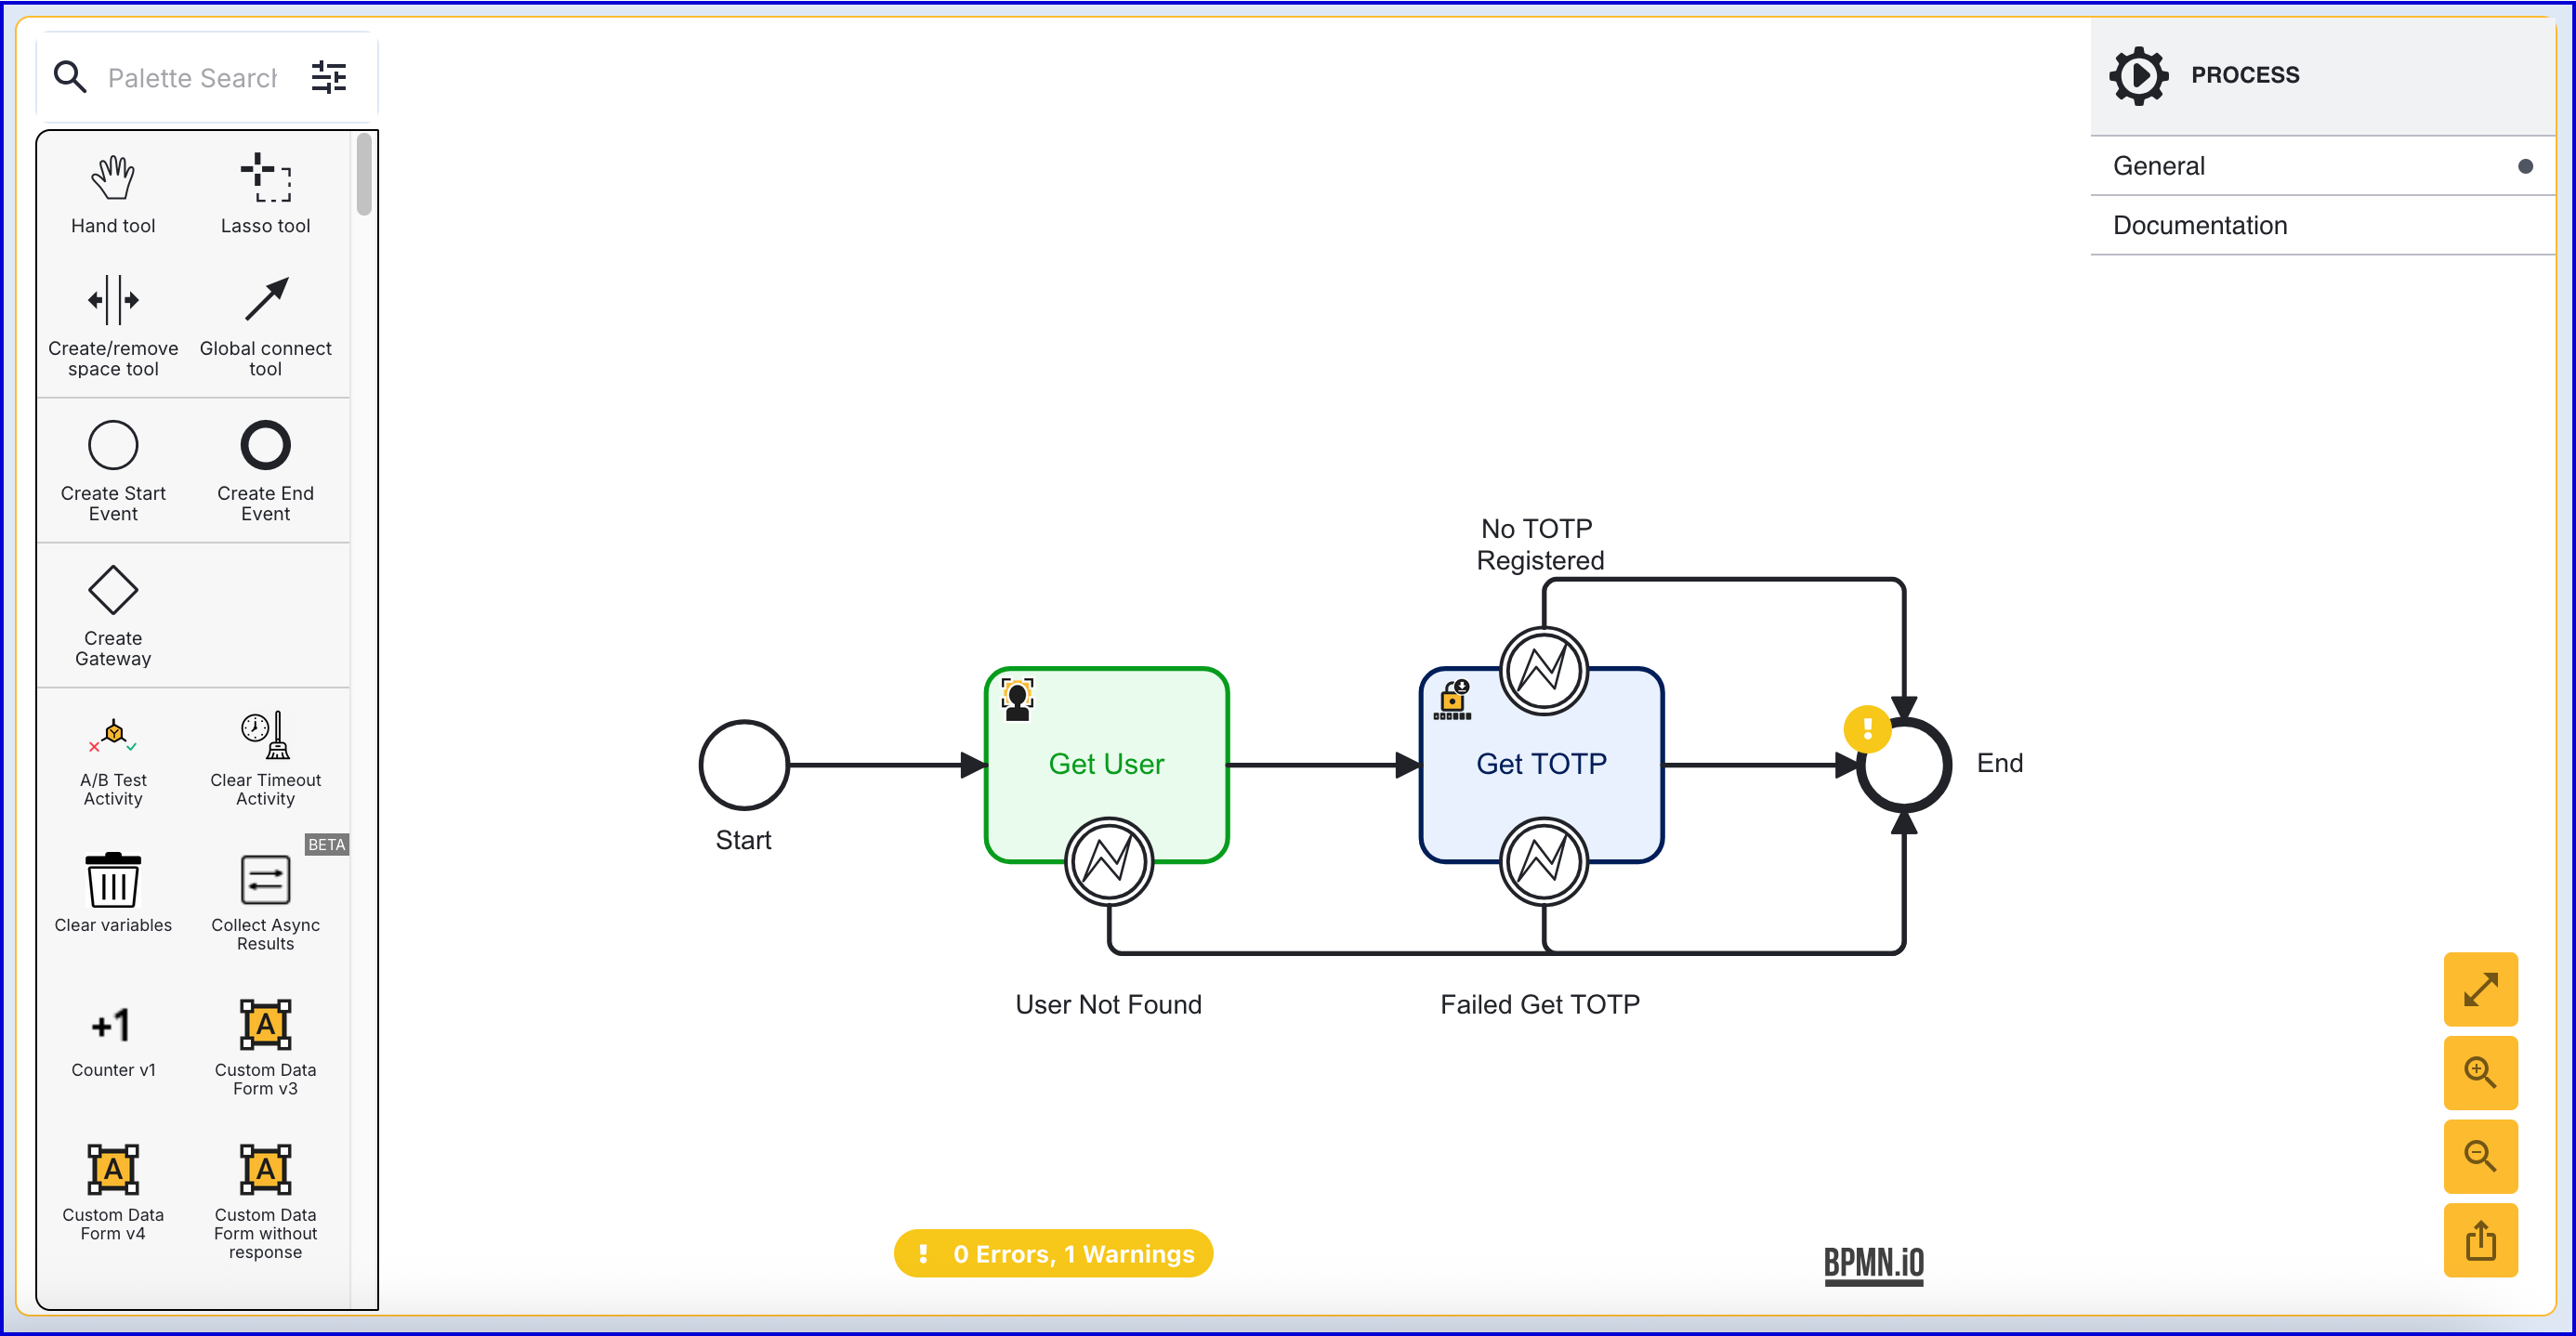
- The 'Get TOTP' activity provides the following configurable input parameters:
| Parameter | Description | Type | Default |
|---|---|---|---|
| Store Name | The name of the Identity Store of the User. | String | |
| TOTP Policy | The TOTP policy that was used when registering the TOTP. | String | |
| User External ID | This field can be used to identify the Idenity Store User that was used to register the TOTP. | String | |
| User ID | This field can be used to identify the Idenity Store User that was used to register the TOTP. | String | |
| User Key | This field can be used to identify the Idenity Store User that was used to register the TOTP. | String | user1 |
Note that only one identifying key (User External ID, User ID or User Key) is required for identifying the Identity Store User. In this example, the "User Key" is used.
Step 5 - Add Current TOTP Form
This step will implement the Custom Data Form to show the current TOTP QR code.
- Add a 'Custom Data Form' activity to the Process Designer and connect it to the 'Get TOTP' application using the global connect tool.
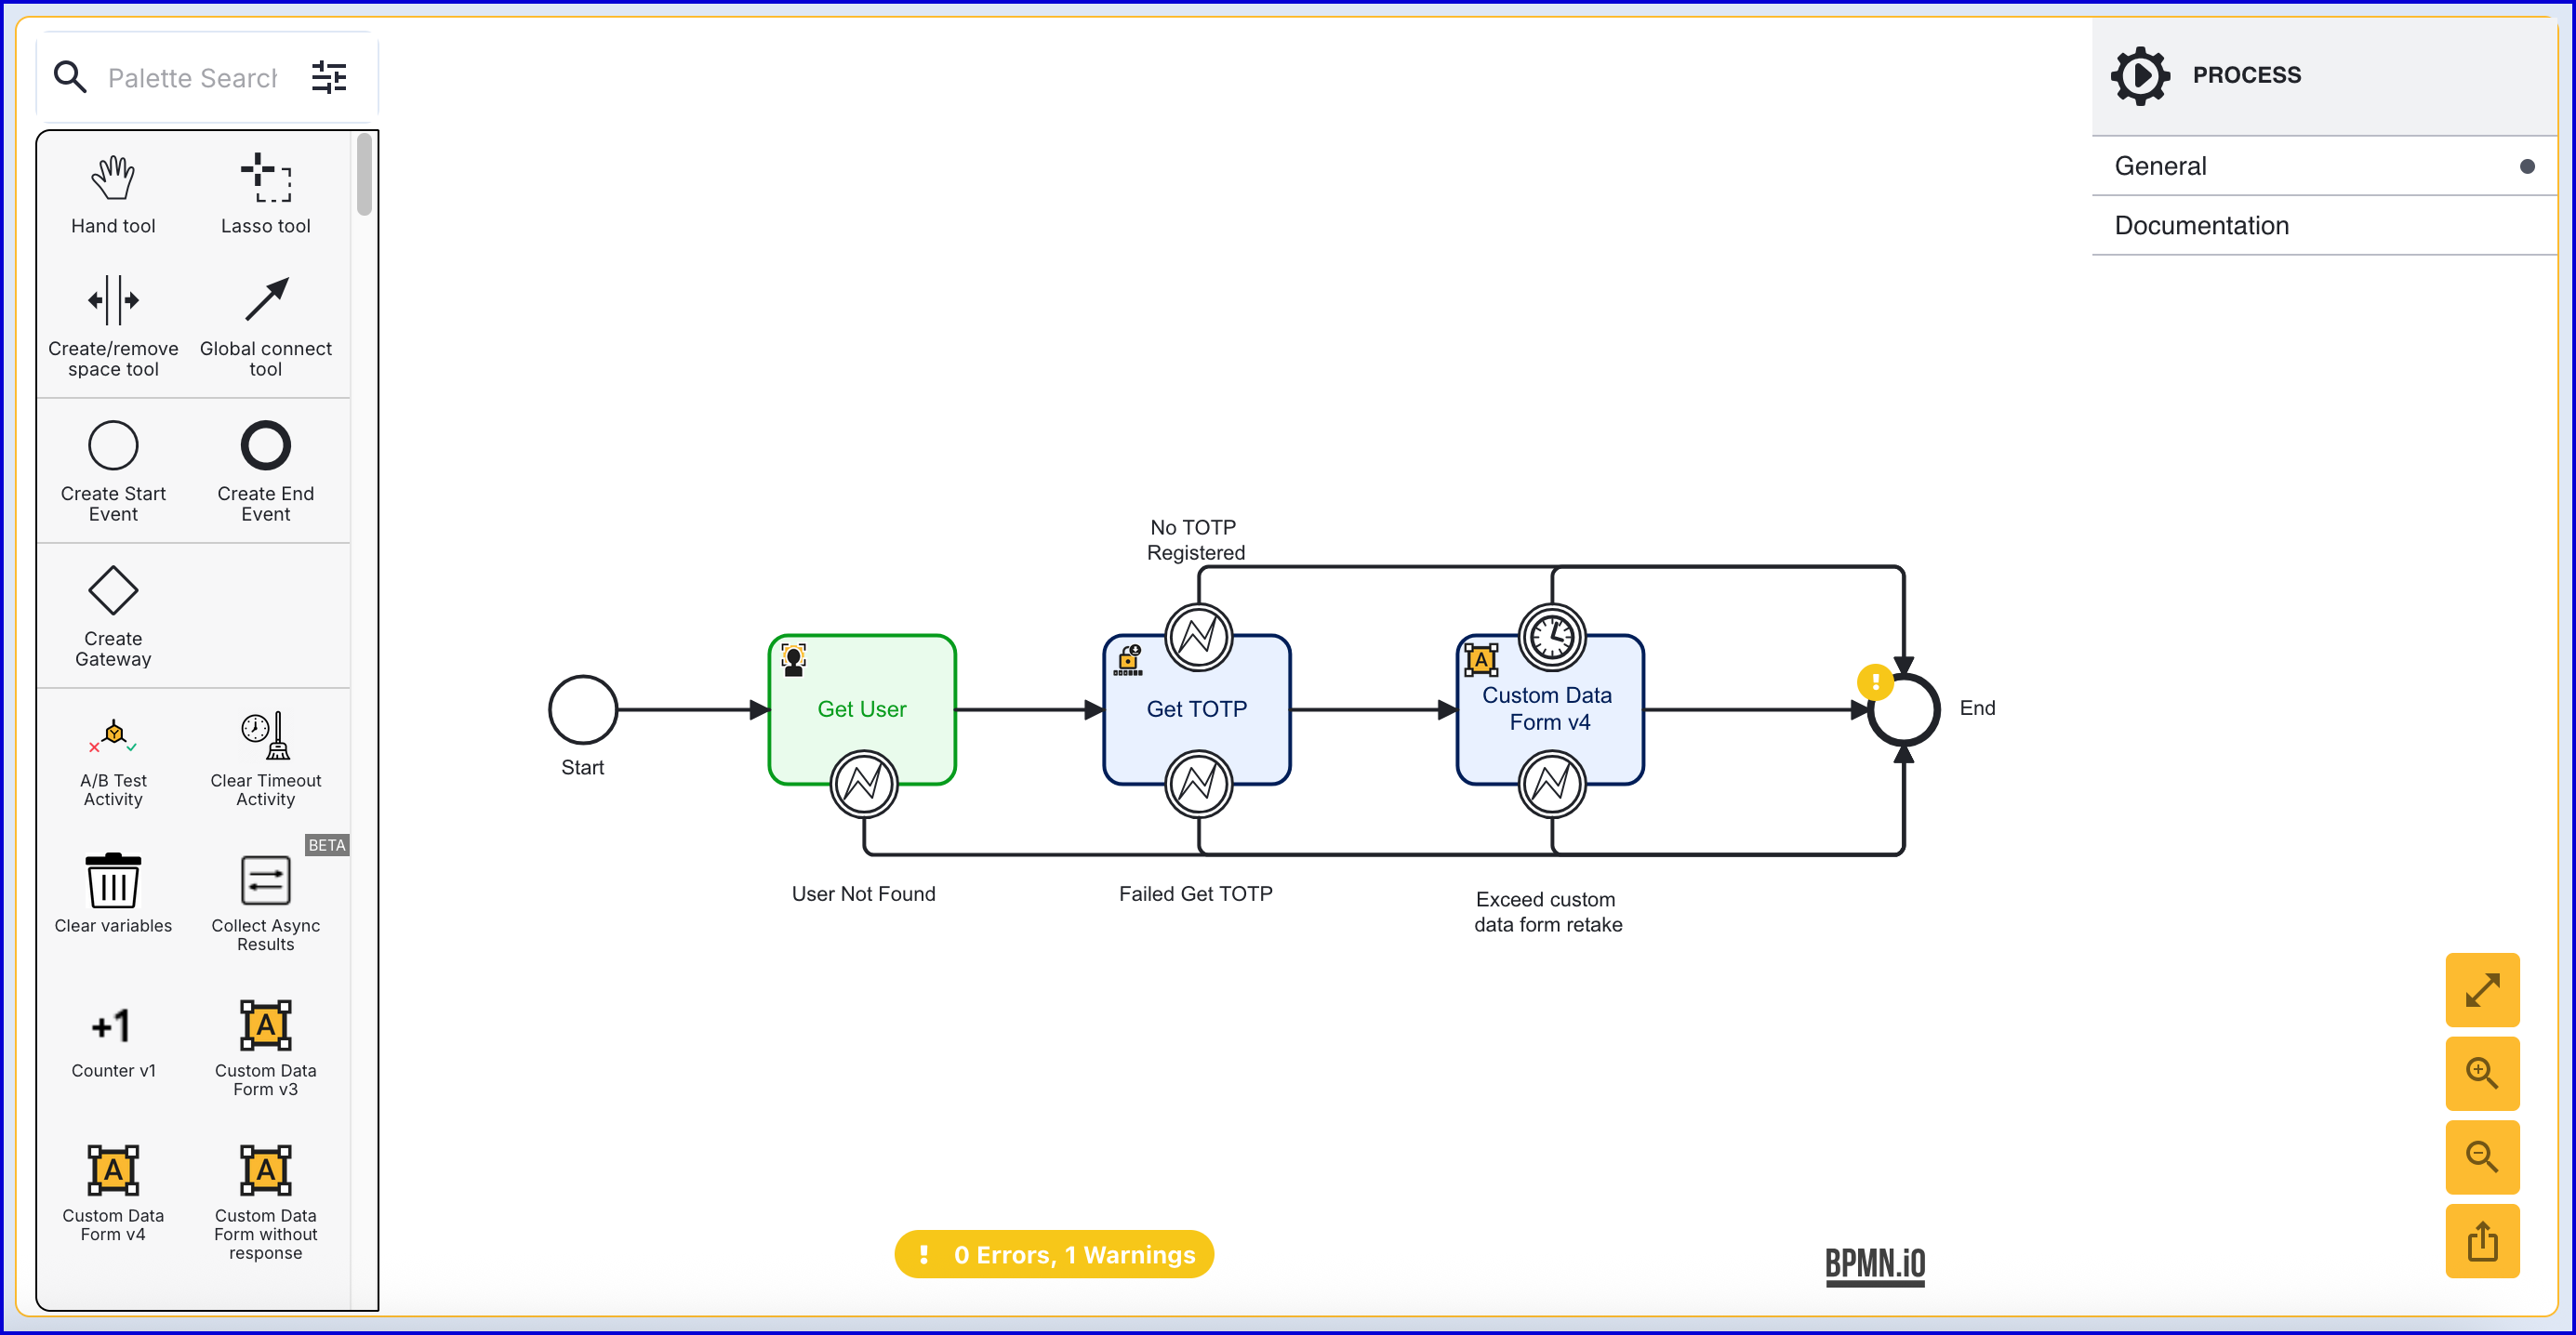
- Set the the 'Data form name', 'Data form version' and 'Form data Key' input parameters to utilize the form created in Step 1. In this example, the 'Form data Key' is set to 'ShowCurrentTOTP'.
- Once all configurations are set, click the 'Save & Deploy' button to complete the Process Definition.
Test Flow
This section will describe how to test the Process Definition created above by generating a Process Token. After completing the flow, results of the Process Instance can be viewed from the Process Instances page.
- To test the Process Definition, create a new Process Token by navigating to the Process Definitions > Process Tokens page.
- Click the 'New Process Token' button found on the top-right of the page to start creating a new token. A popup modal will appear where details of the token can be entered.
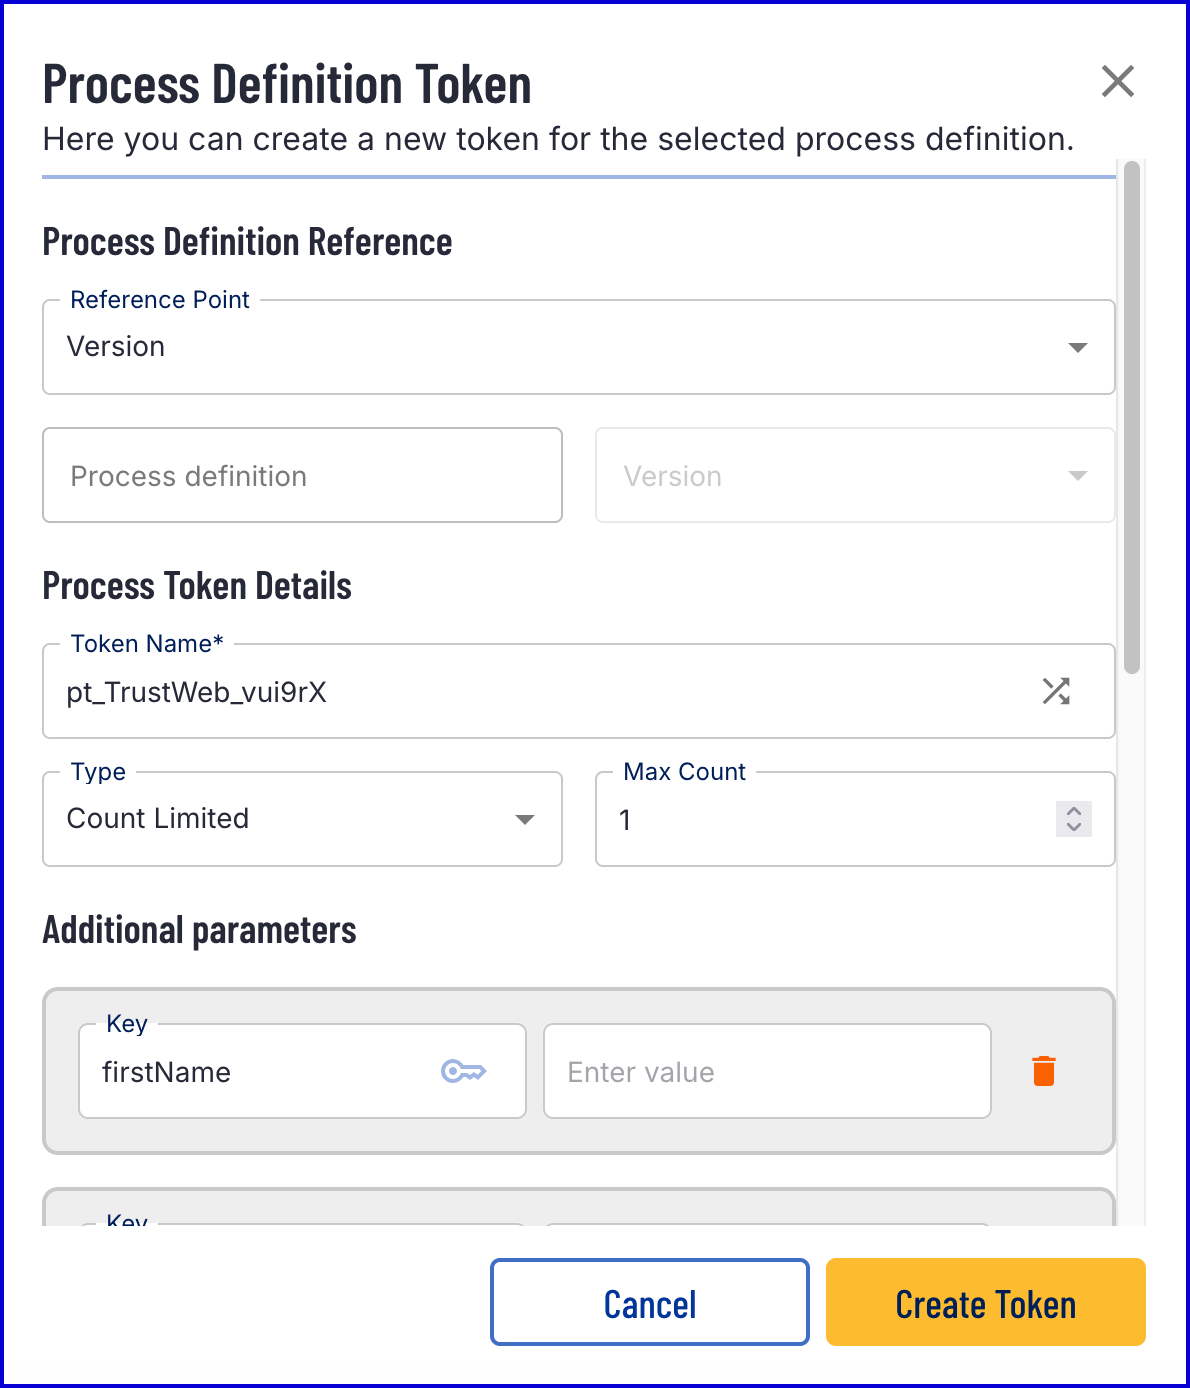
- Once the token is created, scan the QR code or follow the link to begin the flow. The Current TOTP form will be displayed.
