Early Access
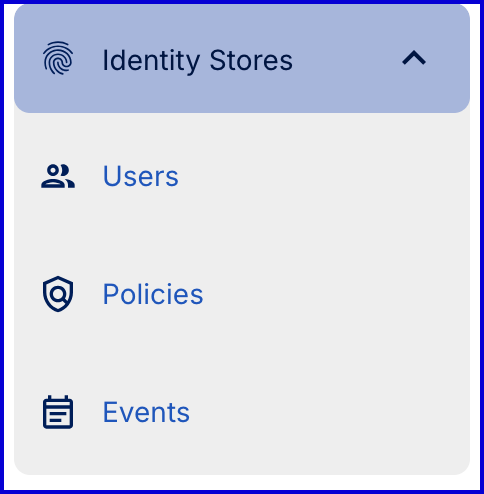
Introduction
Identity Stores serve as a directory for organizing Users into logical groupings based on authentication requirements. An Identity Store can be created and managed via the TrustX Backoffice application from the Identity Stores page.
Selecting the Identity Stores page will reveal a landing page that shows all Identity Stores created by the current tenant.
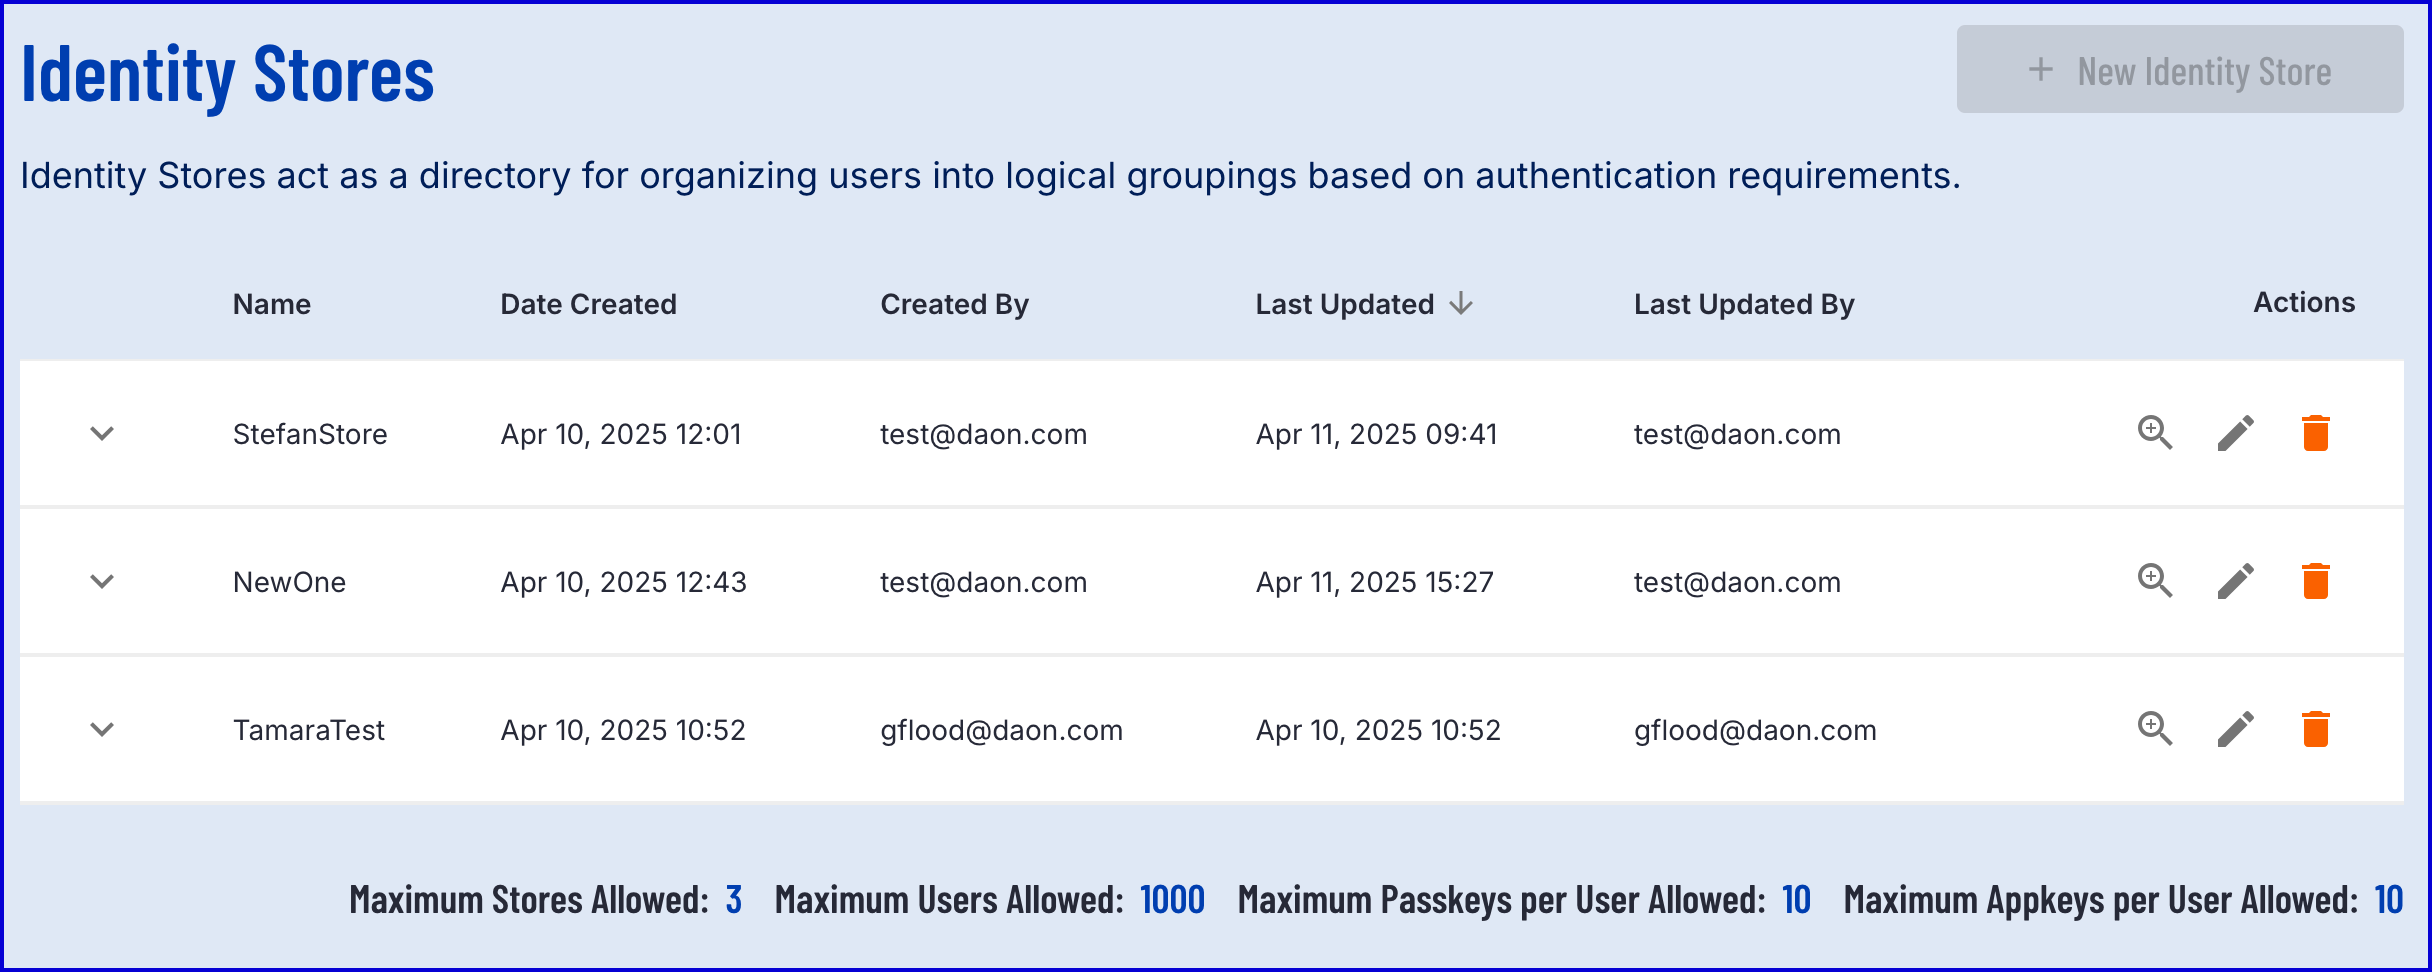
This page will also list the maximum number of allowed stores for the current tenant:
Allowed Data | Description |
|---|---|
Maximum Stores Allowed | The maximum number of Identity Stores the tenant can create. |
Maximum Users Allowed | The maximum number of Users that can be added per tenant across all Identity Stores. |
Maximum Passkeys per User Allowed | The maximum number of Passkeys that can be created per User. |
Creating an Identity Store
A new Identity Store can be created by clicking the 'New Identity Store' button at the top-right of the screen.
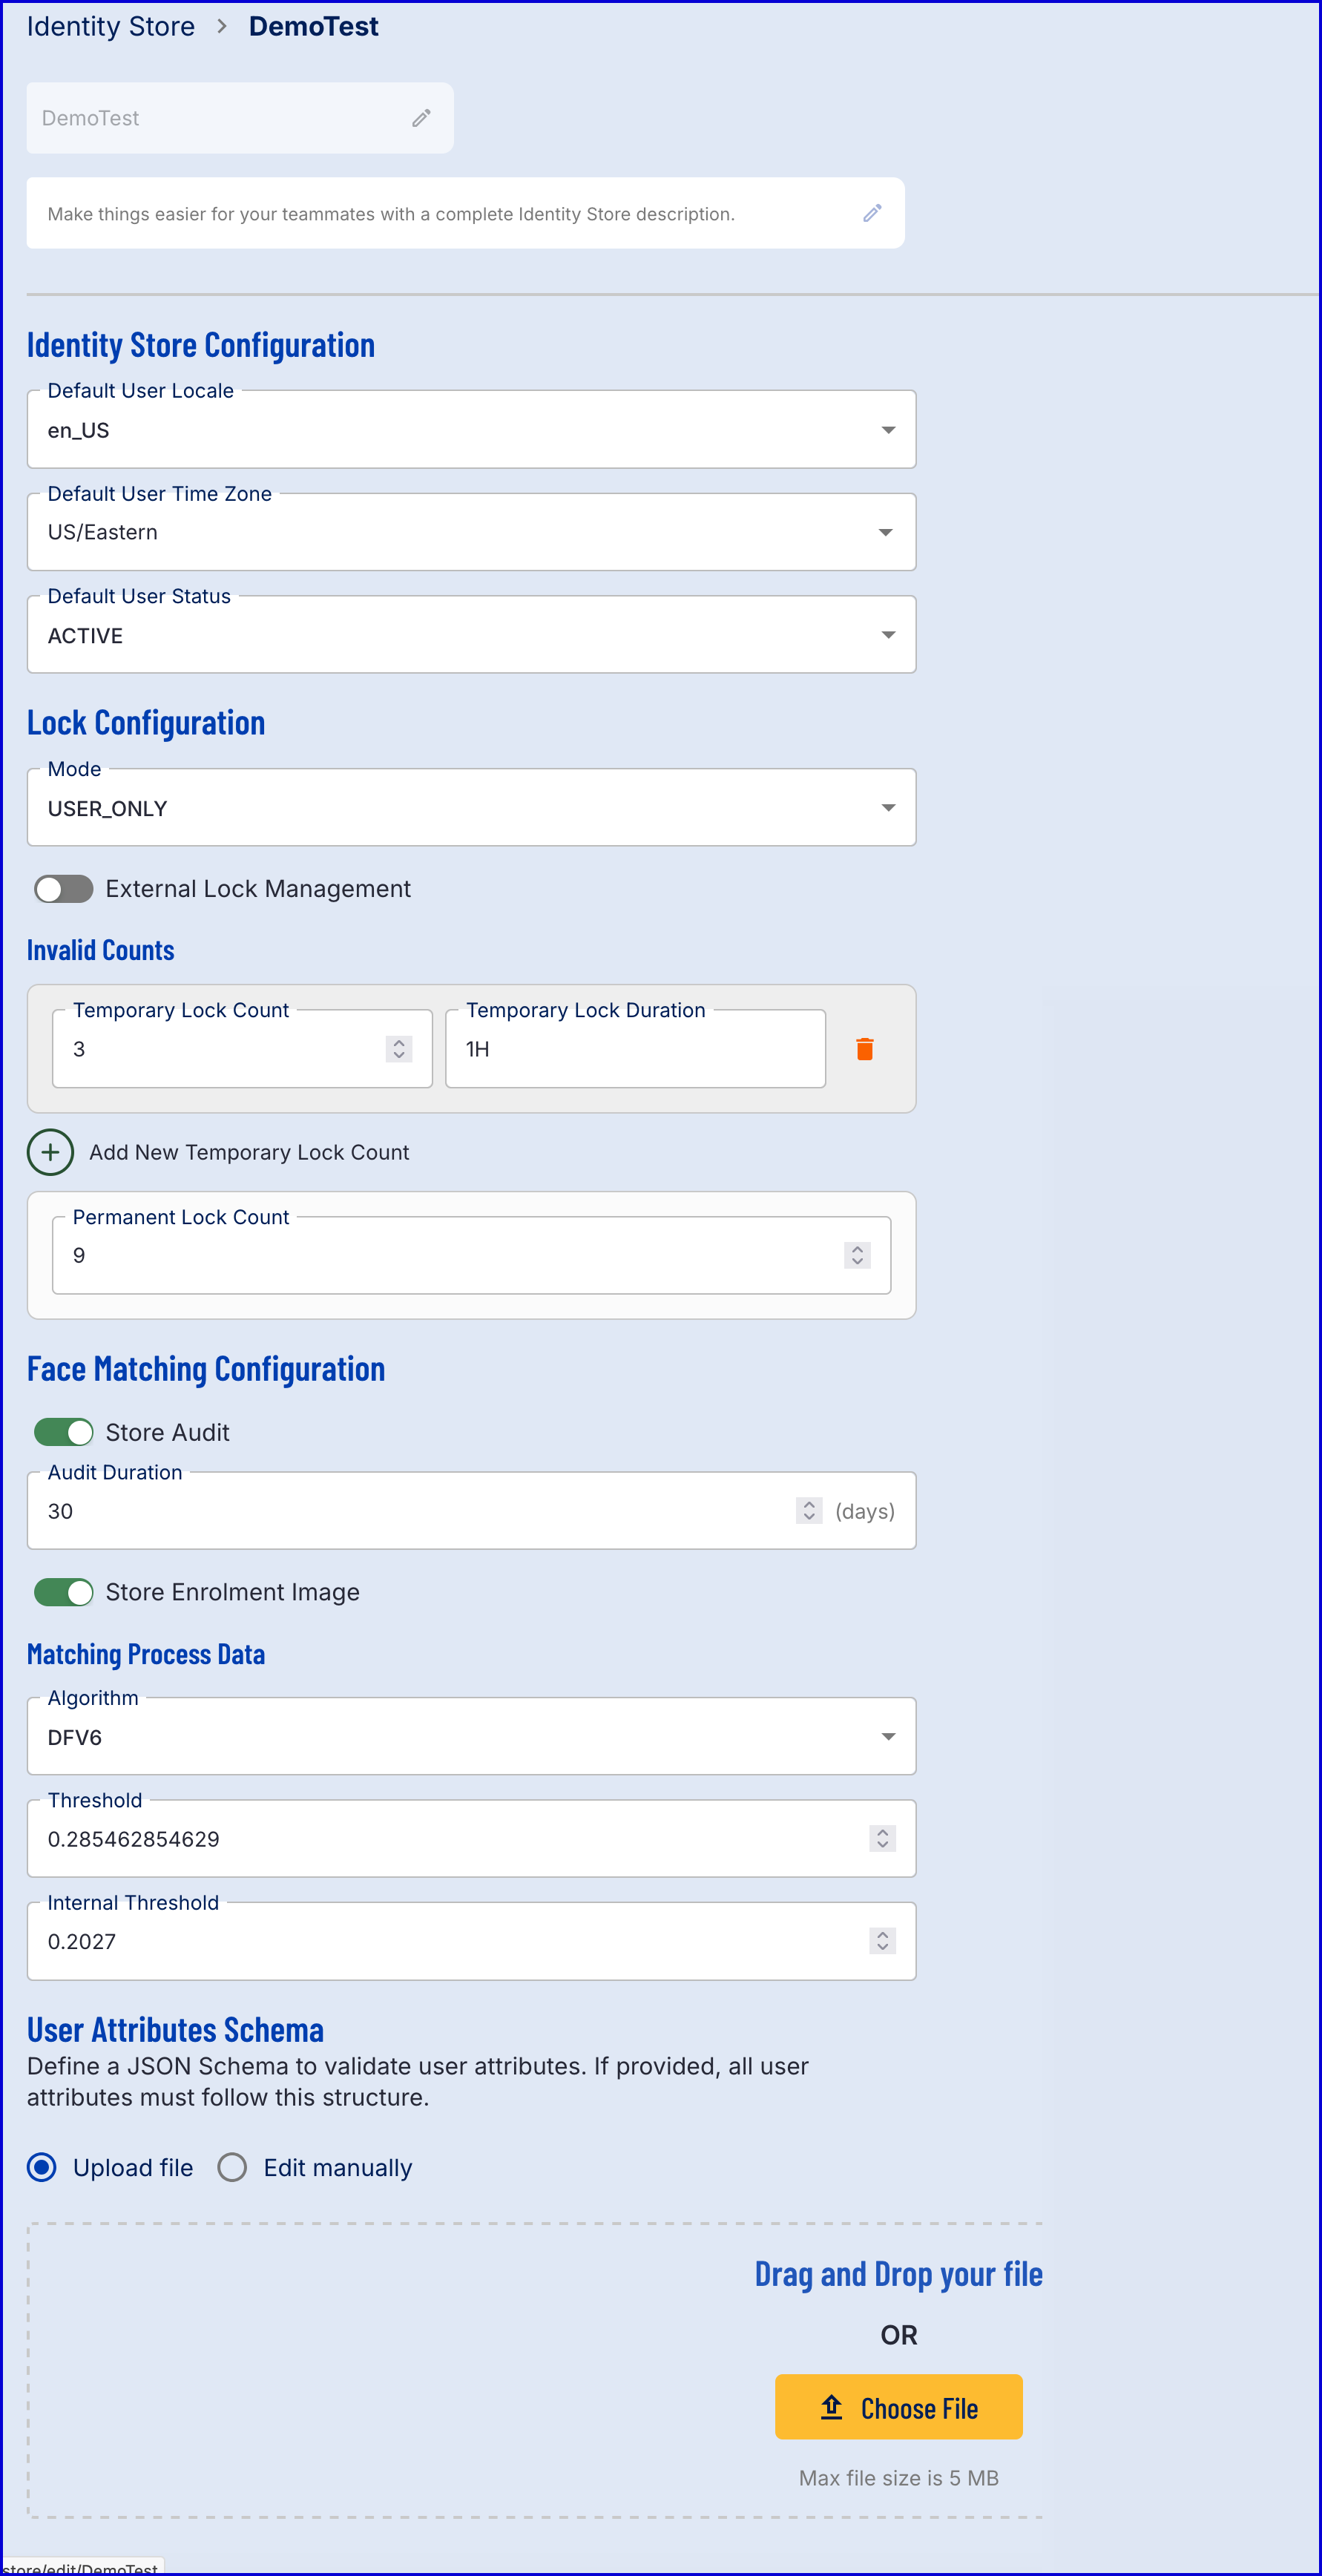
Identity Store Configuration
This section provides configuration options for setting default User values for location, timezone and status. This information will be used to set default User values when a User is added to the Identity Store.
Configuration | Description |
|---|---|
Default User Locale | The default location set when a User is added to the Identity Store |
Default User Time Zone | The default time zone set when a User is added to the Identity Store |
Default User Status | The default status set when a User is added to the Identity Store. See below for more information on User status. |
User Status
Status | Description |
|---|---|
ACTIVE | The User is currently active |
LOCKED | The User is locked and no authentication will be possible |
TEMP_LOCKED | The User is temporarily locked and no authentication is possible. The User will become unlocked after the allotted time has passed. |
DISABLED | The User is disabled and no authentication will be possible |
PENDING_ACTIVE | The User has been registered but has not yet verified their identity through authentication |
Lock Configuration
This section is where configuration of the locking mechanism is defined. Currently only User locking is available. When a User is locked either with a temporary lock or a permanent lock no authentications should be possible.
A modality lock, prevents a certain form of authentication from occurring.
Locks may be internally or externally managed. Externally managed locks mean that the external process is handling the temporary and permanent locking and unlocking of Users and modalities through the use of the following operations: LockUser / UnlockUser and LockUserModality / UnlockUserModality.
The table below describes each of the configuration options available.
Configuration | Description |
|---|---|
Mode | The type of locking mechanism to use. USER_ONLY is currently the only supported mode. |
Invalid Counts | A section where the number of allowed invalid authentication attempts can be defined before a temporary and permanent lock is applied to the User. |
Temporary Lock Count | The number of allowed invalid authentication attempts before a temporary lock is applied to the User. |
Temporary Lock Duration | The amount of time the temporary lock will be applied to the User before the User will become unlocked automatically. During this time, a User will not be able to authenticate. The duration is defined as DateTime format. |
Permanent Lock Count | The number of allowed invalid authentication attempts before a permanent lock is applied to the User. The User will no longer be able to authenticate once this lock is applied. |
Face Matching Configuration
Face matching is the process of comparing a live captured face image against a face image/ template saved in the Identity Store to authenticate a User.
Available configurations are described in the table below:
Configuration | Default Value | Description |
|---|---|---|
Store Audit | Enabled | Determines whether authentication audit records will be stored. If enabled, audit records will be stored for the specified duration. |
Audit Duration | 30 (days) | The period in which authentication audit records will be store. After the allotted period, authentication records performed during the period will be deleted. Supports values longer than 365 days. |
Store Enrolment Image | Enabled | Determines whether the enrolment image will be stored. If enabled, the enrolment image will be stored. If disabled, the image will not be stored and only the derived template is stored. |
Algorithm | DFV6 | The face matching algorithm. Currently, only DaonFace v6 (DFV6) is supported. |
Threshold | 0.285462854629 | The face matching threshold. |
Internal Threshold | 0.2027 | The internal face matching threshold. |
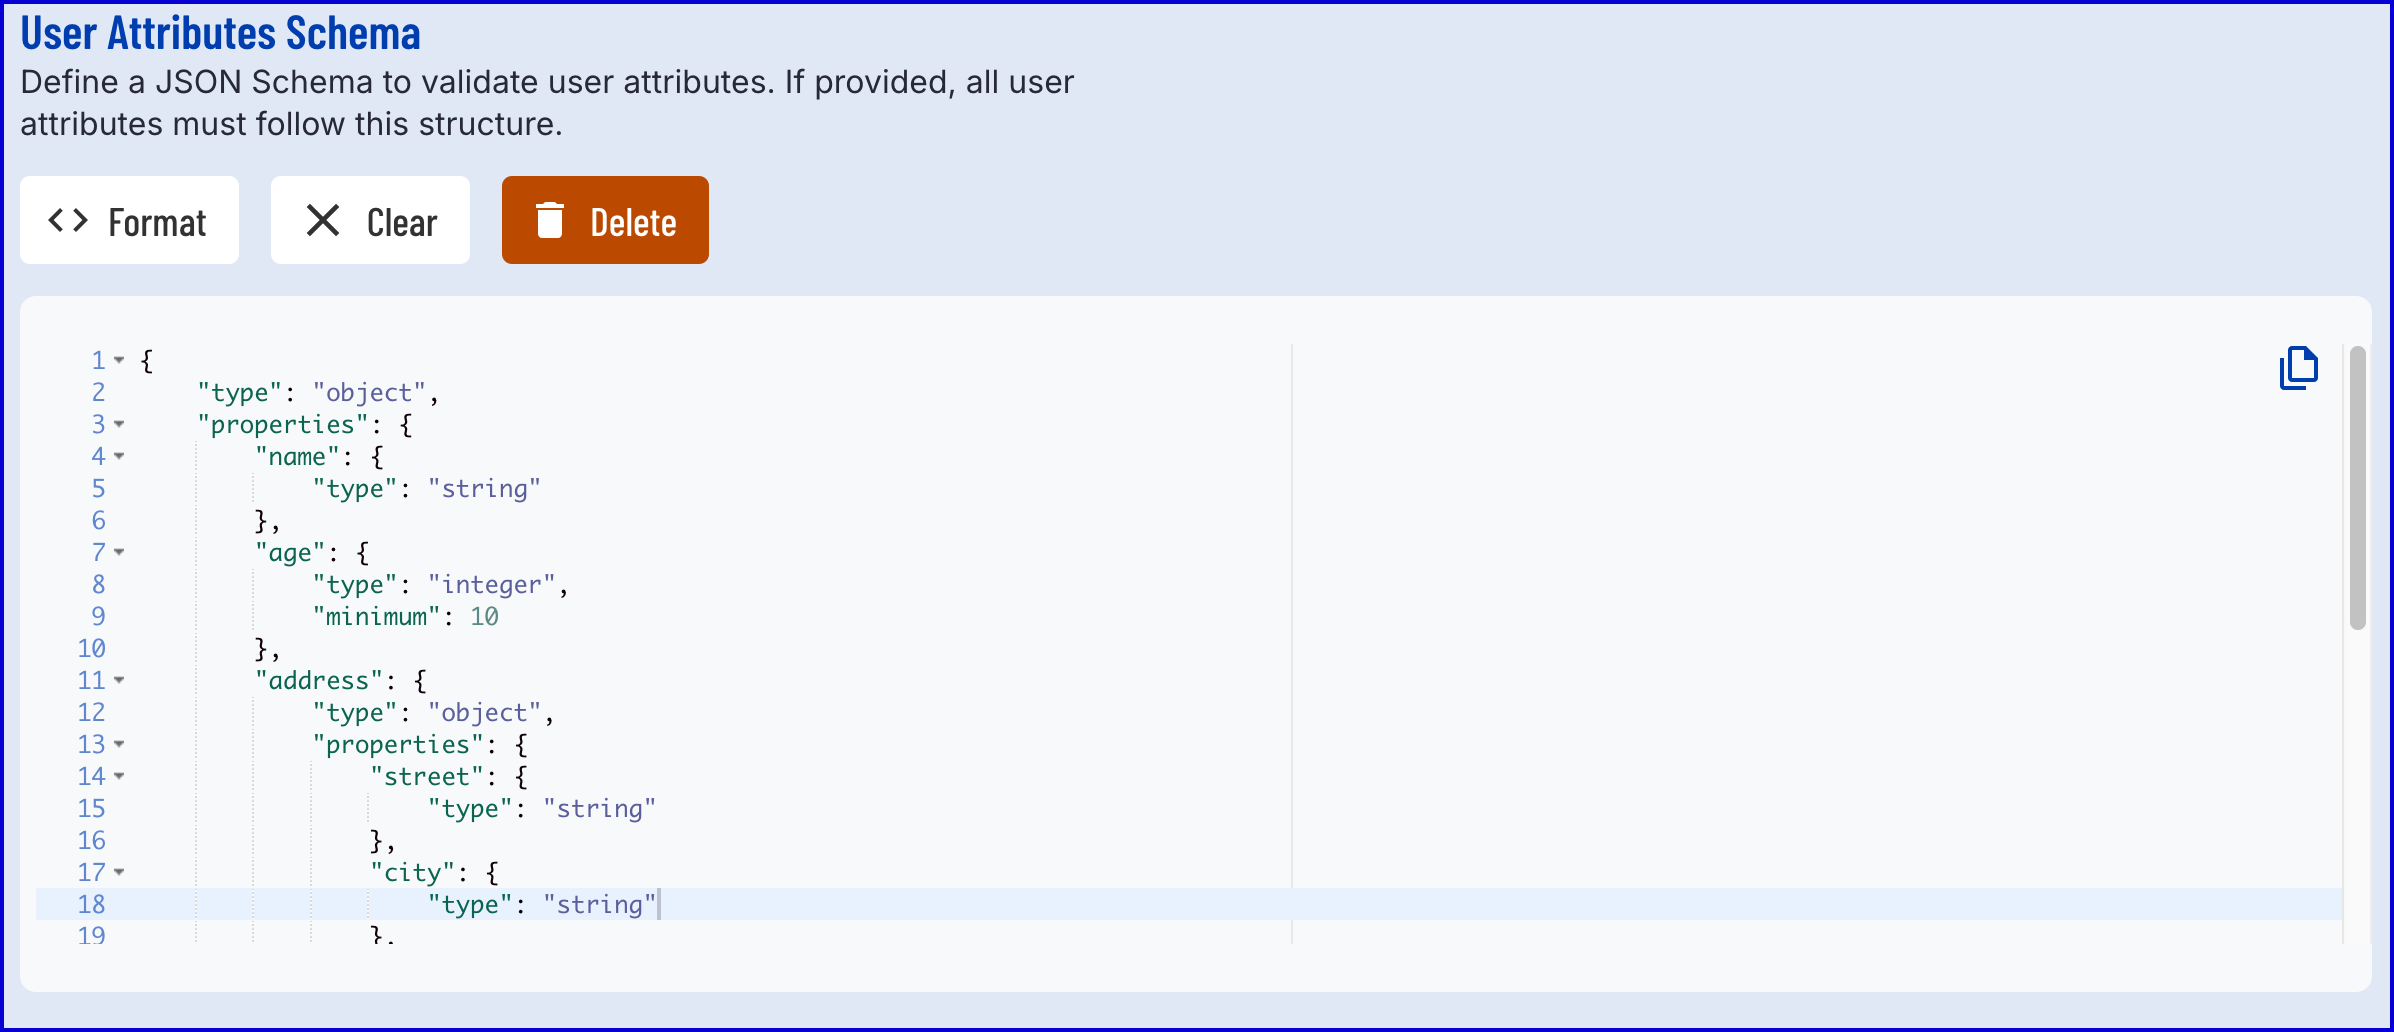
User Attributes Schema
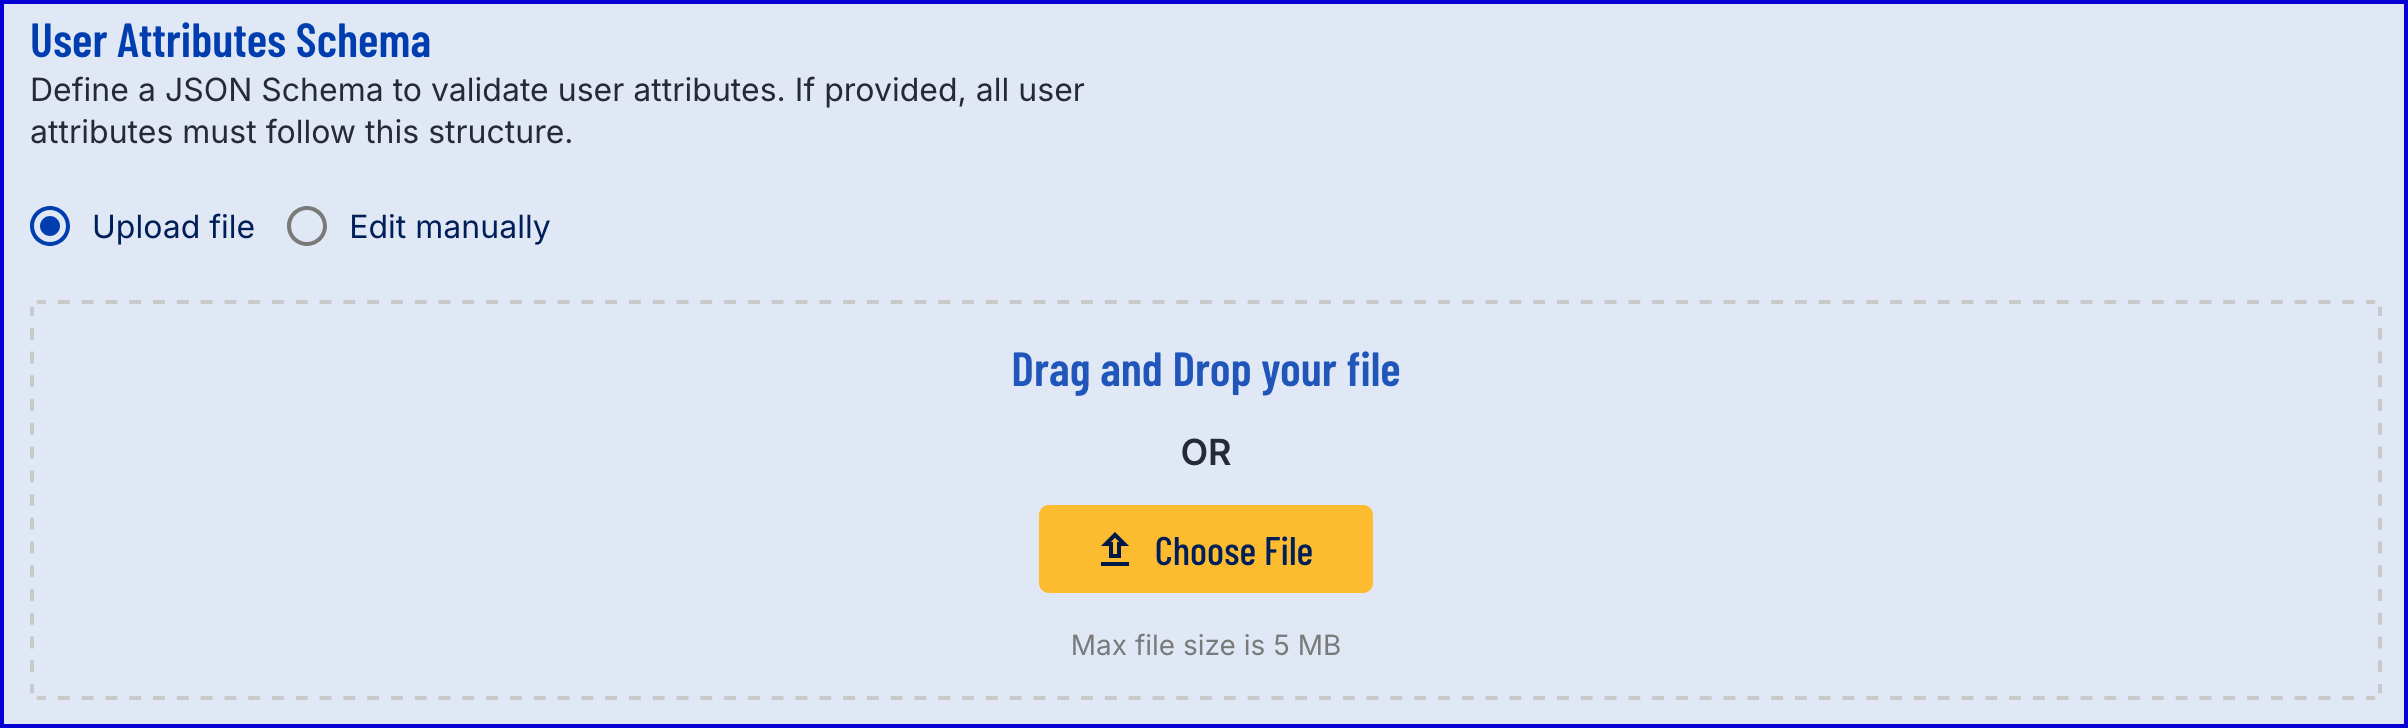
Provides the option of defining a JSON Schema for an Identity Store to control and validate User attributes such as age and address. If provided, all User attributes must follow the structured defined in the JSON attributes schema.
The attribute schema can be provided either as a .JSON file upload or manually using the Backoffice editor. TrustX schema validation platform supports Draft 2020-12. Additionally, the TrustX platform validates JSON documents using customer-provided JSON schemas. For security and reliability, schema validation is performed in a closed environment. The validator does not fetch schemas, meta-schemas, vocabularies, URLs, files, or any other external resources during validation.
Example Attribute Schema:
Example Backoffice Implementation:
An existing schema can be deleted using the 'Delete' button. This will return the Identity Store to previous behavior where no User attributes are defined.
Managing Identity Stores via API
Identity Stores can be managed via the TrustX API, enabling programmatic creation, updating and deletion of an Identity Store.
This section will demonstrate samples of each available operation using the available configuration options listed in the Creating an Identity Store section above.
Create an Identity Store
To create an Identity Store using the TrustX API, a store name is required. The example below demonstrates how to create an Identity Store using various configuration options that are also available in the Backoffice.
Note: If no options are provided, default values will be used.
Permissions: TNT#{tenant}#IdentityStore:addStore
Example Request:
Example Response:
Update an Identity Store
Update the name, description and configuration of an Identity Store.
It is highly recommended not to update the Identity Store name after creation as it is used as a reference for various APIs and audited data.
Permissions: TNT#{tenant}#IdentityStore:updateStore
Example Request:
Example Response:
Delete an Identity Store
Deletes the specified store from TrustX.
Permissions: TNT#{tenant}#IdentityStore:deleteStore
Example Request:
List Identity Stores
Return a paginated list of stores which can be filtered by store name.
Permissions: TNT#{tenant}#IdentityStore:listStores
Example Request: