Beta
TrustX supports native face capture directly through a web browser on a desktop using Trust Web. Desktop Capture support enables users to complete face verification directly from their desktop webcam, with new activities and injection attack detection tailored for the desktop environment.
This guide will describe how to integrate the suite of desktop capture activities to configure a flow in the Process Designer.
Desktop face capture is only available on request.
Configuring the Process Definition
Desktop face capture support front and back facing ID documents. The capture process for each follows a similar flow to regular face capture. For more information on each configurable activity, see the Desktop Face Capture v1 activity parameters.
Step 1 - Create a Process Definition
Create a new Process Definition by navigating to Process Definitions > New Process Definition in the Backoffice application.
Add a 'Create Start Event' to the Process Designer.
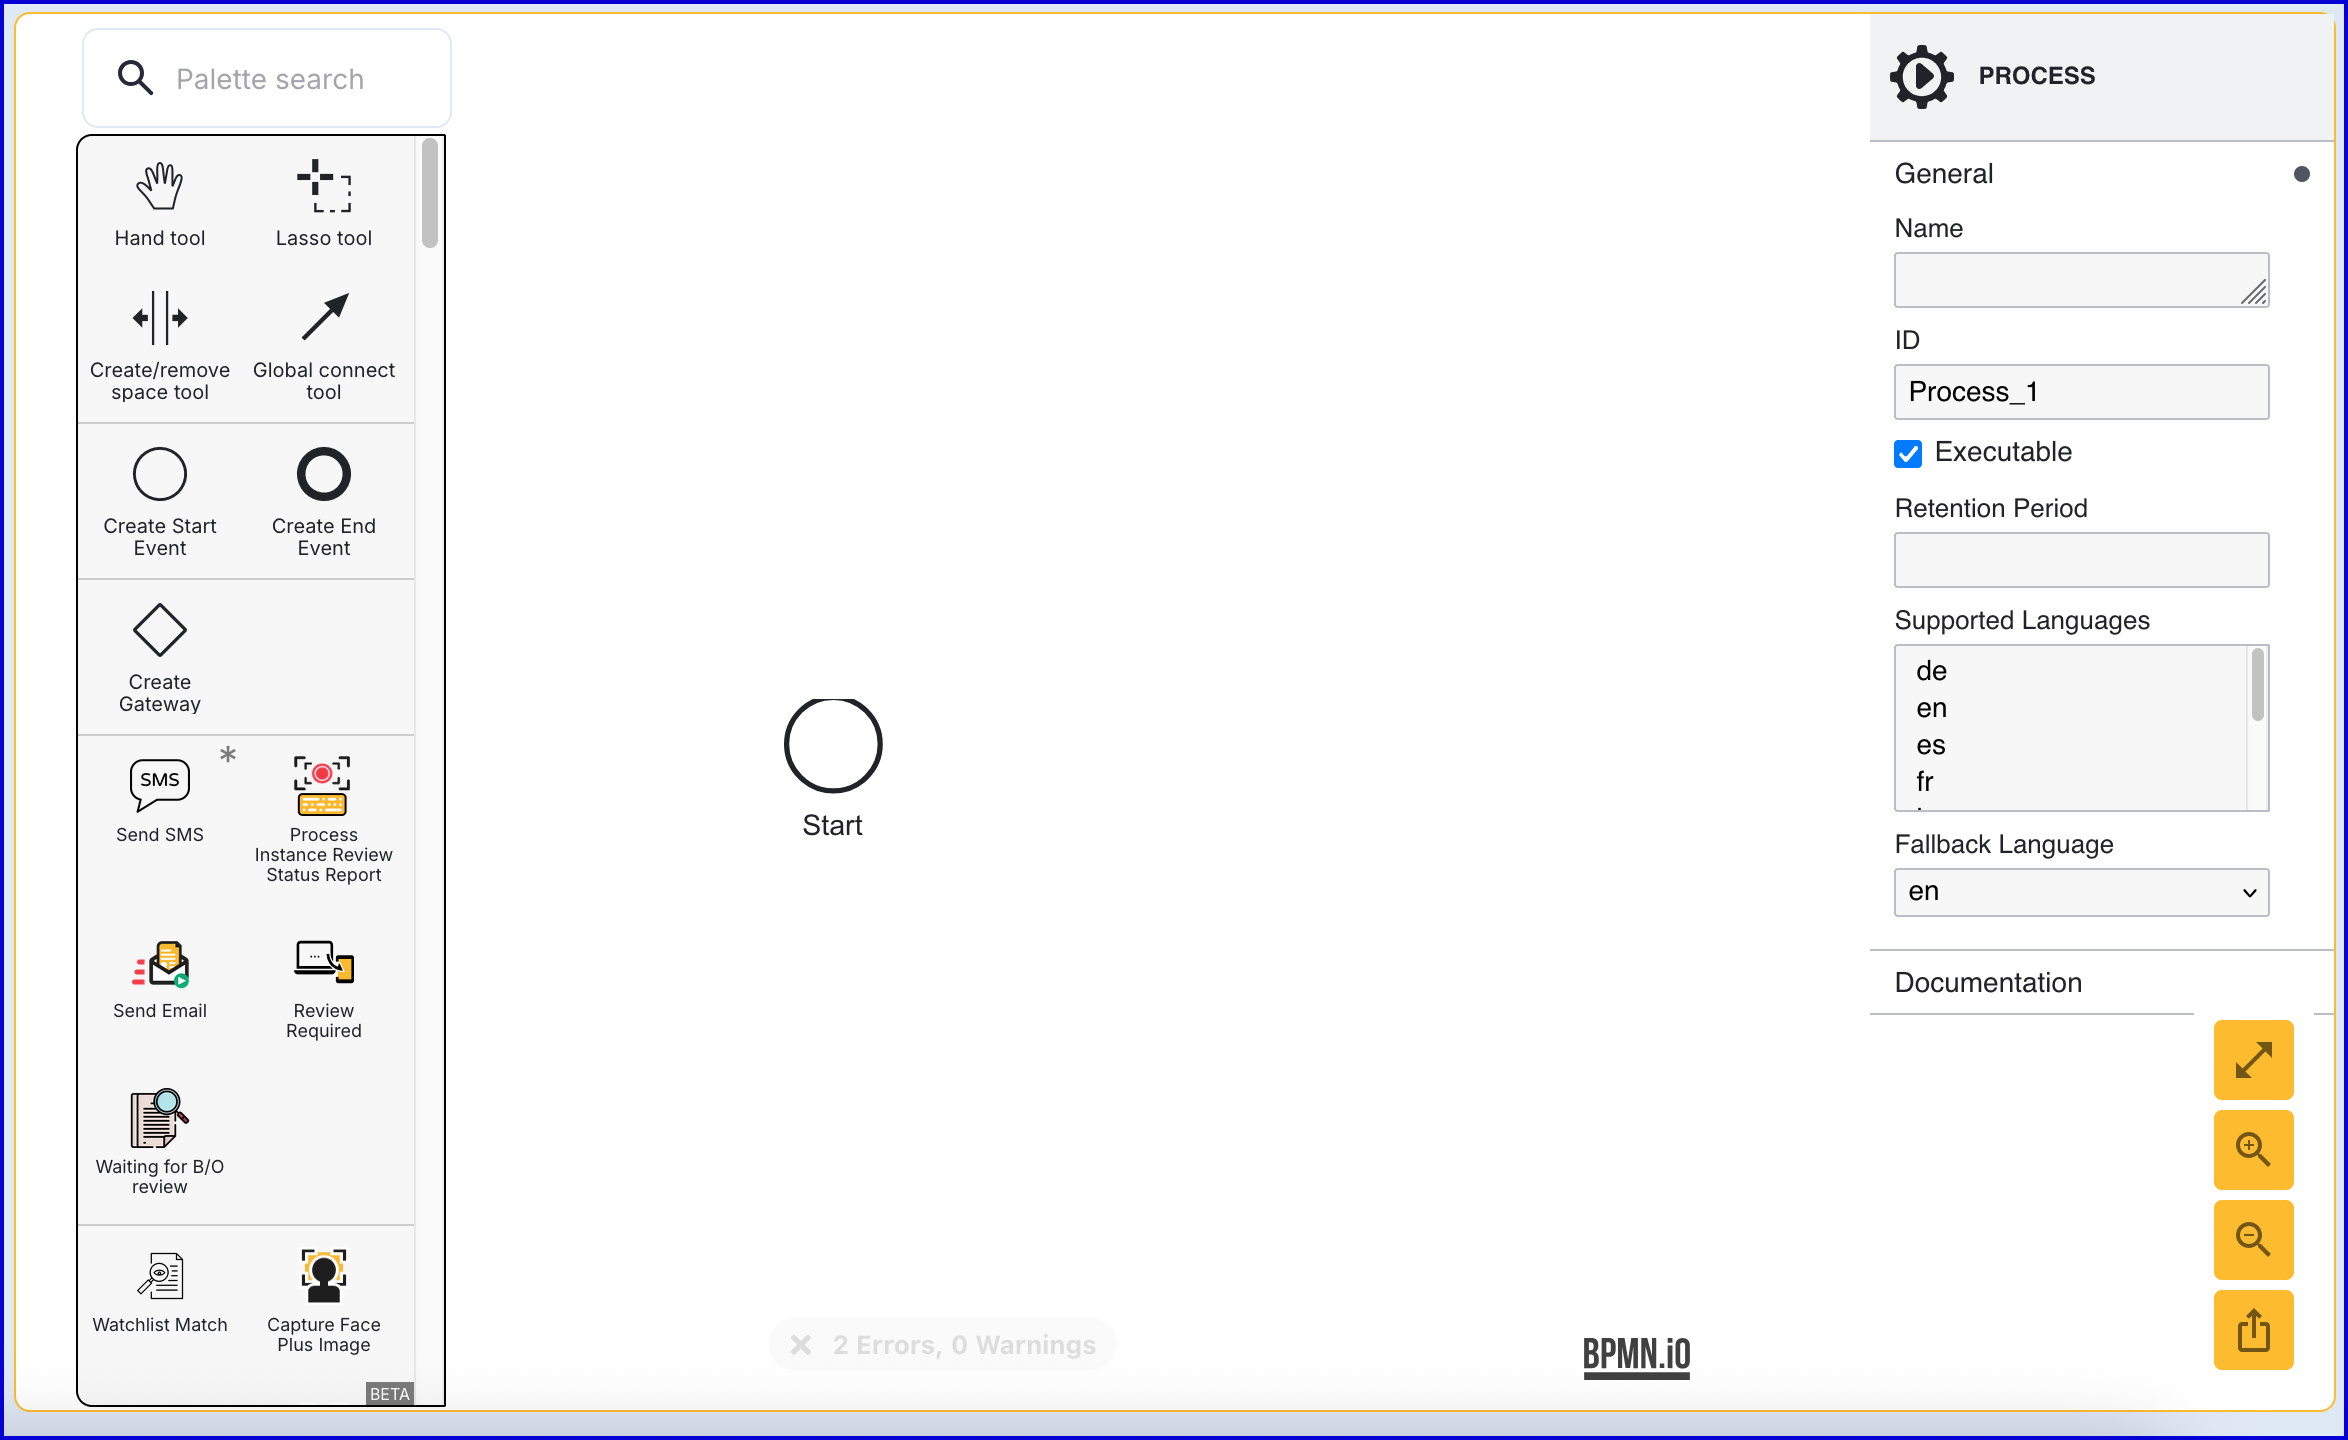
Click the 'Start' event to open the right-side contextual menu and enter a name for the 'Name' input parameter.
Add a 'Create End Event' to the Process Designer and connect it to the 'Start' event using a sequence flow arrow.
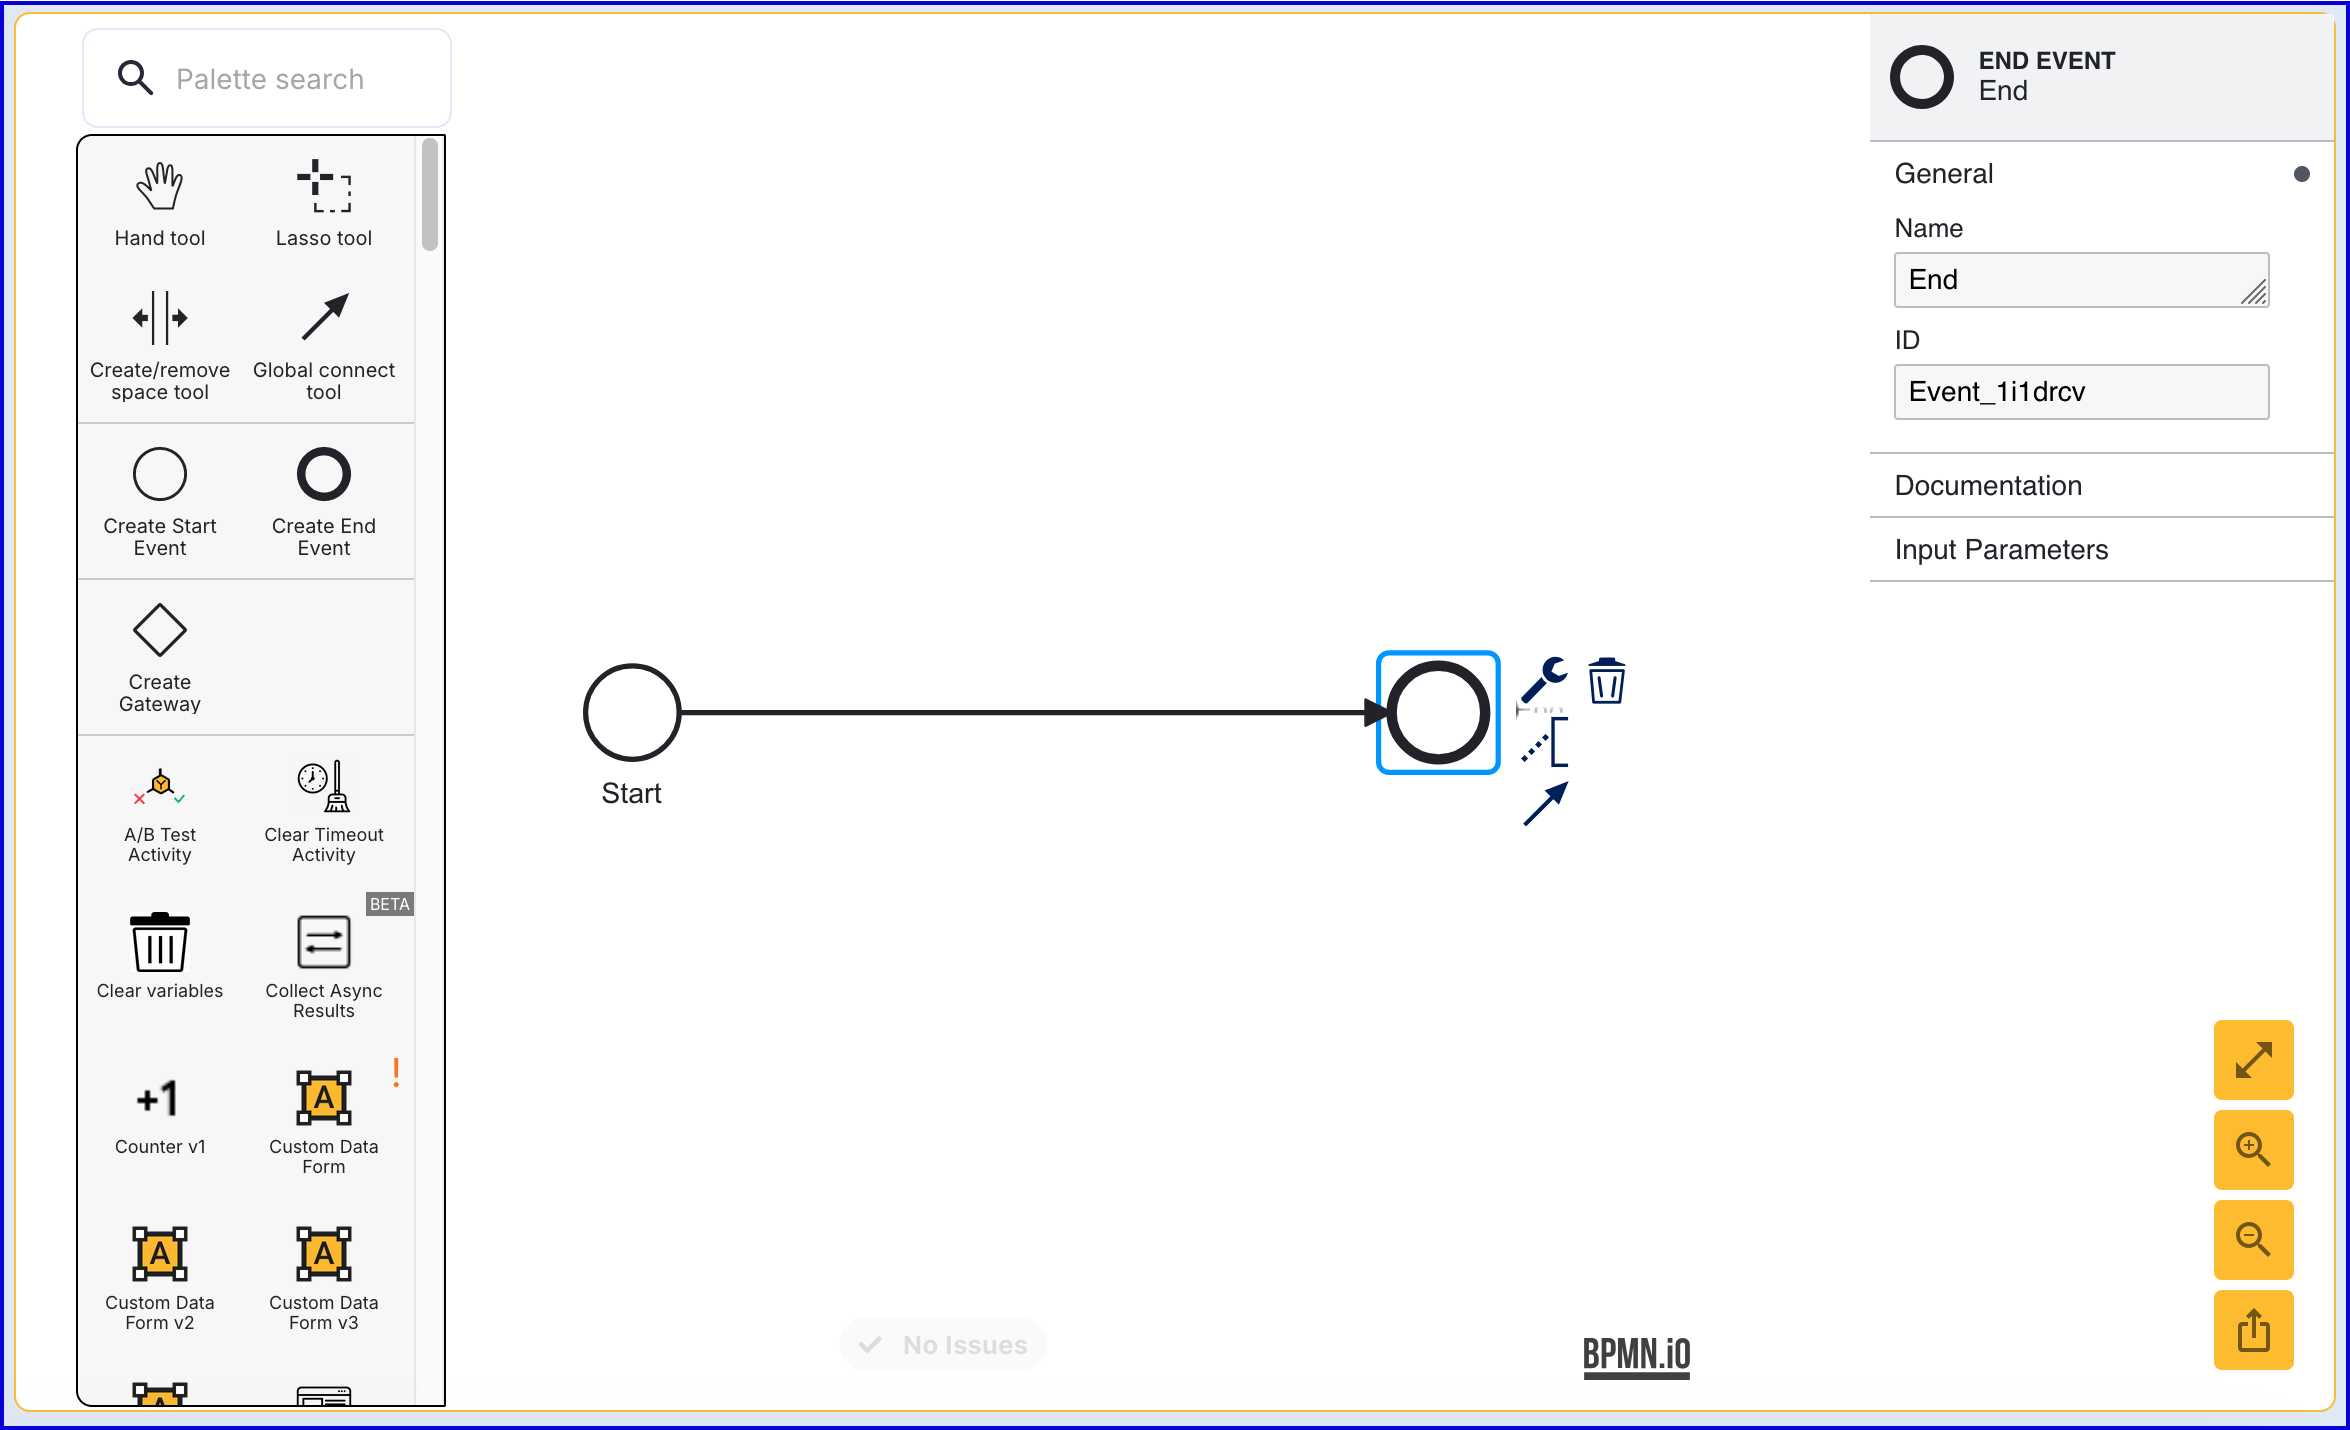
Click the 'End' event to open the right-side contextual menu and enter a name for the 'Name' input parameter.
Step 2 - Introduction and Capture Consent
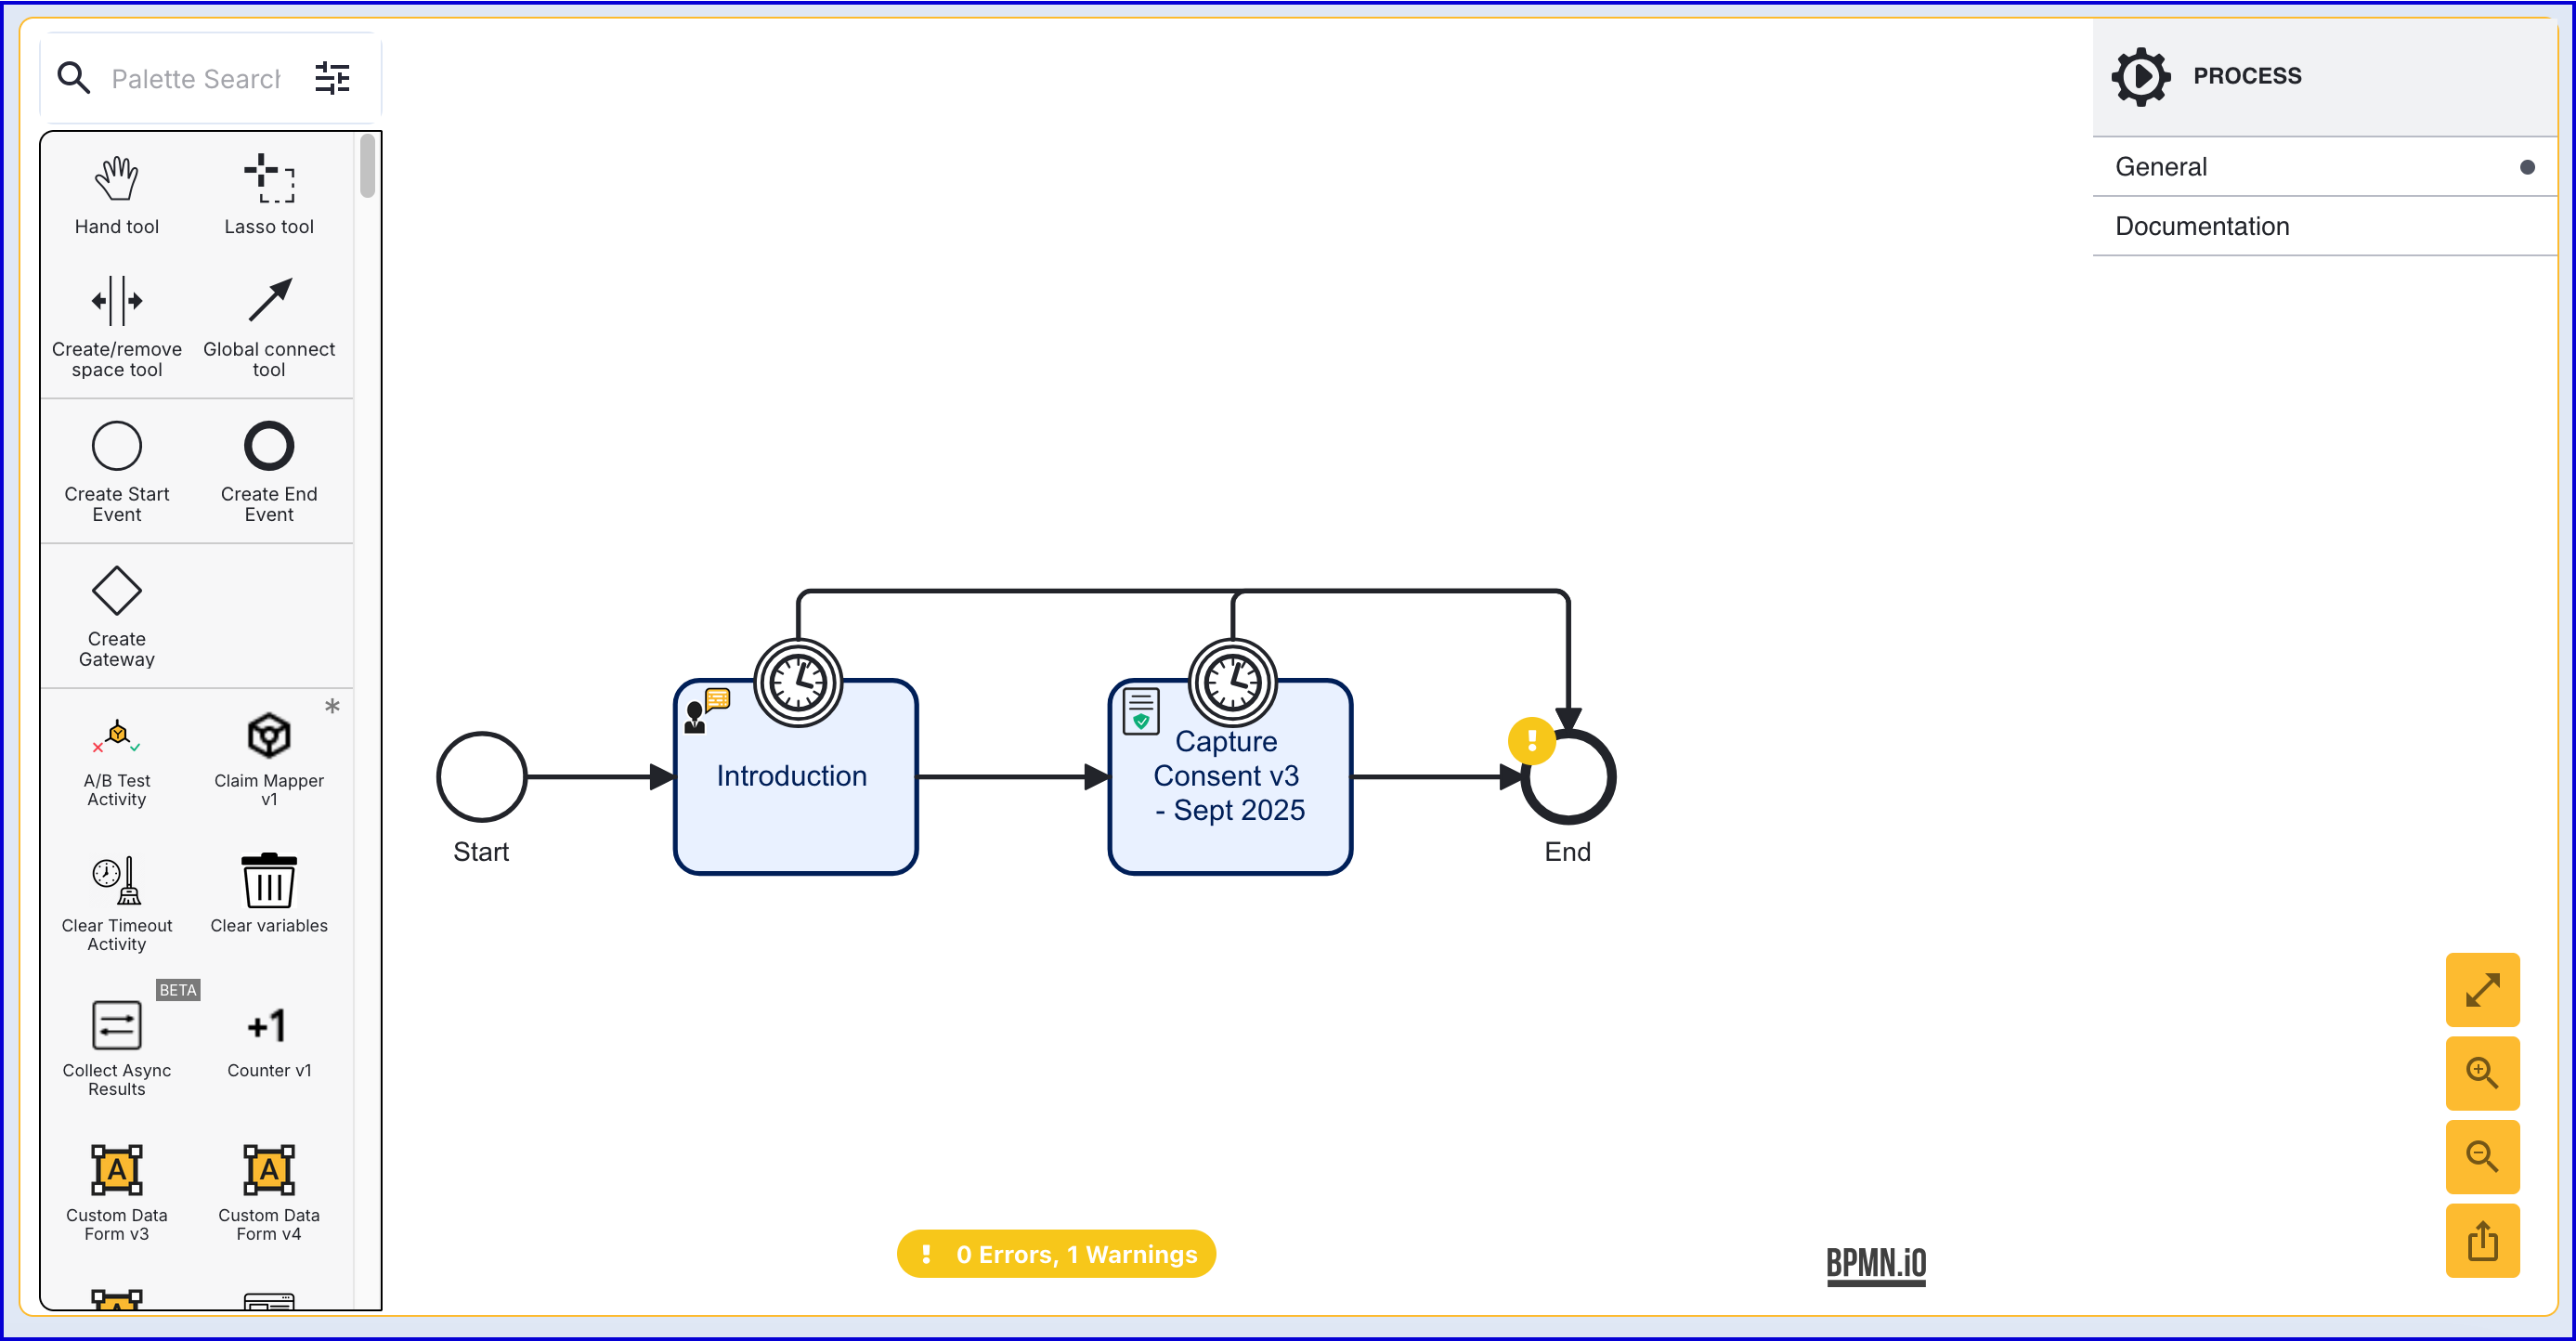
It is recommended to configure a Process Definition to include an introduction and confirmation of capture consent when capturing an ID document.
Add an 'Introduction' and 'Capture Consent' activity to the Process Designer and connect them using the Global connect tool.
Step 3 - Capture Face
The 'Desktop Face Capture V1' activity can be used to capture the face on desktop. This step will describe how to add the activity and the configurable input parameters available.
Add the 'Desktop Face Capture V1' activity to the Process Designer and connect them using the Global connect tool.
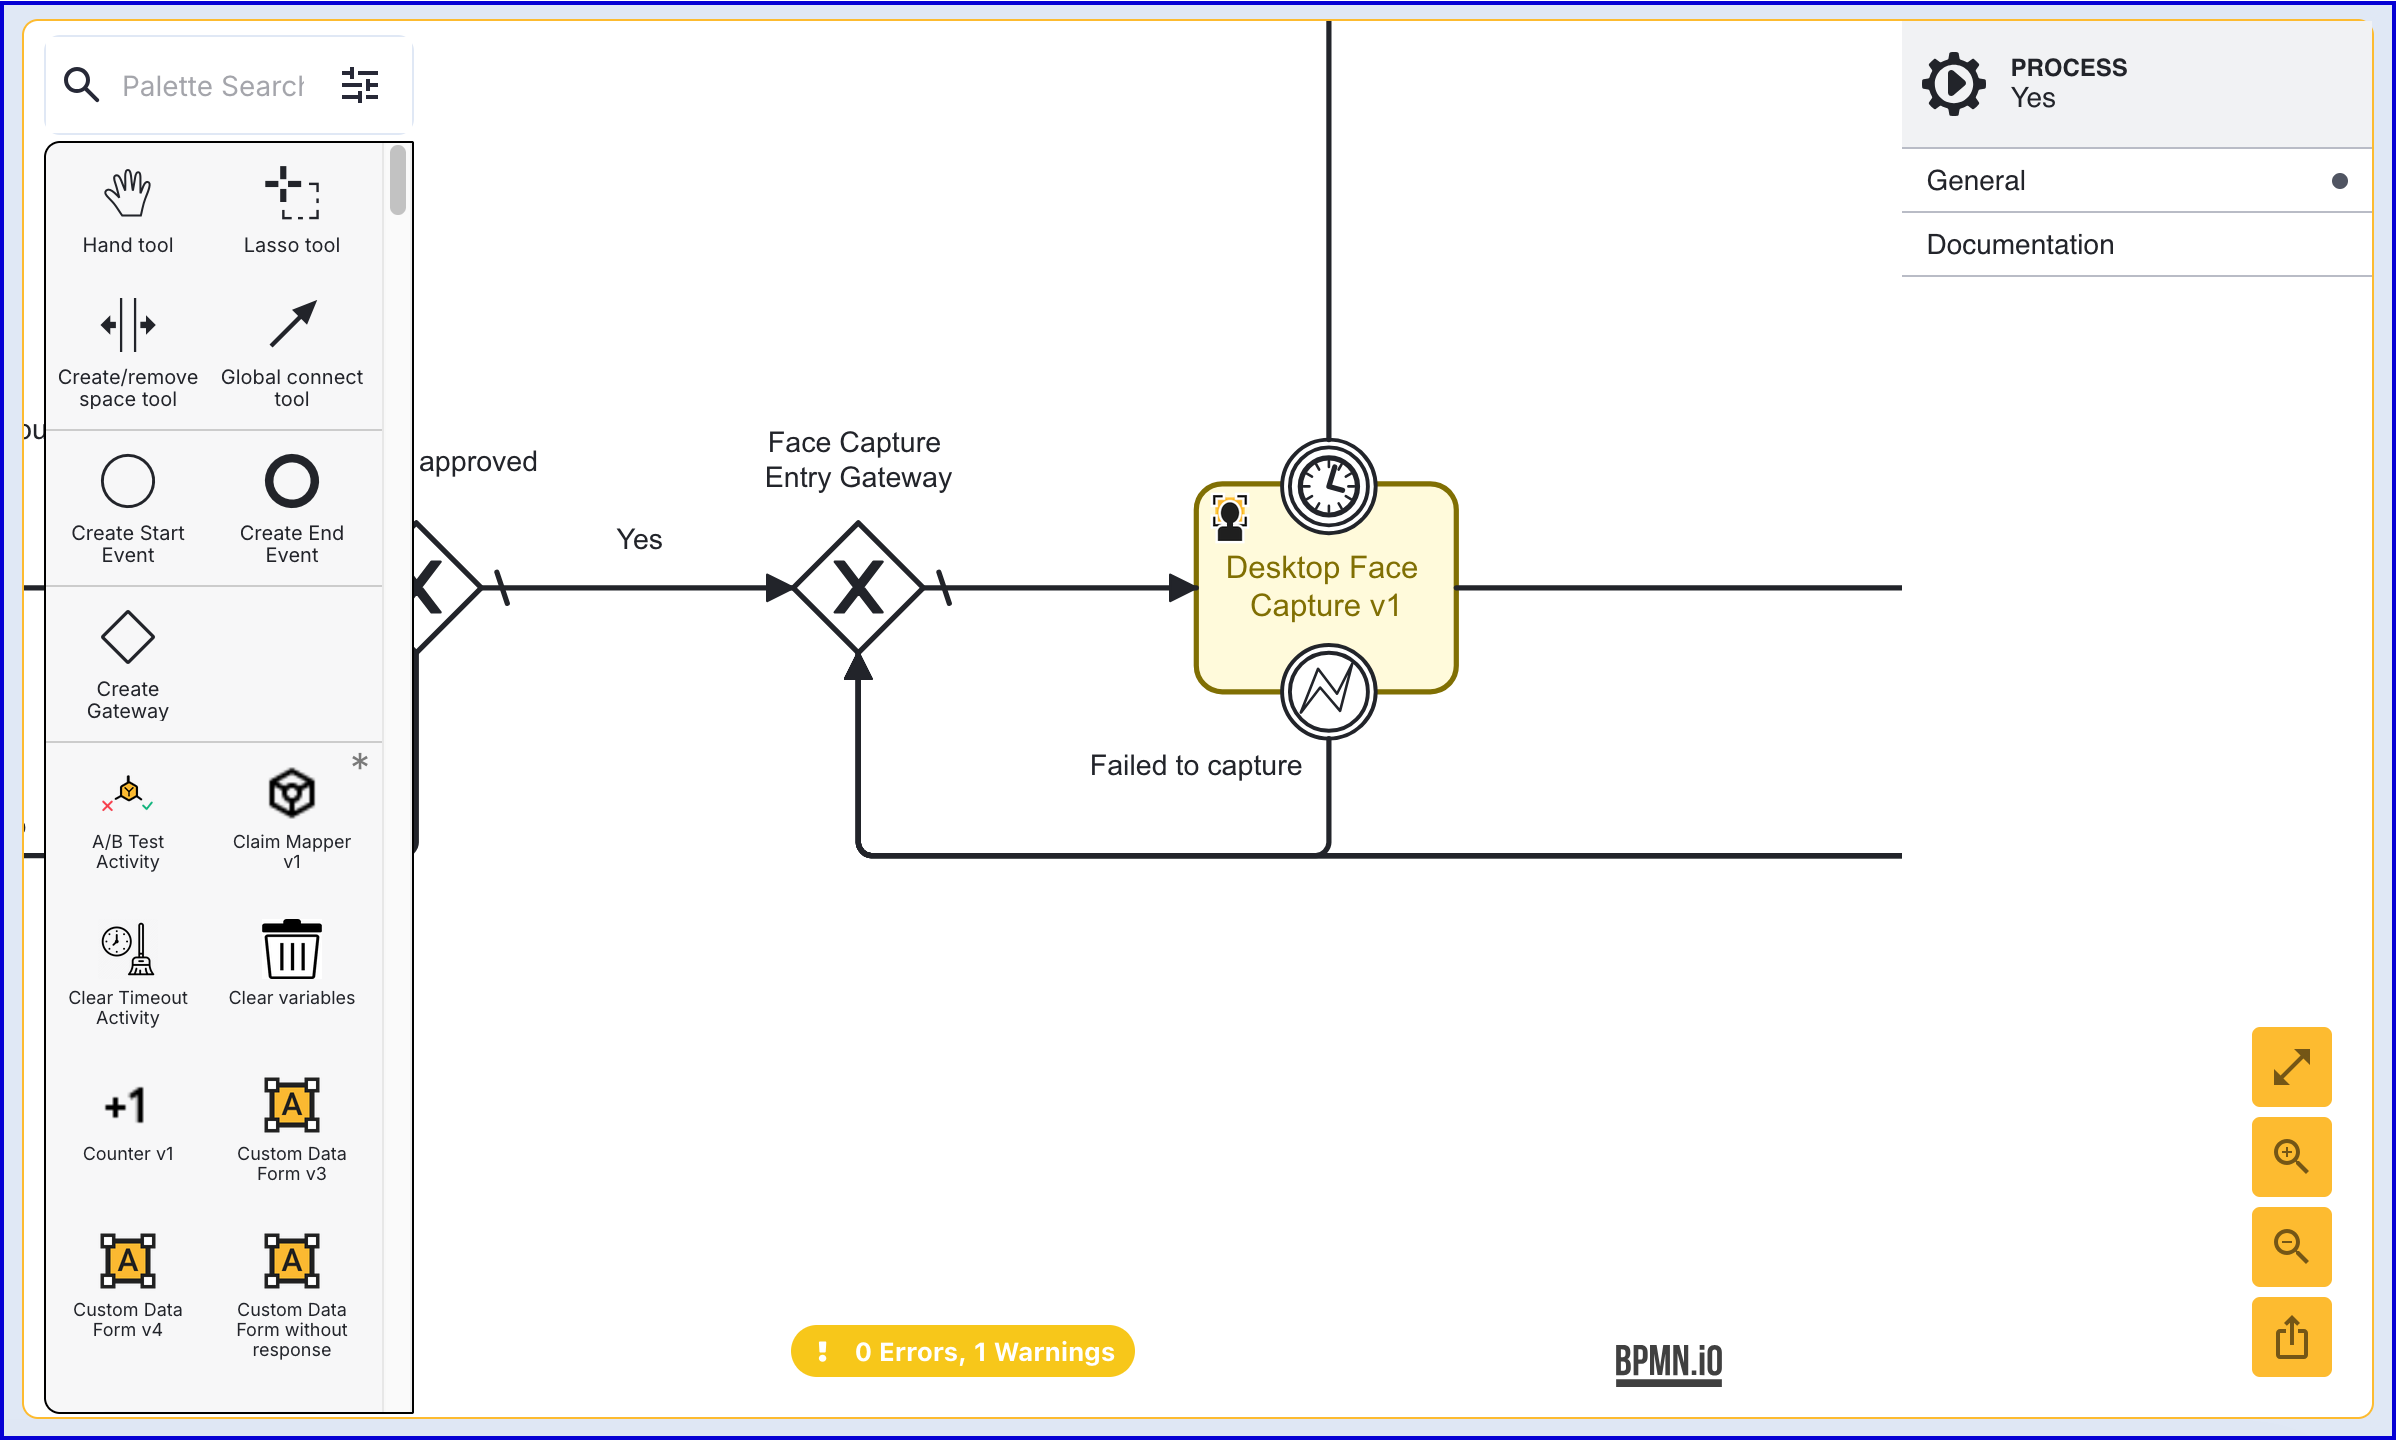
The activity supports the following configurable input parameters:
Parameter Description Type Default Advanced configuration A JSON formatted block where users can provide additional configurations for face capture. string {"delayStartInMilliseconds": 500,"lastPassedFrameDelayInMilliseconds": 500} Auto Capture Timeout The time in seconds before auto capture will timeout. integer ${60} Camera Height The height of the camera set during capture. INTEGER ${1080} Camera Width The width of the camera set during capture. INTEGER ${1920} Face Key The unique identifier of the captured face image. string face1 Face Image Format The image format that the face will be captured as. string jpeg For test When enabled, injection attack detection check will be bypassed without requiring a separate face capture step. This function can be used for automated testing purposes and is not recommended for production environments. boolean ${false} Frame Sample Rate Indicates how often frame data is sampled. Allowed values are between 0 - 100 - 0 - No Frame data is sent to the API
- 20 - 20% of frame data is sent to the API
- 50 - 50% of frame data is sent to the API
- 100 - All frame data is sent to the API
integer ${0} List of Screens The list of screens to be shown to the end-user. list[string] [capture] Max Attempts The maximum number of attempts allowed. integer ${3} Payload Size Contains the encrypted image of the face. Possible values include "normal" and "small". A small payload means faster but less secure processing. string small Starting component ID The unique identifier of the activity. string face-capture-desktop UI Component ID The name of the screen used in the capture UI. string capture Use Native Capture Only Use the native capture process. This parameter is not officially supported and Daon recommends to keep the value set to false. boolean ${false} Additionally, the activity contains two error boundary events:
Error Event
Timer Boundary Event
Triggered when the user exceeds the allotted capture time.
Failed to Capture
Triggered when the user fails to capture a face image.
Step 4 - Configure Face Quality
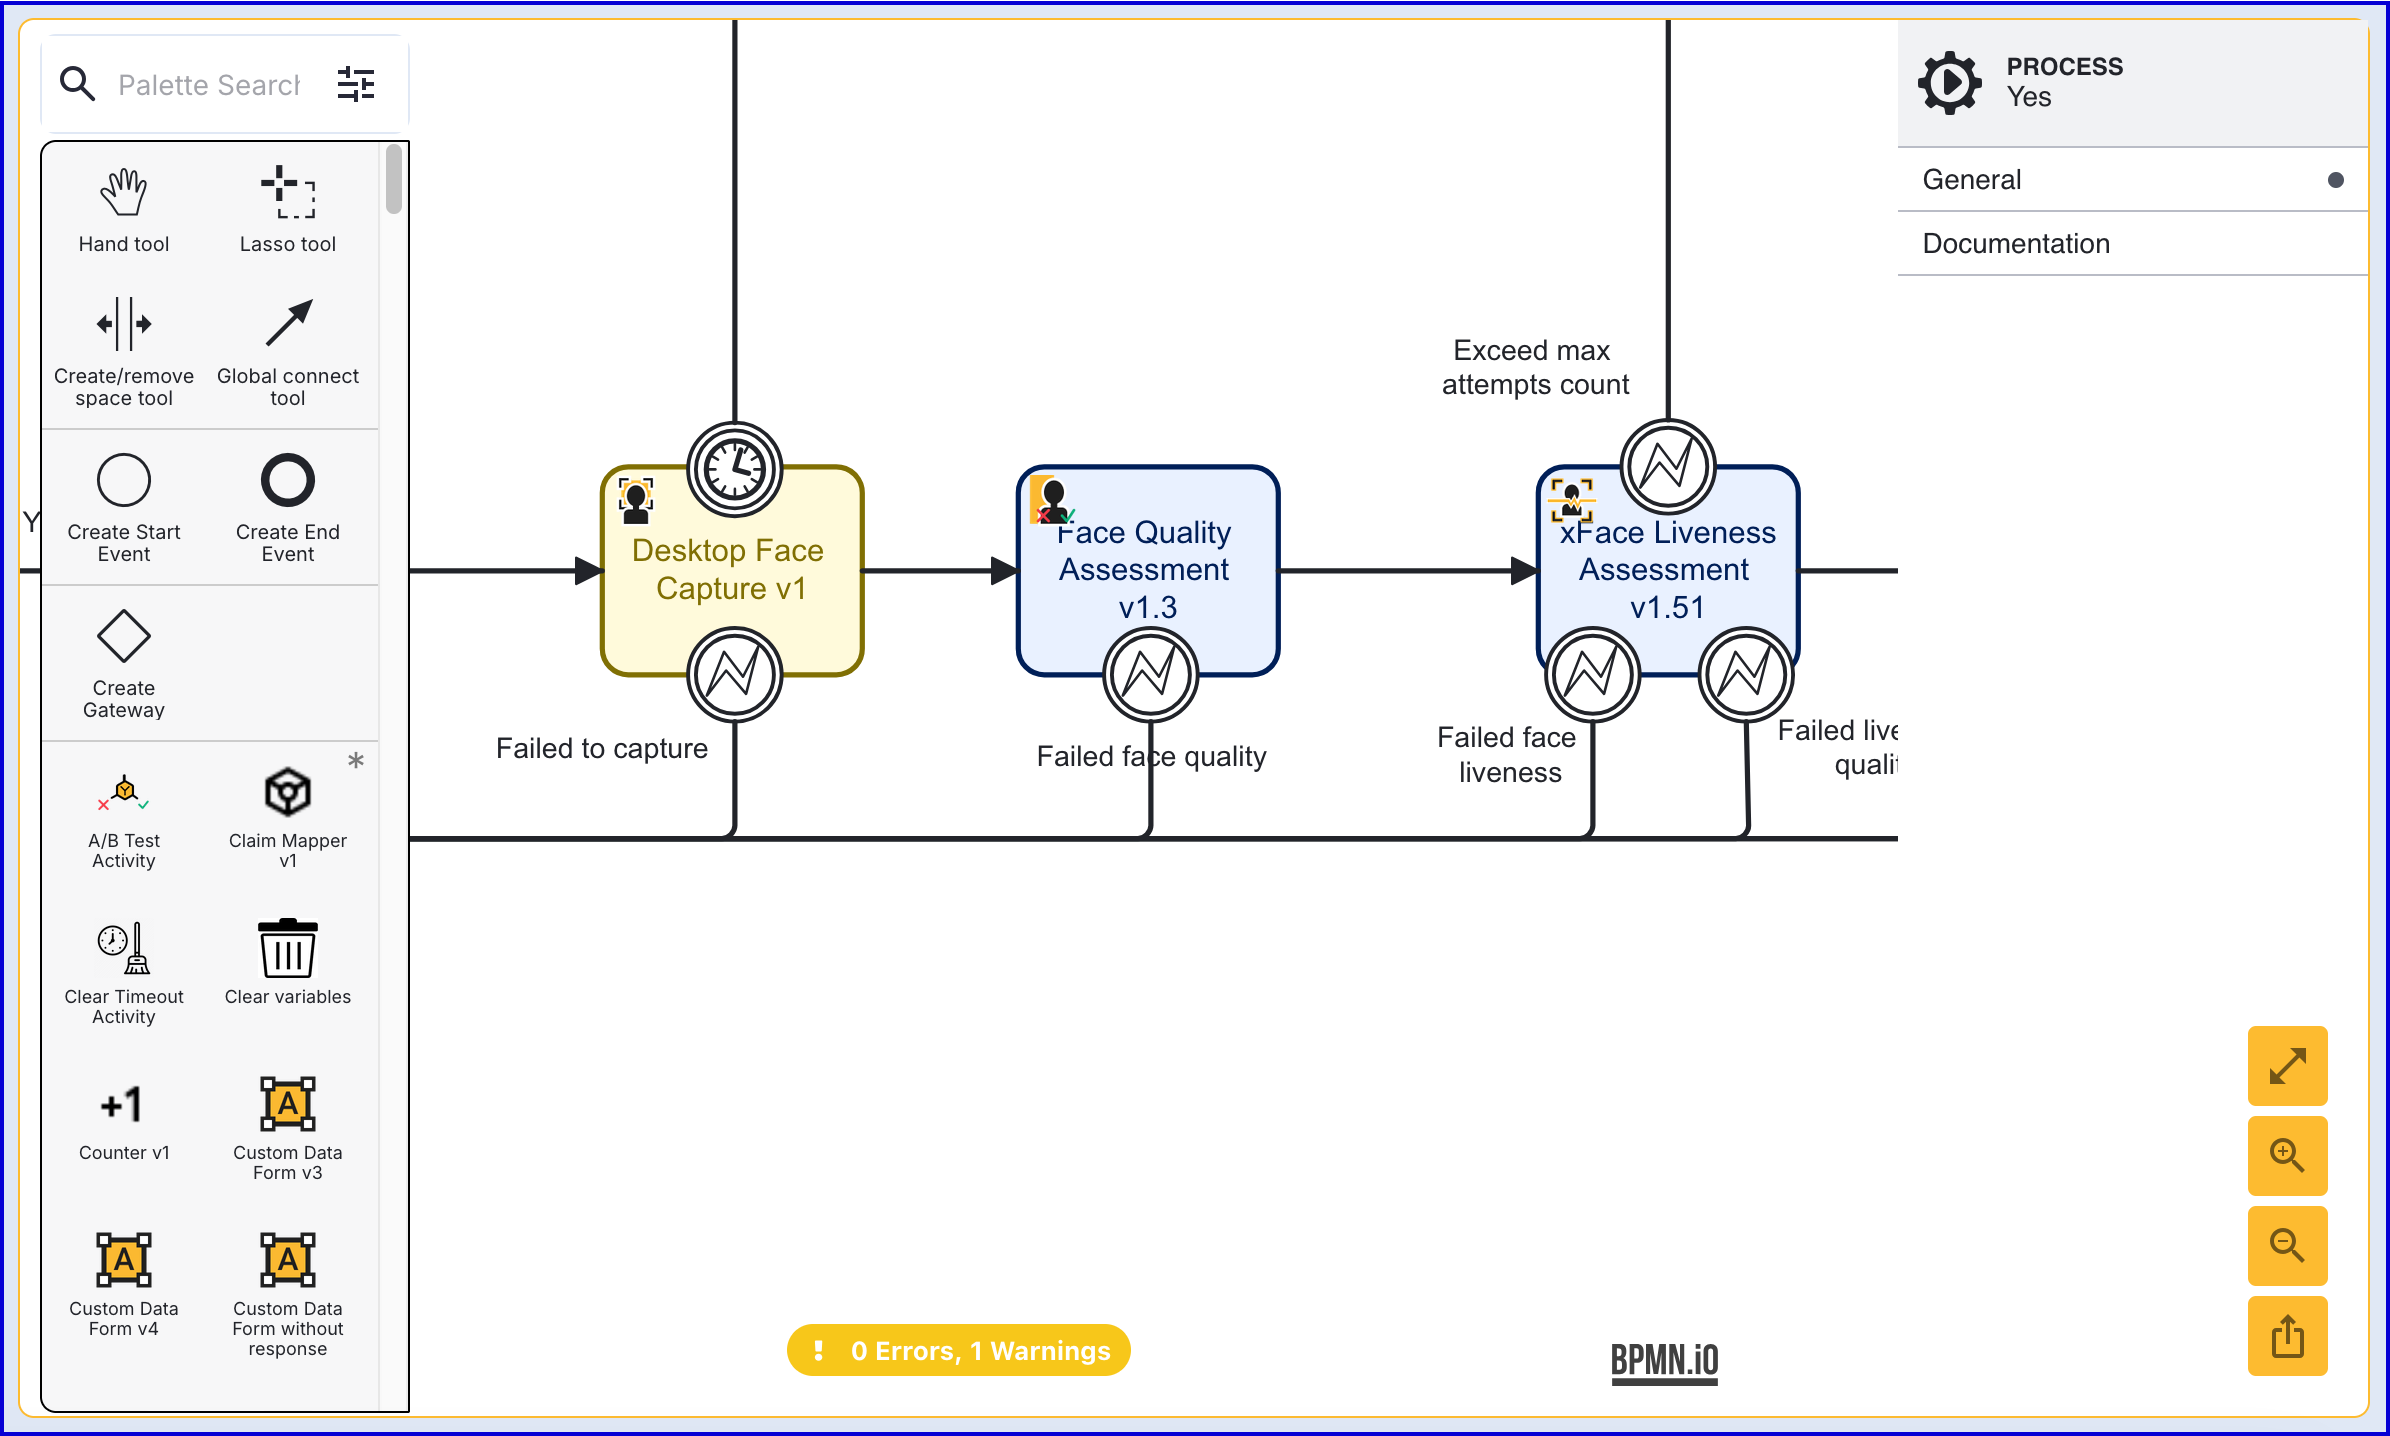
The face quality assessment will determine the quality of a captured face image using the 'Face Quality Assessment' activity.
Error Boundary Events
Face quality assessment provides one error boundary event.
Failed face quality - Triggered when the captured face image fails the quality assessment.
Step 5 - Configure Face Liveness
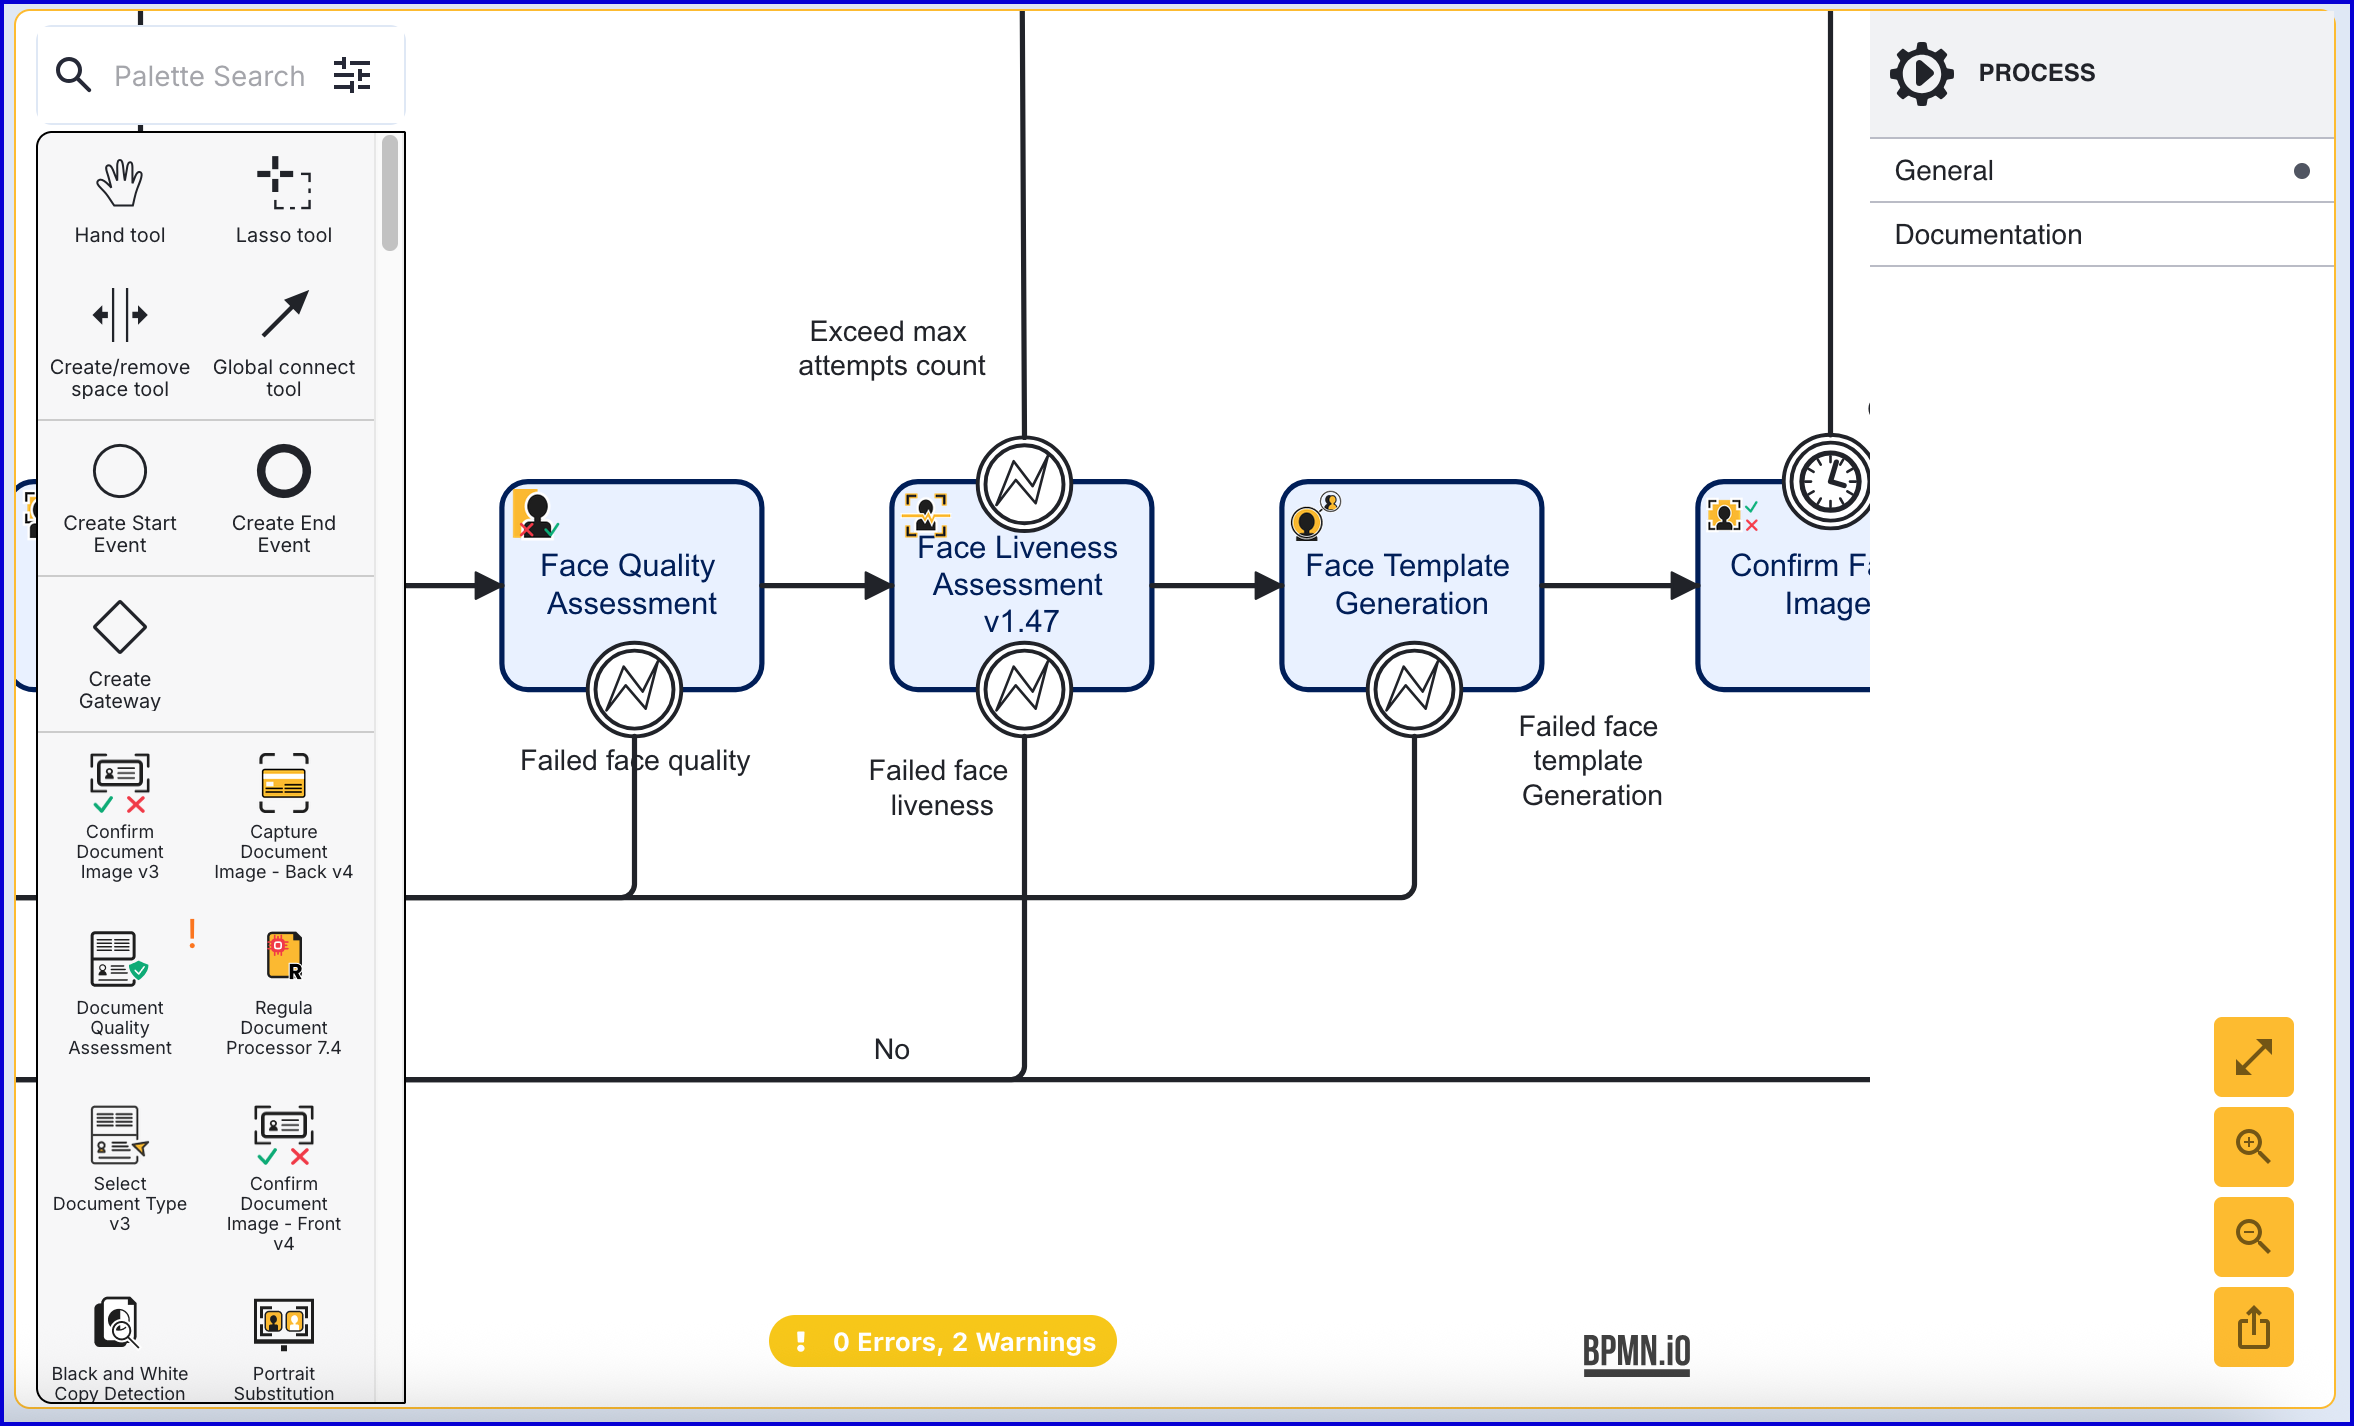
Face liveness is performed using the the 'Face Liveness Assessment' activity. This activity provides the following configurable input parameters:
| Parameter | Description | Type | Default |
|---|---|---|---|
| Error navigation screen | The screen to navigate after an error occurs. | STRING | preview |
| Exception on Max Attempts Exceeded | If the maxAttempts is exceeded, should exceedFailedLivenessCount exception be thrown. | BOOLEAN | ${true} |
| Face Key | The identifier of the face. | STRING | face1 |
| Liveness Threshold | The threshold value which determines if a face is considered to be a live face. | DOUBLE | ${0.5} |
| Max Attempts | The number of failed attempts of face liveness before the exceedFailedLivenessCount exception is thrown. | INTEGER | ${3} |
| Pipeline | The name of the pipeline. | STRING | pad-r-1 |
Error Boundary Events
'Face Liveness Assessment v1.47' provides two error boundary events.
Failed face liveness - Triggered when the captured face image face the liveness check. A failed liveness check will add +1 to the max attempt counter.
Exceed max attempts count - Triggered when the number of retry attempts exceeds the 'Max Attempts' input parameter value.
The 'Face Liveness Assessment v1.49' activity supports three error boundary events that behave differently from the boundary events of v1.47.
Failed liveness quality - Triggered when the captured face image fails the liveness quality threshold. This error does not increase the max attempts counter.
Failed face liveness - Triggered when the captured face image face the liveness check. A failed liveness check will add +1 to the max attempt counter.
Exceed max attempts count - Triggered when the number of retry attempts exceeds the 'Max Attempts' input parameter value.
Step 6 - Viewing Results
Face quality and liveness results can be viewed in the Backoffice application or via the TrustX API.
Viewing Results in the Backoffice
The results of a Process Instance can be viewed from the Backoffice application. From the Backoffice application, follow the steps outlined below.
Select Process Instances from the left vertical navigation bar.
The Process Instances page provides various search options to find the Process Instance of choice.
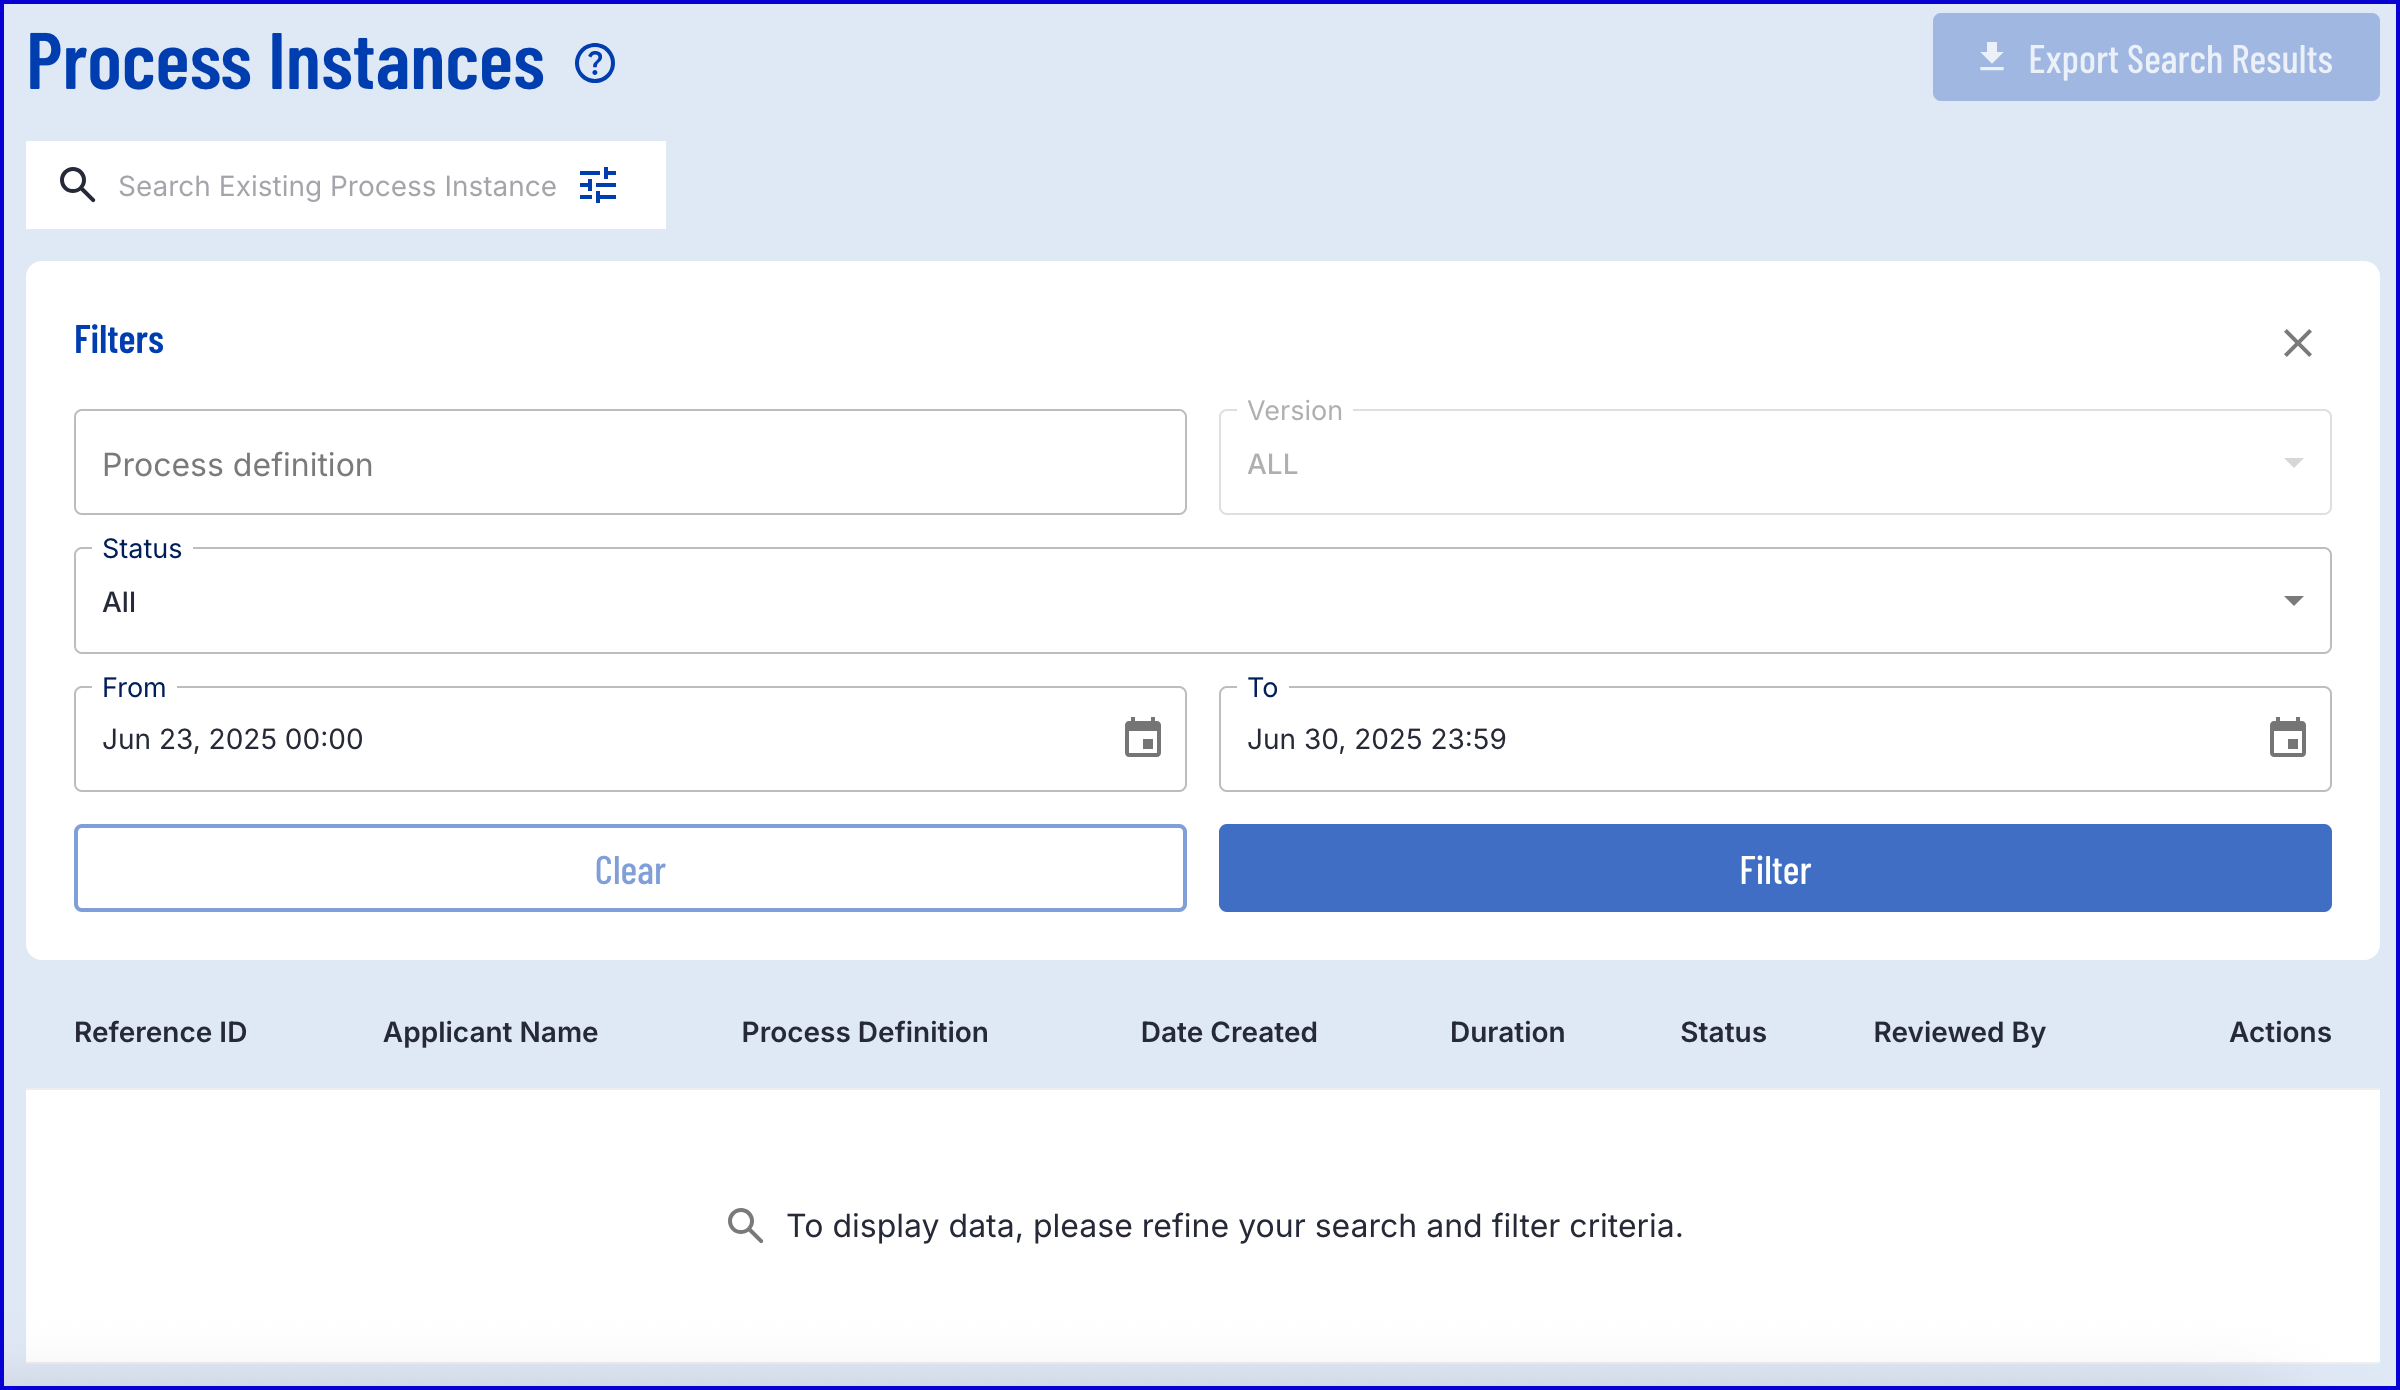
From the list of search results, select the magnifying glass to view the Process Instance page.

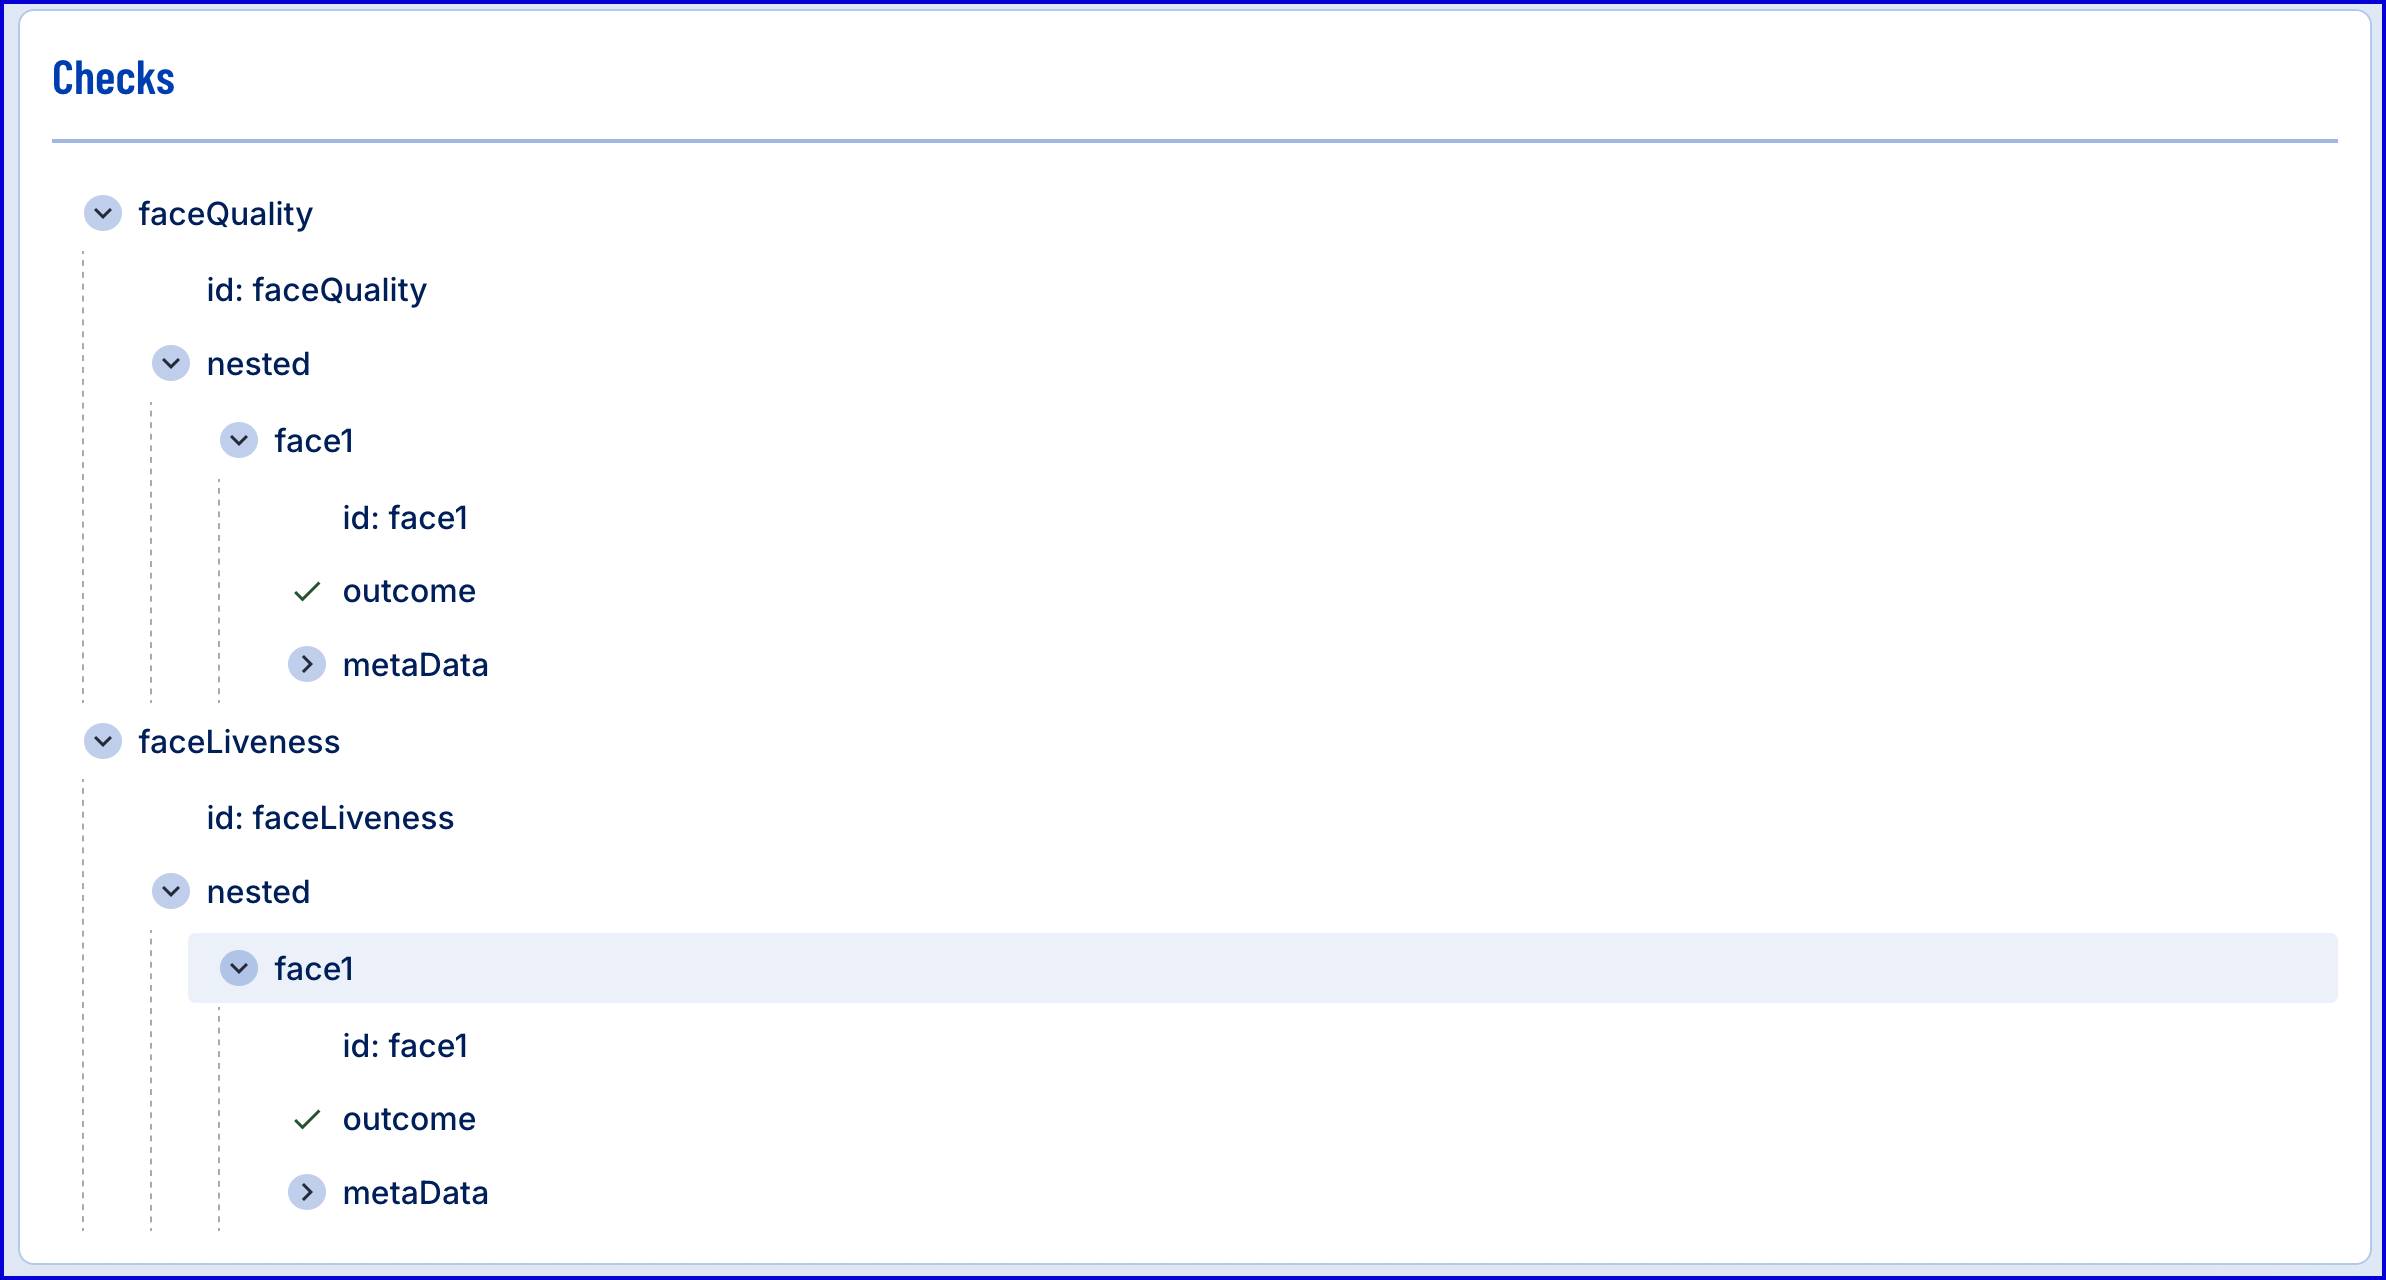
Results can be found under the 'Verification' section. A further breakdown of results can be found under the 'Checks' section.