Overview
The Watchlist feature provides a tool to create and manage lists of persons of interest. The legacy management system integrates Face Watchlists only. To integrate with the newer management system, including Watchlists of various types, see the Managing Watchlists guide.
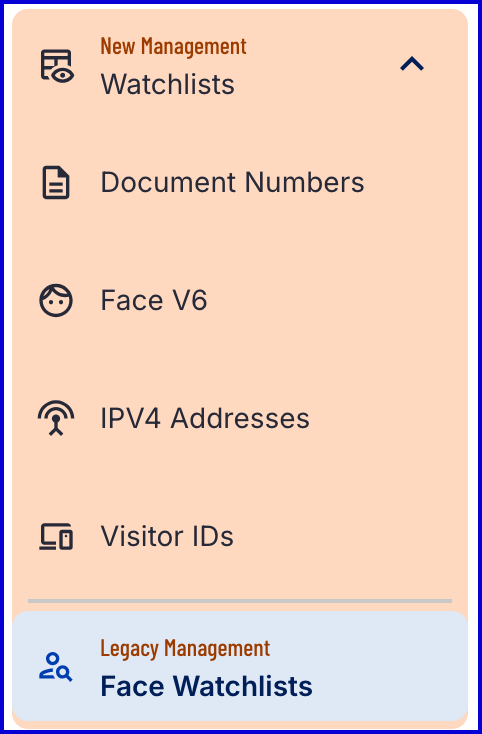
To access the legacy management system in the Backoffice, expand the Watchlists tab and find the 'Face Watchlists' page from the left-side vertical navigation bar.
Watchlist Landing Page
The Face Watchlists overview page will provide a list of all watchlists created in TrustX.
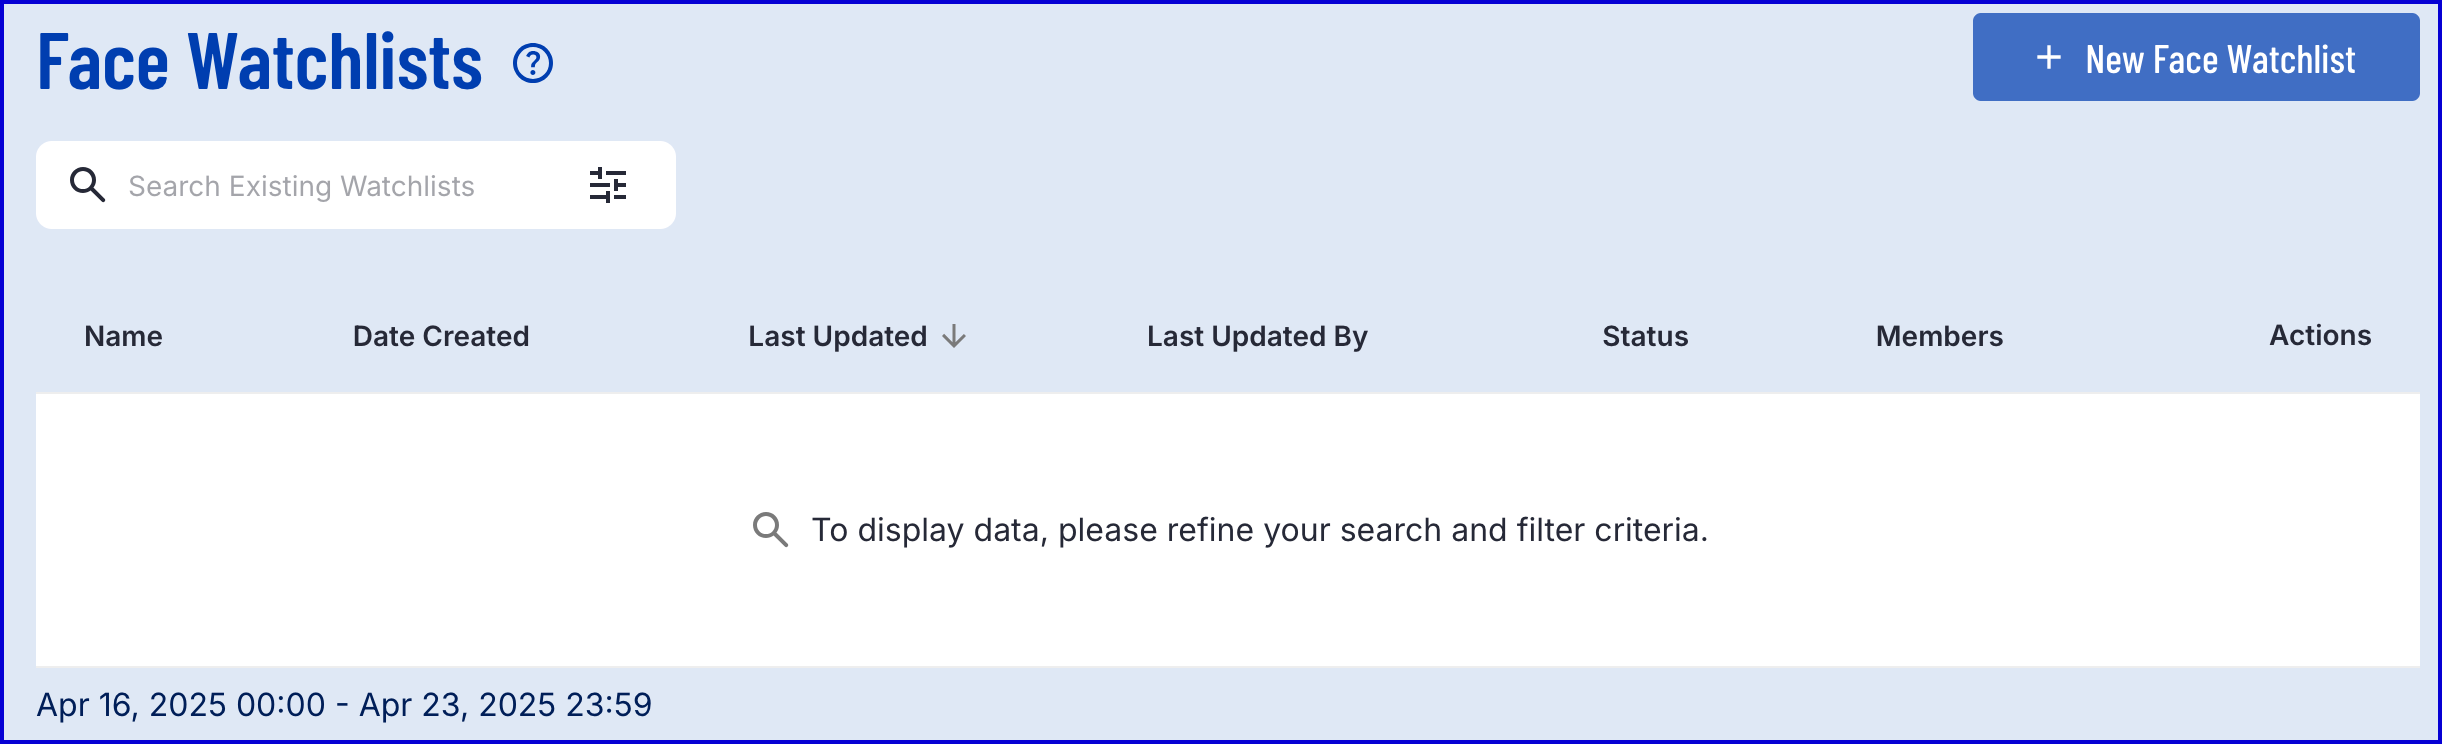
Watchlists can be filtered and searched by created date using the provided search fields.
Expand the filter options to set the 'Created From' and 'Created To' dates to filter results of the search.

Create a Face Watchlist
To create a watchlist, click the 'New Face Watchlist' button found at the top-right of the watchlist landing page.

Clicking this button will redirect to the watchlist creation page.
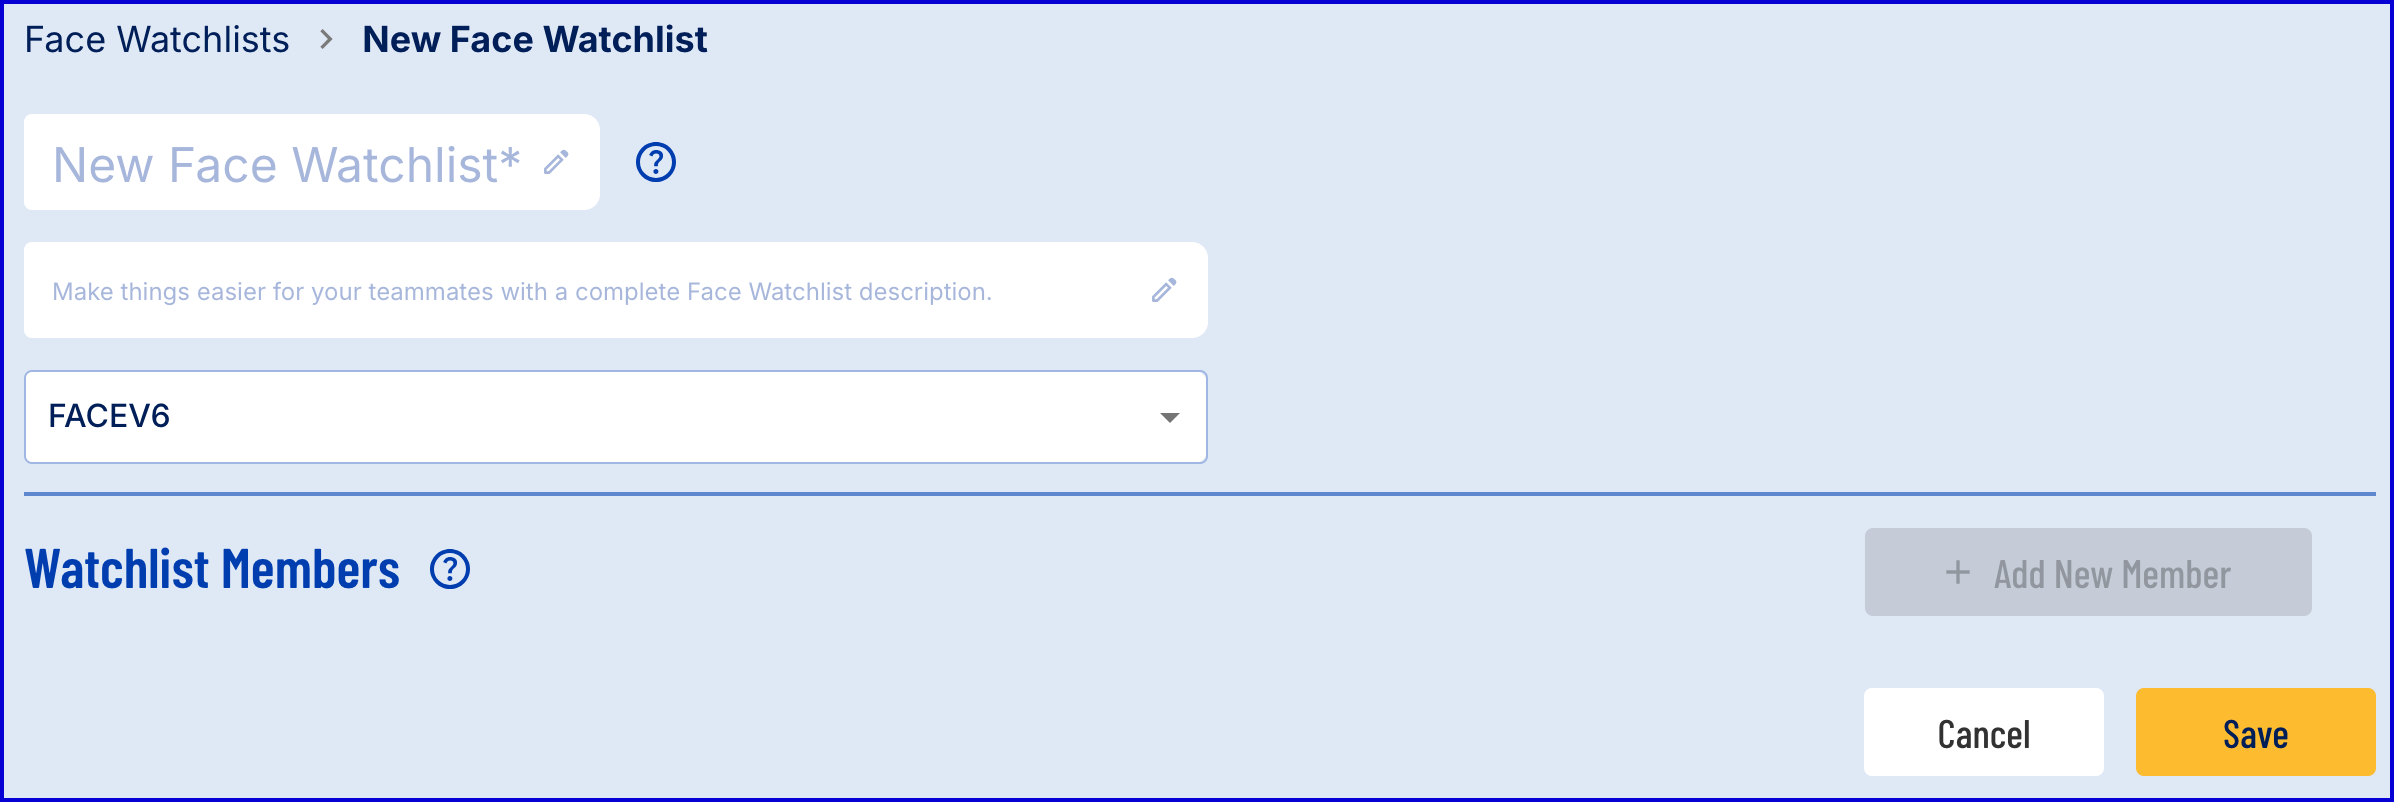
Before any members can be added to the watchlist, it is first necessary to give the watchlist a name and description, then save the watchlist.
Name - The name of the watchlist. Must only contain alphanumeric and underscore characters.
Description - A short description of the watchlist.
Face Algorithm - Currently only FACEV6 is available.
Once both fields have valid values, click the 'Save' button to create the new watchlist. Now that the watchlist is created, new options will become available:
Add a New Member
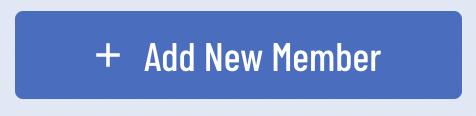
Members of a watchlist represent persons of interest who's activity can be monitored from the Backoffice. To add a new member, click the 'Add New Member' button.
When creating a new watchlist, this button will appear greyed out until the watchlist is saved.
When this button is clicked, a pop-up modal will appear where details about the new watchlist member can be defined.
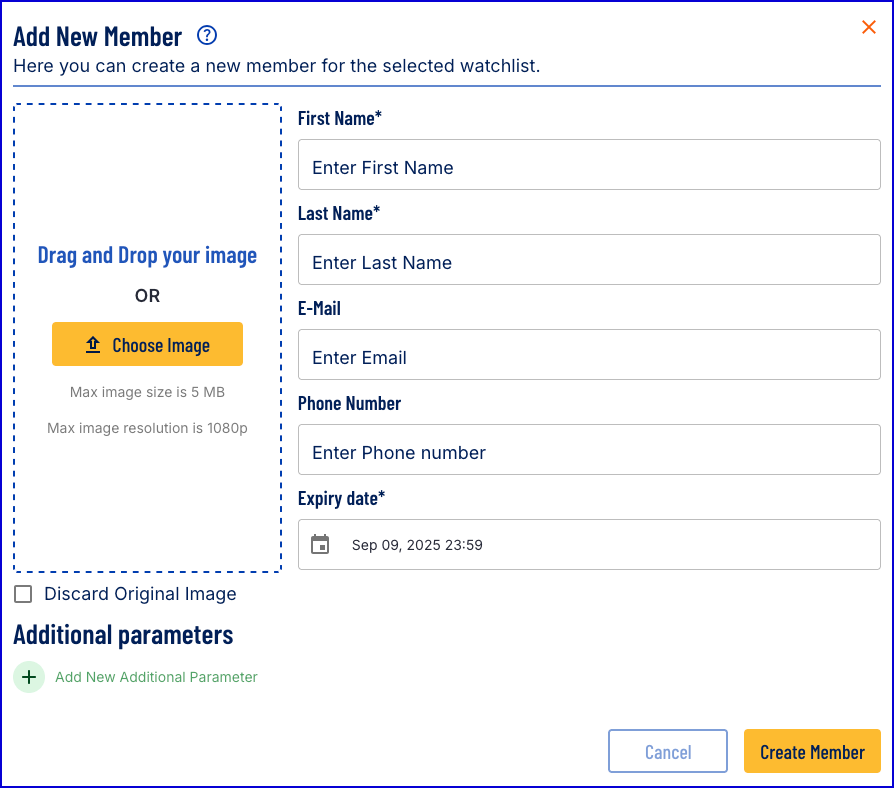
The details of each field can be described below.
Face Image - Click choose image to upload a file or drag and drop the image into the designated area. A max image size of 5MB is required. Max image resolution is 1080p. Supported image types include .jpg and .png. This field is mandatory.
First Name - The first name of the new watchlist member. This field is mandatory.
Last Name - The last name of the new watchlist member. This field is mandatory.
E-Mail - The email address associated with the watchlist member.
Phone Number - The phone number associated wit the watchlist member.
Expiry date - The date after which the watchlist member will expire and be removed from the watchlist. This field is mandatory. Note that the scheduled task responsible for deleting watchlist members that have reached their expiry date is run at midnight. As a result, there may be a grace period between the expiry date and the time of deletion.
Discard Original Image - When enabled, the selfie image will not be stored or displayed within the Backoffice application. This configuration uses the
storeSamplesparameter of the watchlist API.
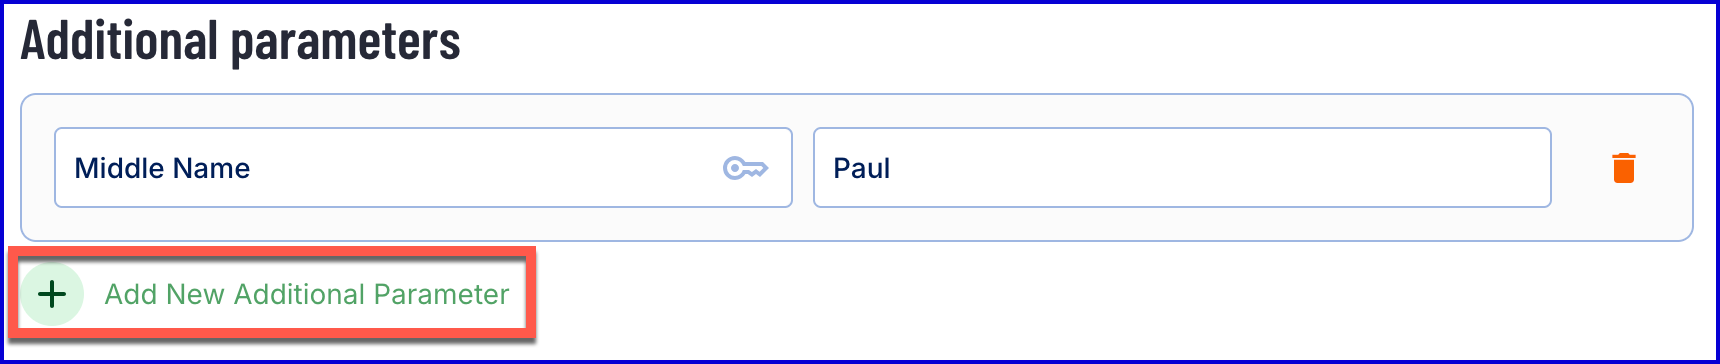
Additional parameters can be added by selecting the 'Add New Additional Parameter' button. Parameters are defined as a key:value pair.
When all details regarding the new watchlist member are set, click the 'Create Member' button at the bottom of the page.

After successfully adding a member, the collection of watchlist members will be updated to display the newly added member.
Adding Watchlist Members From the Landing Page
It is also possible to add new watchlist members from the watchlist landing page. From the 'Actions' column, click the 'Add Member' button.
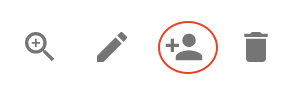
Clicking this button will open the Add New Member pop-up modal described above where details regarding the new member can be defined.
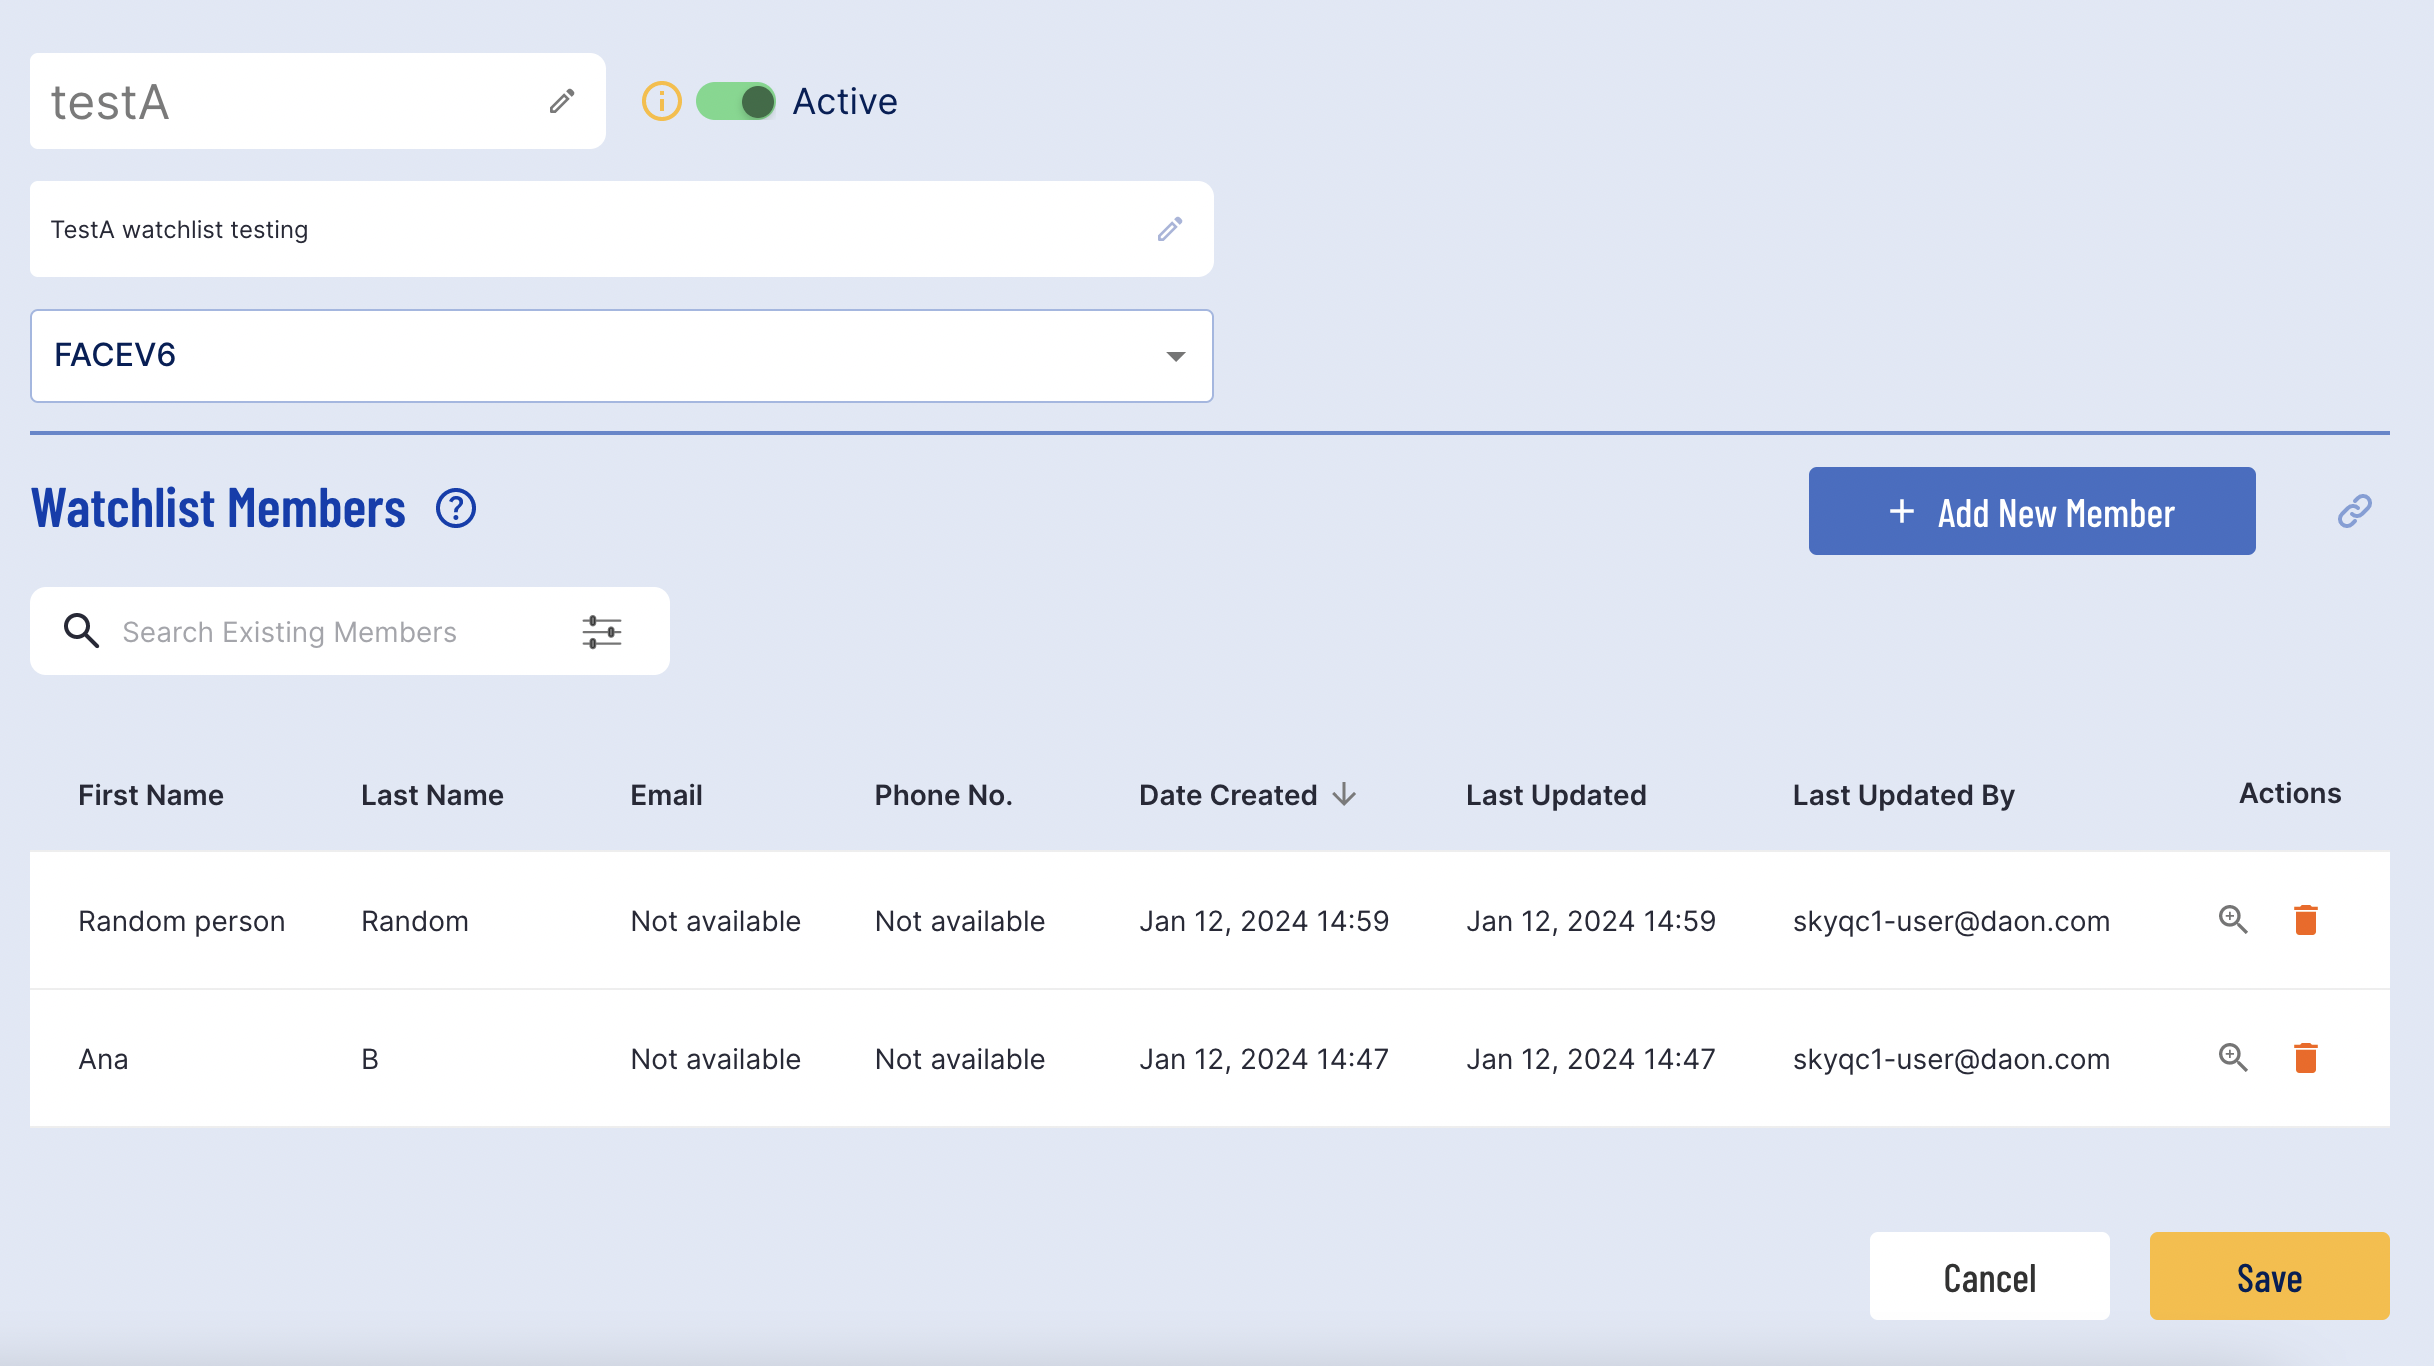
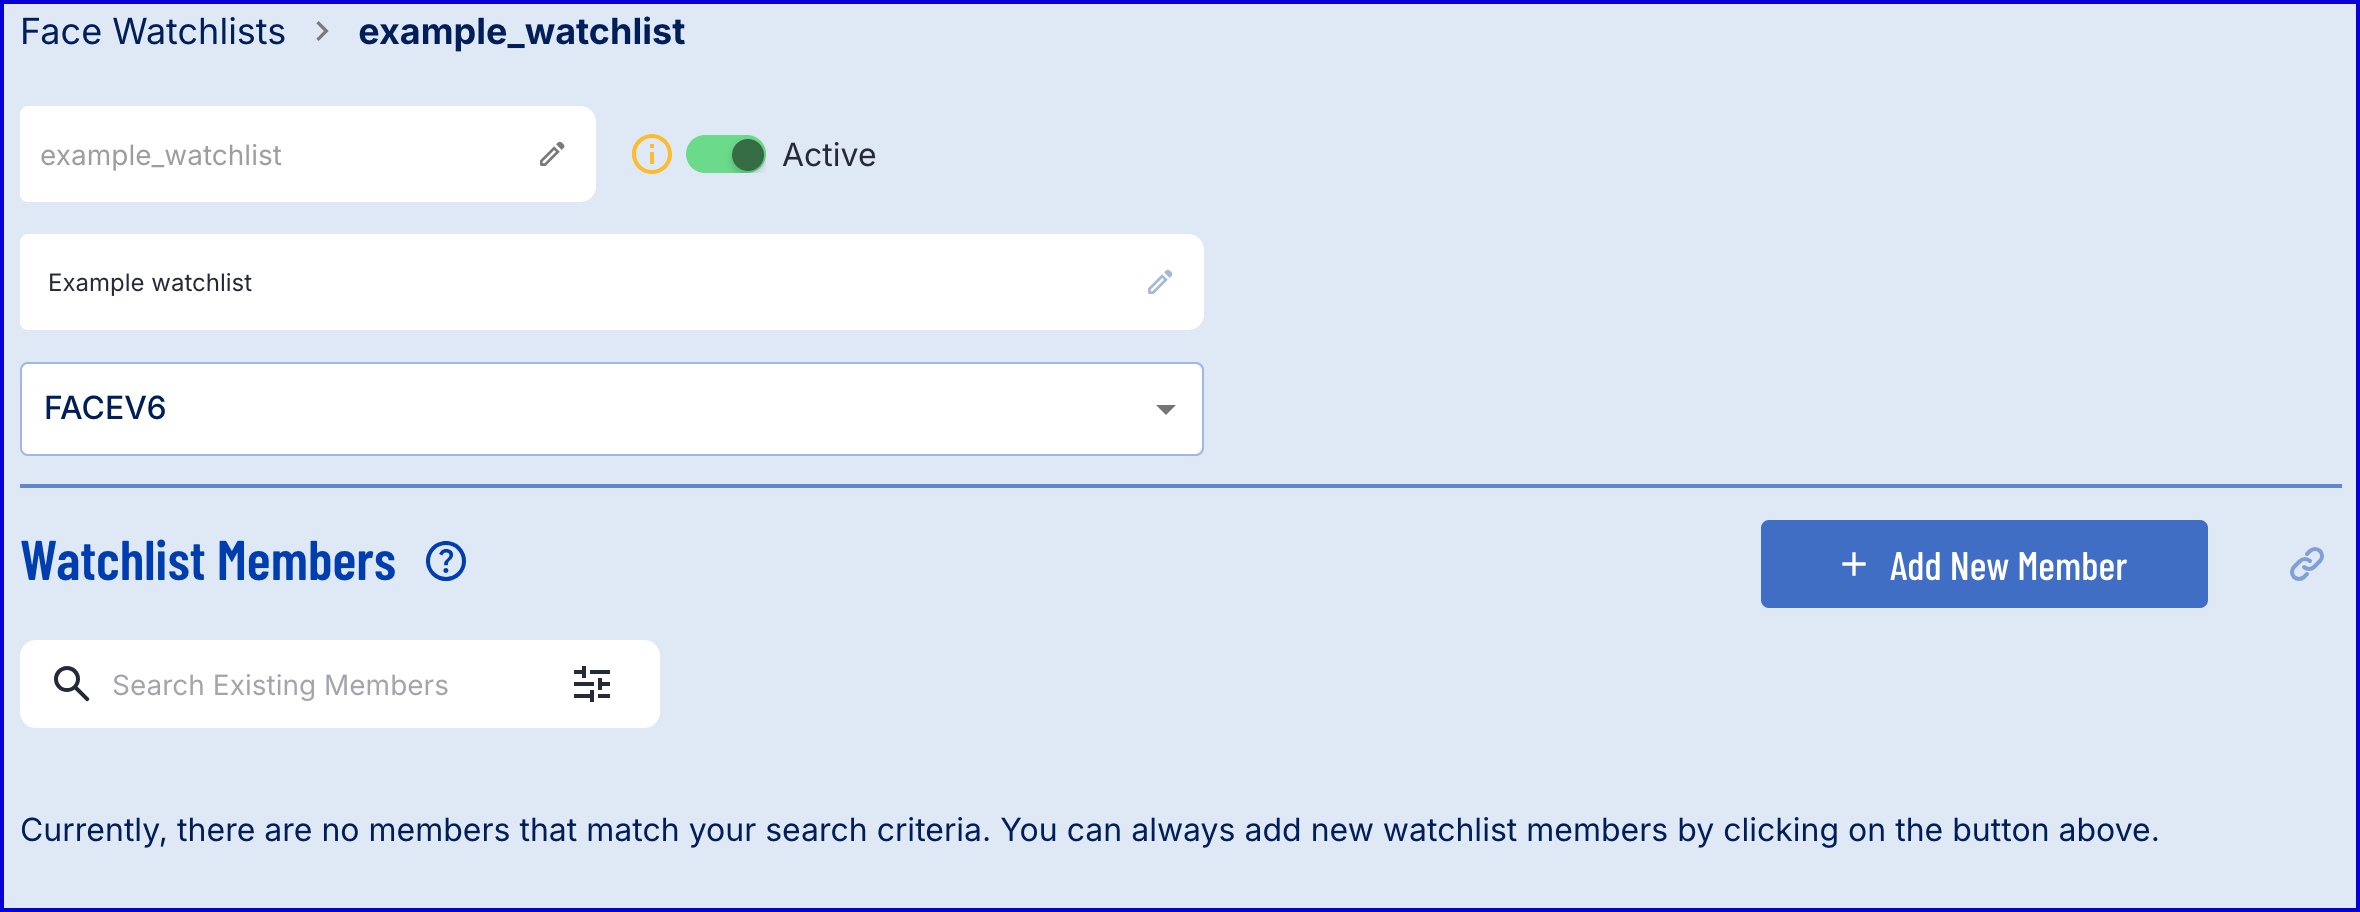
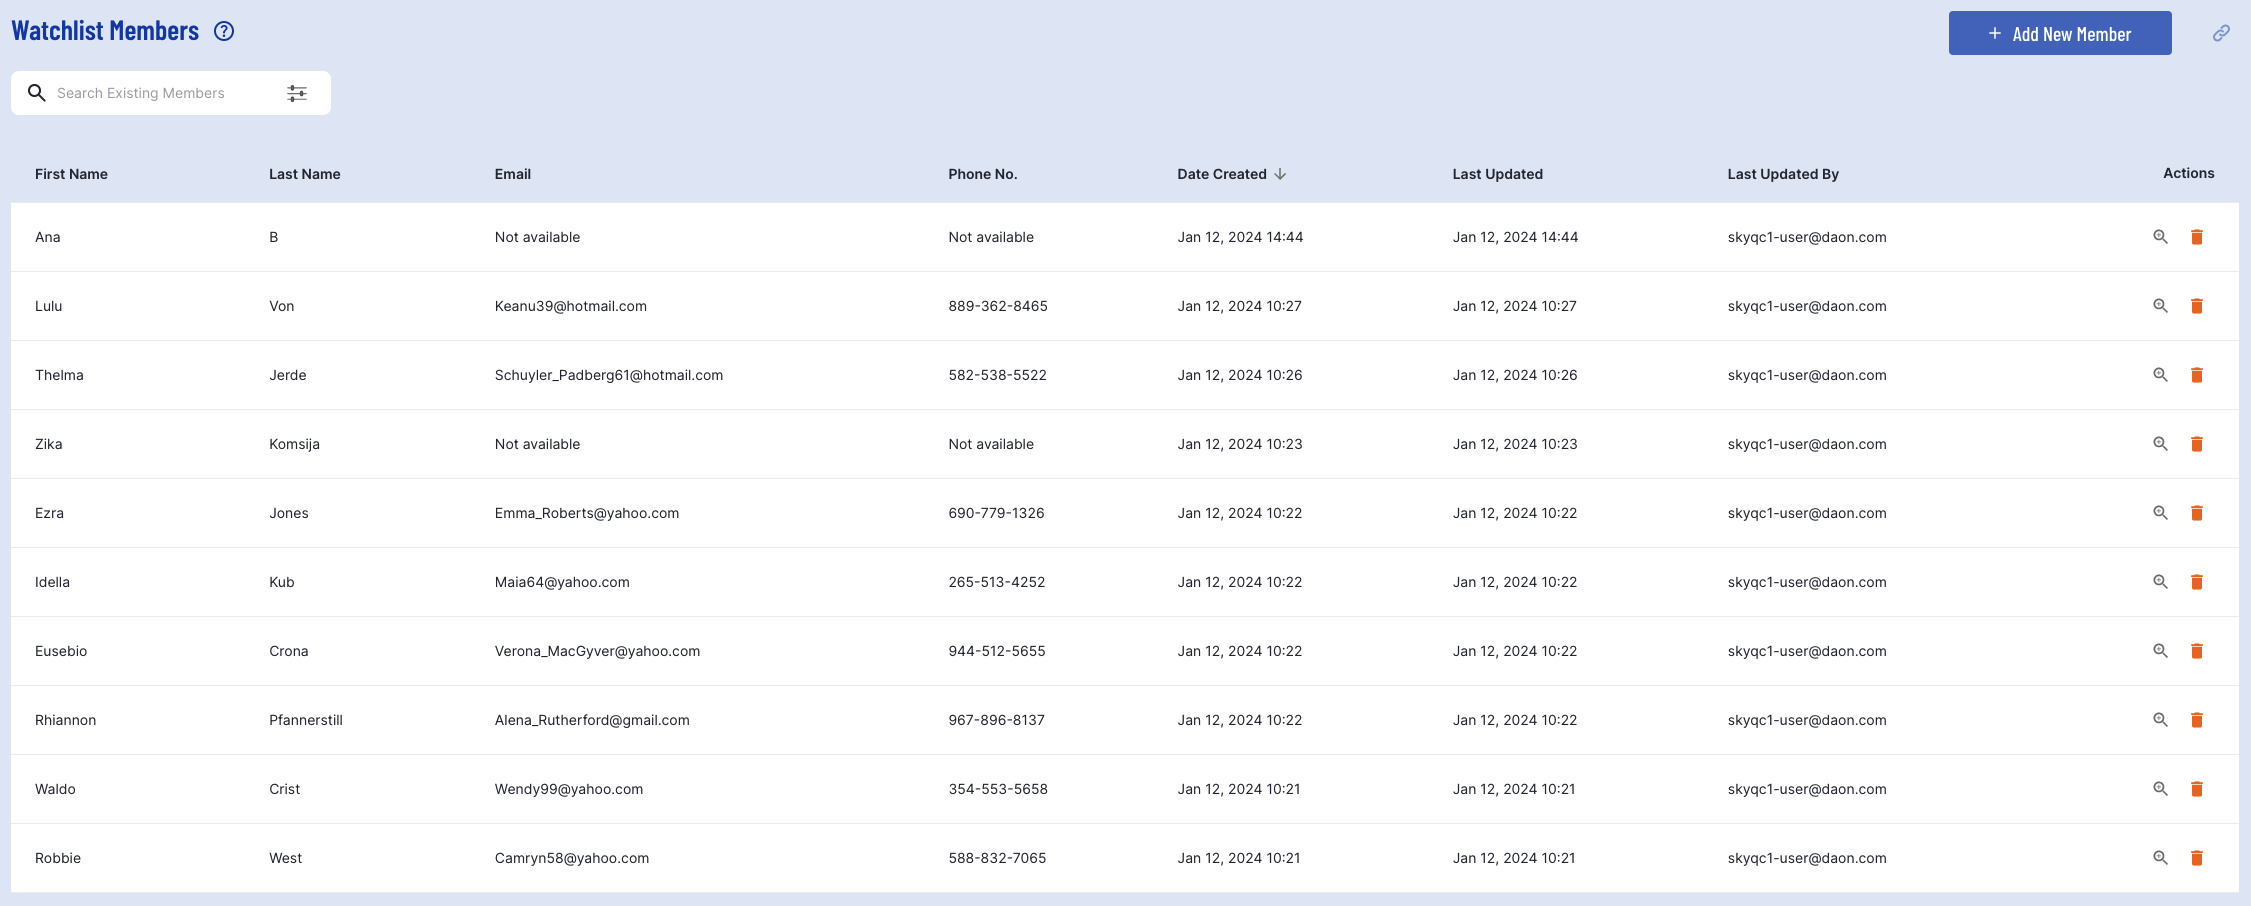
Members Overview
Members that have been added to a watchlist can be viewed from an individual watchlist page. To access this page, click the magnifying glass icon found under the 'Actions' column of the watchlist landing page.

Clicking this button will direct the user to the individual watchlist page where a list of all members that have been added to the watchlist can be found.
Search Watchlist Members
Watchlist members can be searched and filtered using the provided search options.
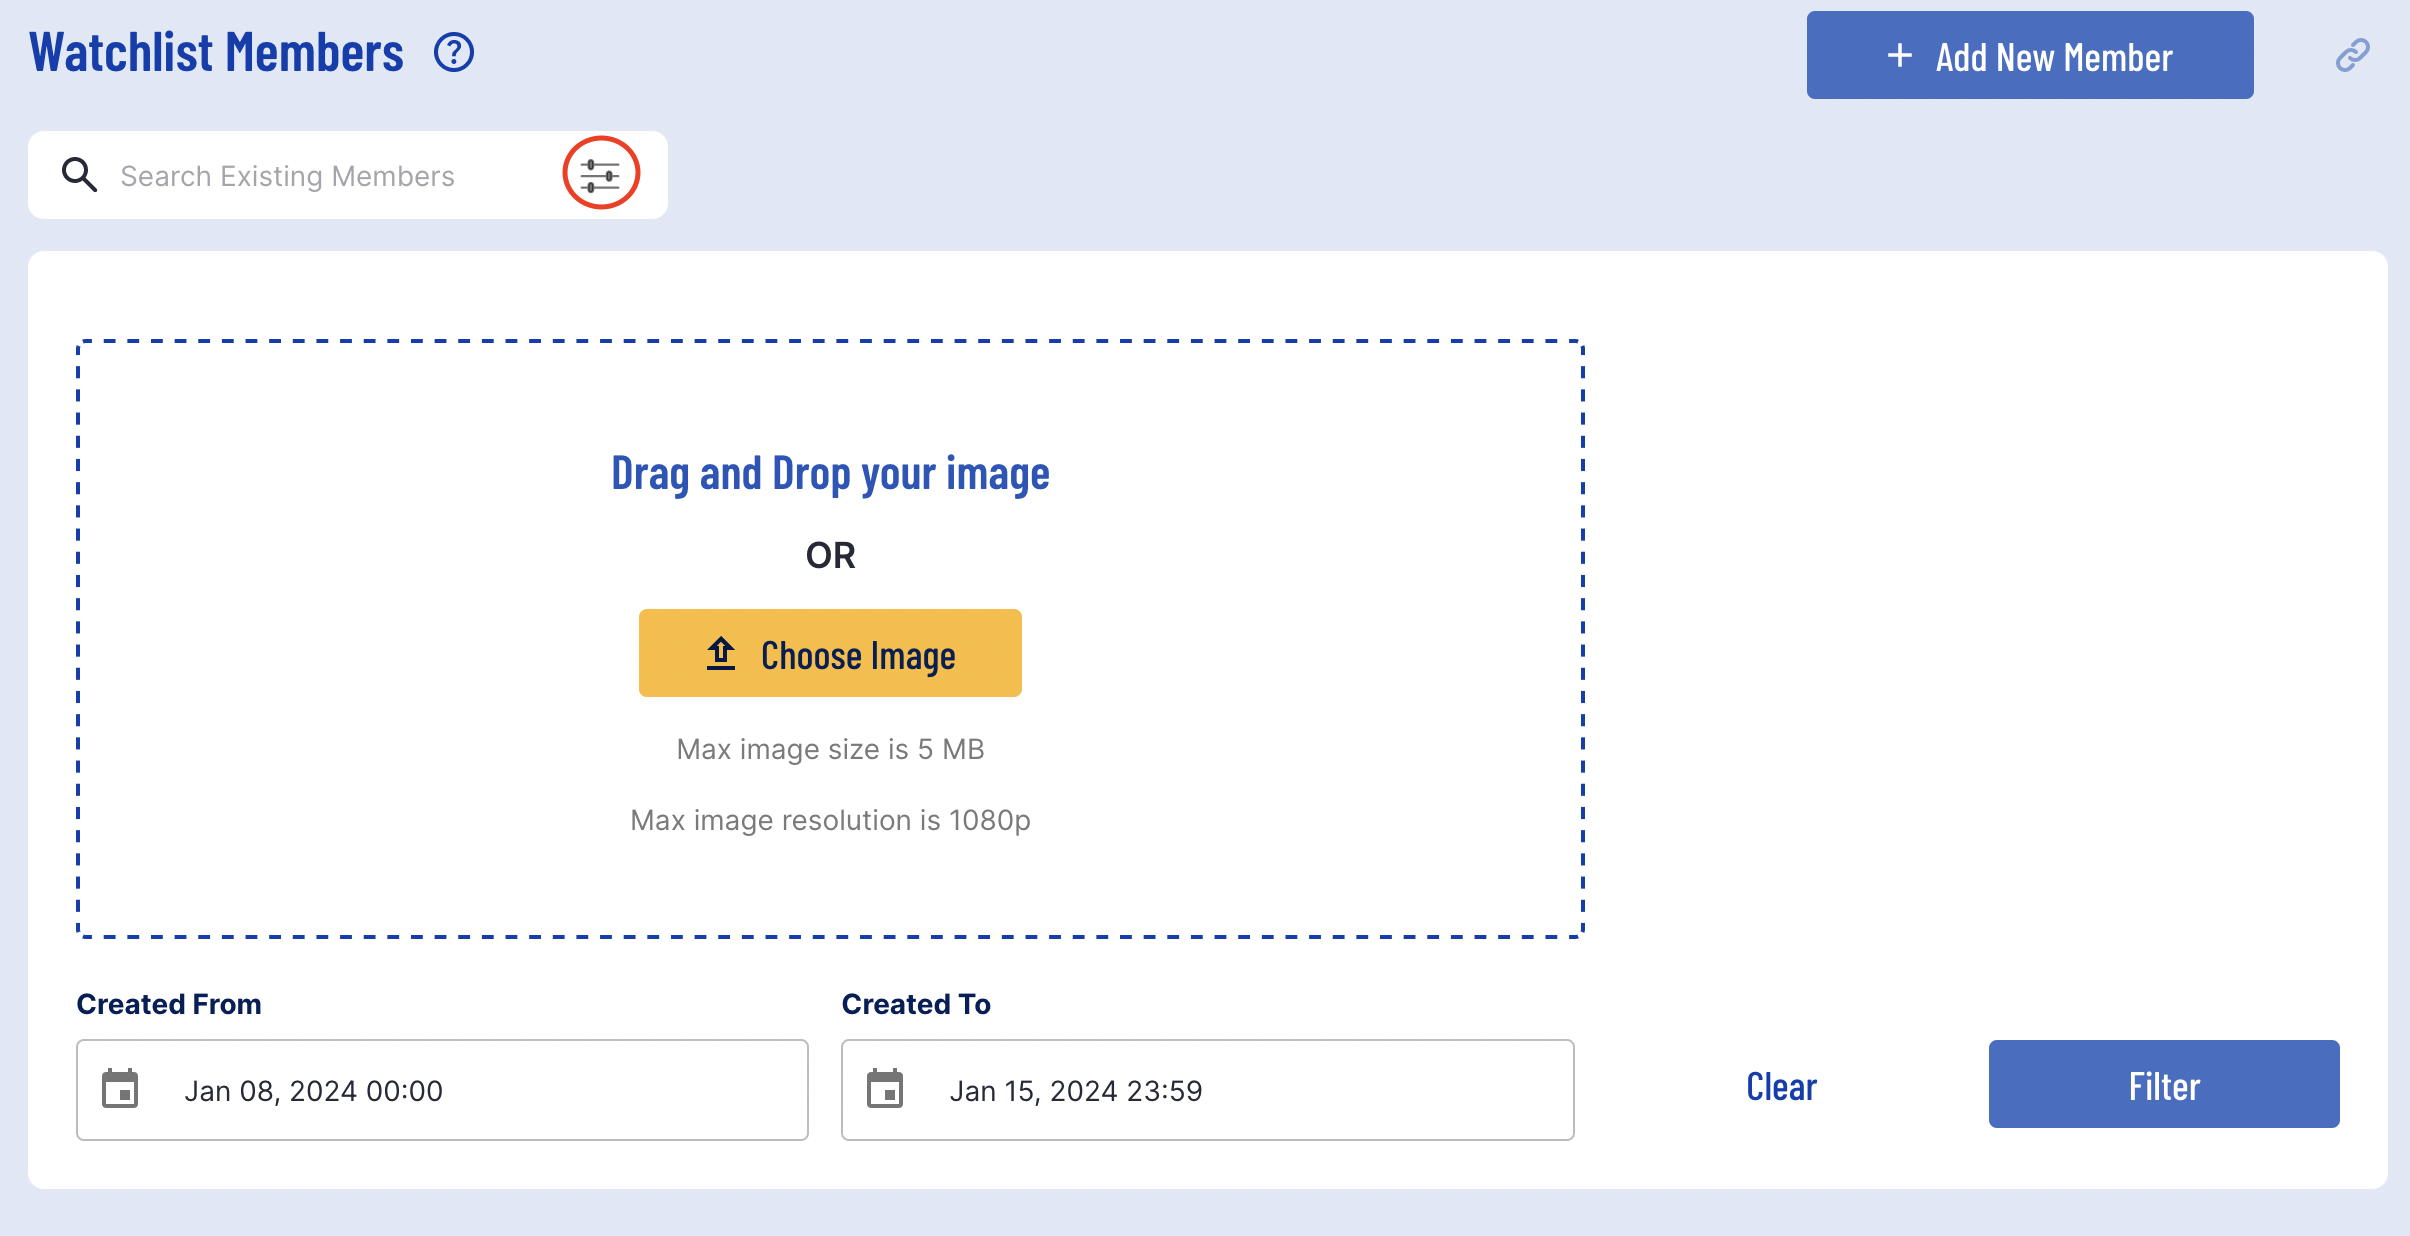
Available filter options enable users to search by created date and face image. To search by face image, click the 'Choose image' button or drag and drop the face image into the designated area. Supported image types include .jpeg and .png with a max image size of 5MB and max image resolution of 1080p.
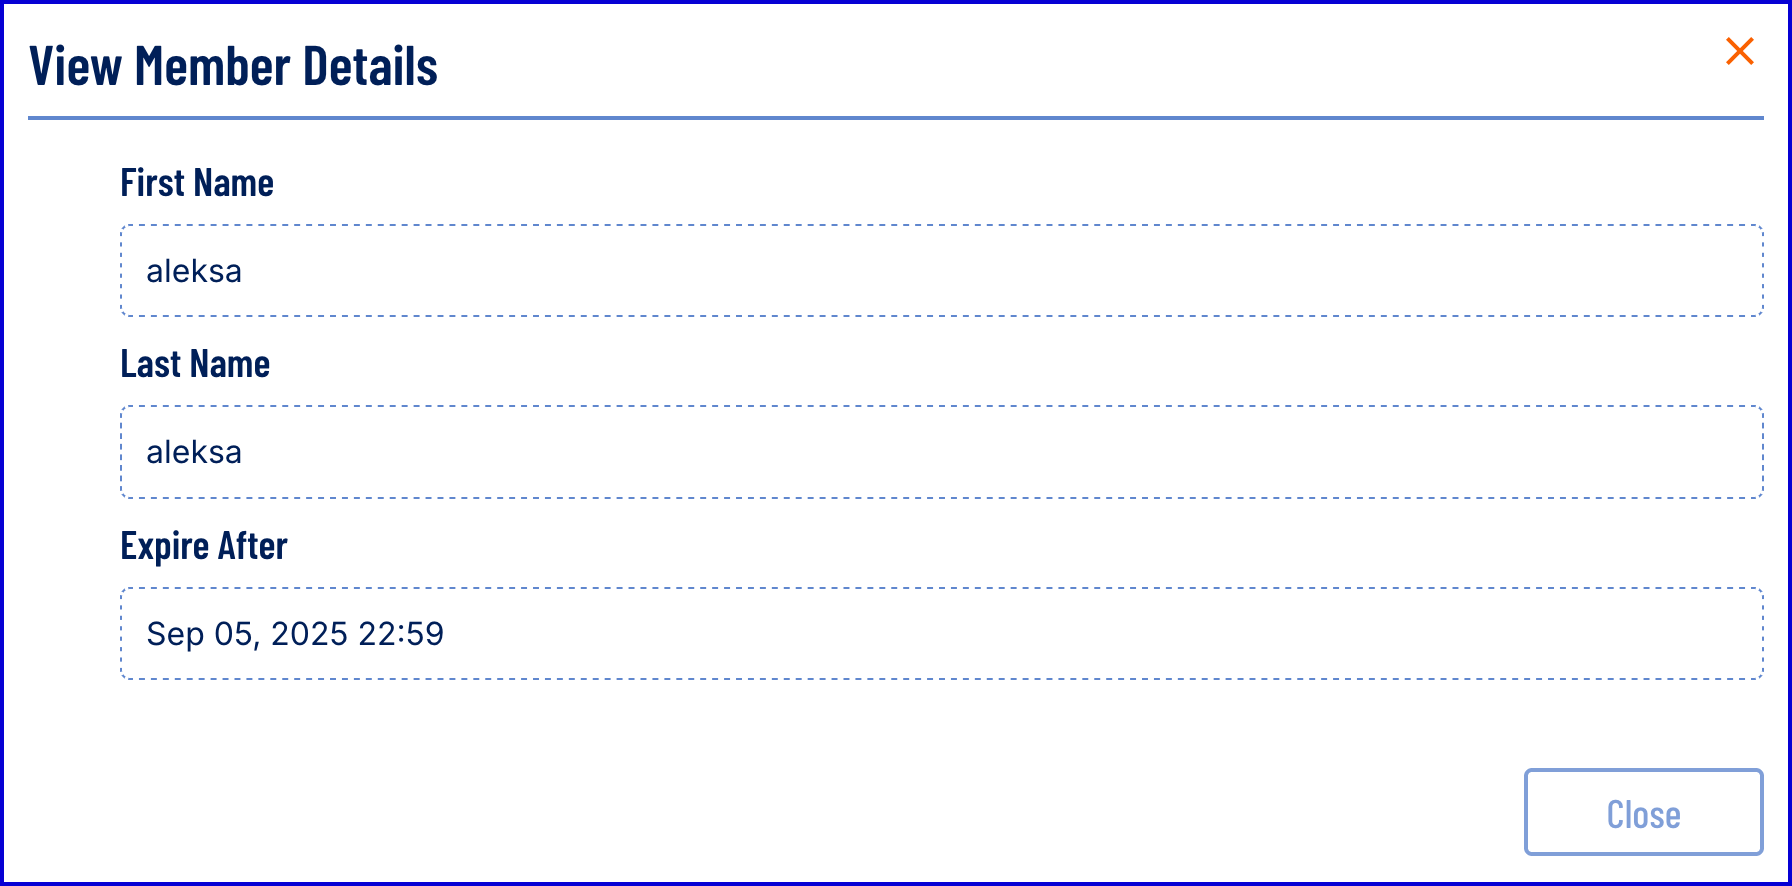
View Watchlist Member Details
Details about an individual watchlist member can be viewed by clicking the magnifying glass under the 'Actions' column.

This will reveal a pop-up modal that provides all parameters, additional parameters, and the face image associated with the watchlist member.
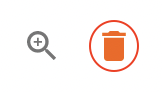
Delete Watchlist Members
To delete a watchlist member, click the bin icon.
It can take approximately 20 minutes before a deleted watchlist member is completely removed from the TrustX system.
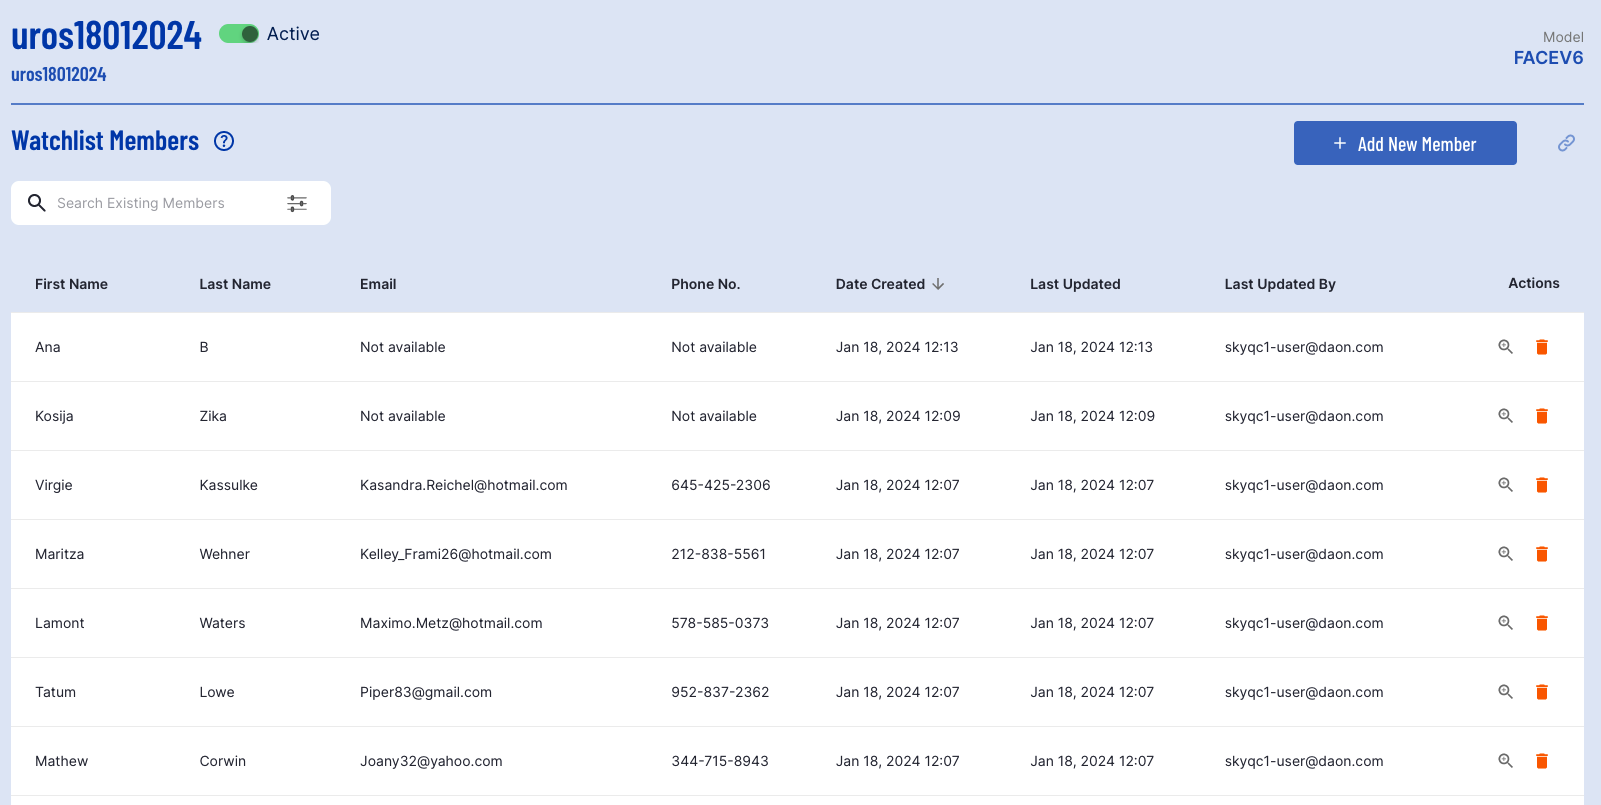
Update Watchlist Status
To update the status of a watchlist, navigate to the desired watchlist page by clicking the magnifying glass menu item found under the 'Actions' column.

From the individual watchlist page, find the status toggle next to the name of the watchlist.

Clicking this toggle will set the status of the watchlist from 'Inactive' to 'Active'.

Edit Watchlist
A watchlist can be edited by selecting the edit pencil icon from the 'Actions' column found on the watchlist landing page.
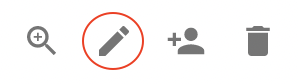
Clicking the edit button will redirect the user to the watchlist management page.