Early Access
TrustX provides functionality to upload a Visa document as a PDF file and have those documents processed using the ID Document processor. This provides the same flexibility as a standard document capture process where details may be extracted and used as part of a Process Definition and viewed within the Backoffice as any normal captured document.
This guide will describe a use case where a Visa is uploaded as a PDF file via the Backoffice Process Designer using the supported 'PDF ID Upload v1' activity and 'ID Document Processor 8.2' activities.
This functionality is in Early Access and is currently limited to a subset of Visa documents that have been tested for compatibility:
Chinese Visa Document
Brazilian Visa Document
Configure the Custom Page
Before configuring the Process Definition, a Custom Page will be created that will be used to handle request the end-user to upload a PDF file of the Visa document.
In the Backoffice application, navigate to Integration Hub > Custom Pages using the right-side vertical navigation menu.
From the Custom Pages landing page, click the 'New Custom Page' button.
Upload the Zip bundle containing all assets of the Custom Page. Below is an example Custom Page that includes a HTML and Javascript file.
Example index.html:
Example Javascript:
From the example above, the variable
_presignedUrland_headerscontain the Output Variable from the PDF ID Upload v1 activity. These values will be configured in the Custom Page activity.Once the Custom Page is configured, click 'Save & Deploy'.
Configure the Process Definition
The Process Definition in this example describes a simple PDF upload flow where a Visa document is uploaded and processed by the ID Document Processor (v8.2).
Create a new Process Definition by navigating to the Process Definitions page found on the vertical menu of the Backoffice.
Click the 'New Process Definition' button on the top right of the Process Definitions landing page.
Add a Start event to the Process Definition using the 'Create Start Event' option from the Process Designer pallet.
Add a 'Define Document Type V1' activity to the designer and connect it to the Start event. This activity will set the document type of the ID document that will be uploaded during the process. It contains the following input parameters:
Parameter Name | Type | Description |
|---|---|---|
Acceptable Countries | list[string] | A list of accepted countries. |
Country Code | string | The two-letter country code of the document. |
Document Key | string | The two-letter country code of the document. |
Document Type | string | The accepted document type. |
Add a 'PDF ID Upload v1' activity to the designer and connect it to the 'Define Document Type V1' activity using a sequence flow arrow. This activity will enable TrustX to handle the upload of a PDF file as an ID document. This activity features the following configurable input parameters:
Parameter Name | Type | Description |
|---|---|---|
Document Key | string | the unique ID of the document. This should match the Document Key defined in the 'Define Document Type V1' activity. |
Format | string | The format of the file that will be uploaded. Currently only PDF is supported. |
Output Variable | string | The Output Variable will provide a URL that can be used to upload the PDF document. This is used in the Custom Page |
Add a 'Custom Page V3' activity to the Process Designer and connect to the 'PDF ID Upload v1' activity. This activity will be configured to show the Custom Page defined in the Configure the Custom Page section above.
On the 'Custom Page V3' activity, configure the following input parameters by selecting the activity in the designer:
Custom Page Name - The name of the Custom Page defined in the section above.
Session Data - Session Data variables that will be sent to the Custom Page:
(key: uploadURL, value: ${uploadURL})
(key: uploadURL_headers, value: ${uploadURL_headers})
Add an 'ID Document Processor 8.2' activity to the designer and connect it to the 'Custom Page V3' activity using a sequence flow arrow. This activity supports the following configurable input parameters:
| Parameter | Description | Type | Default |
|---|---|---|---|
| Already Cropped | When enabled, will signal to the document processer that the document image is already cropped. NOTE: For PDF upload, this parameter must be set to `${true}` | boolean | false |
| Document Key | The identifier of the document. | string | doc1 |
| Error navigation screen | The screen the user will be navigated to in case of an error event occurs. | string | instructions |
| Exception Max Attempts | Exception for max attempts. | string | ${true} |
| Fields to assign original values | Enables customers to define a list of original values to be returned by the processor. | list[string] | |
| Image Profile | The profile of the image; Cropped or Uncropped. | string | Cropped |
| Max Attempts | The maximum number of allowed attempts. | integer | ${3} |
| Measure System | The unit of measurement to be used. Possible values are METRIC or IMPERIAL. | string | METRIC |
| Original Response Enabled | If set to true, the response of additional checks will be returned (eg. Chip data). If false, additional checks will not be returned. | string | ${false} |
| Scenario | Set the type of security check to perform where FullAuth will perform additional security checks. Possible values include FullAuth, FullProcess or DocType. | string | ${FullProcess} |
Once configured, add a 'Create End Event' to the designer and connect the 'ID Document Processor 8.2' activity using a sequence flow arrow. This will conclude the
The completed Process Definition will appear as follows:

Once all the configurations are finalized, click the 'Save & Deploy' button to complete the Process Definition.
Testing the Process Definition
The Process Definition can be tested by creating a Process Token in the Backoffice application.
From the Backoffice, find Process Definitions > Process Tokens.
From the Process Tokens landing page, click the 'New Process Token' button.
A pop-up will appear where details such as the Process Definition, Process Token Name, and Additional Parameters can be defined.
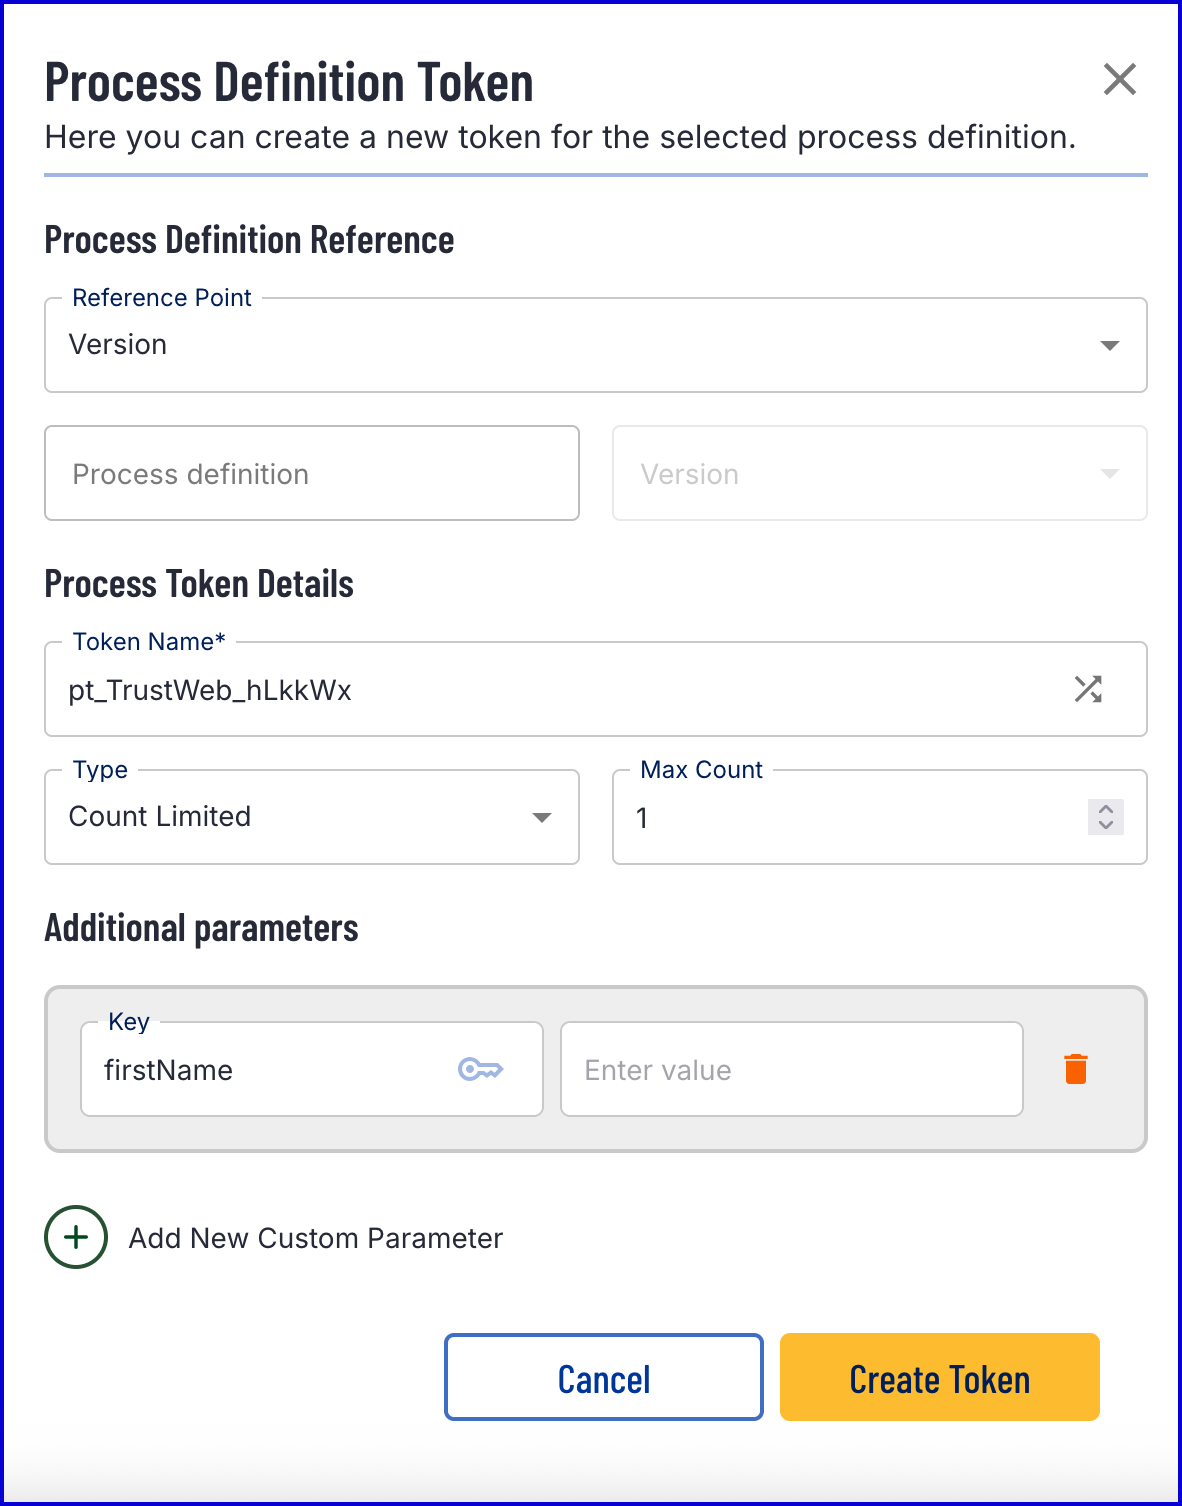
Once all details are defined, click the 'Create Token' button.
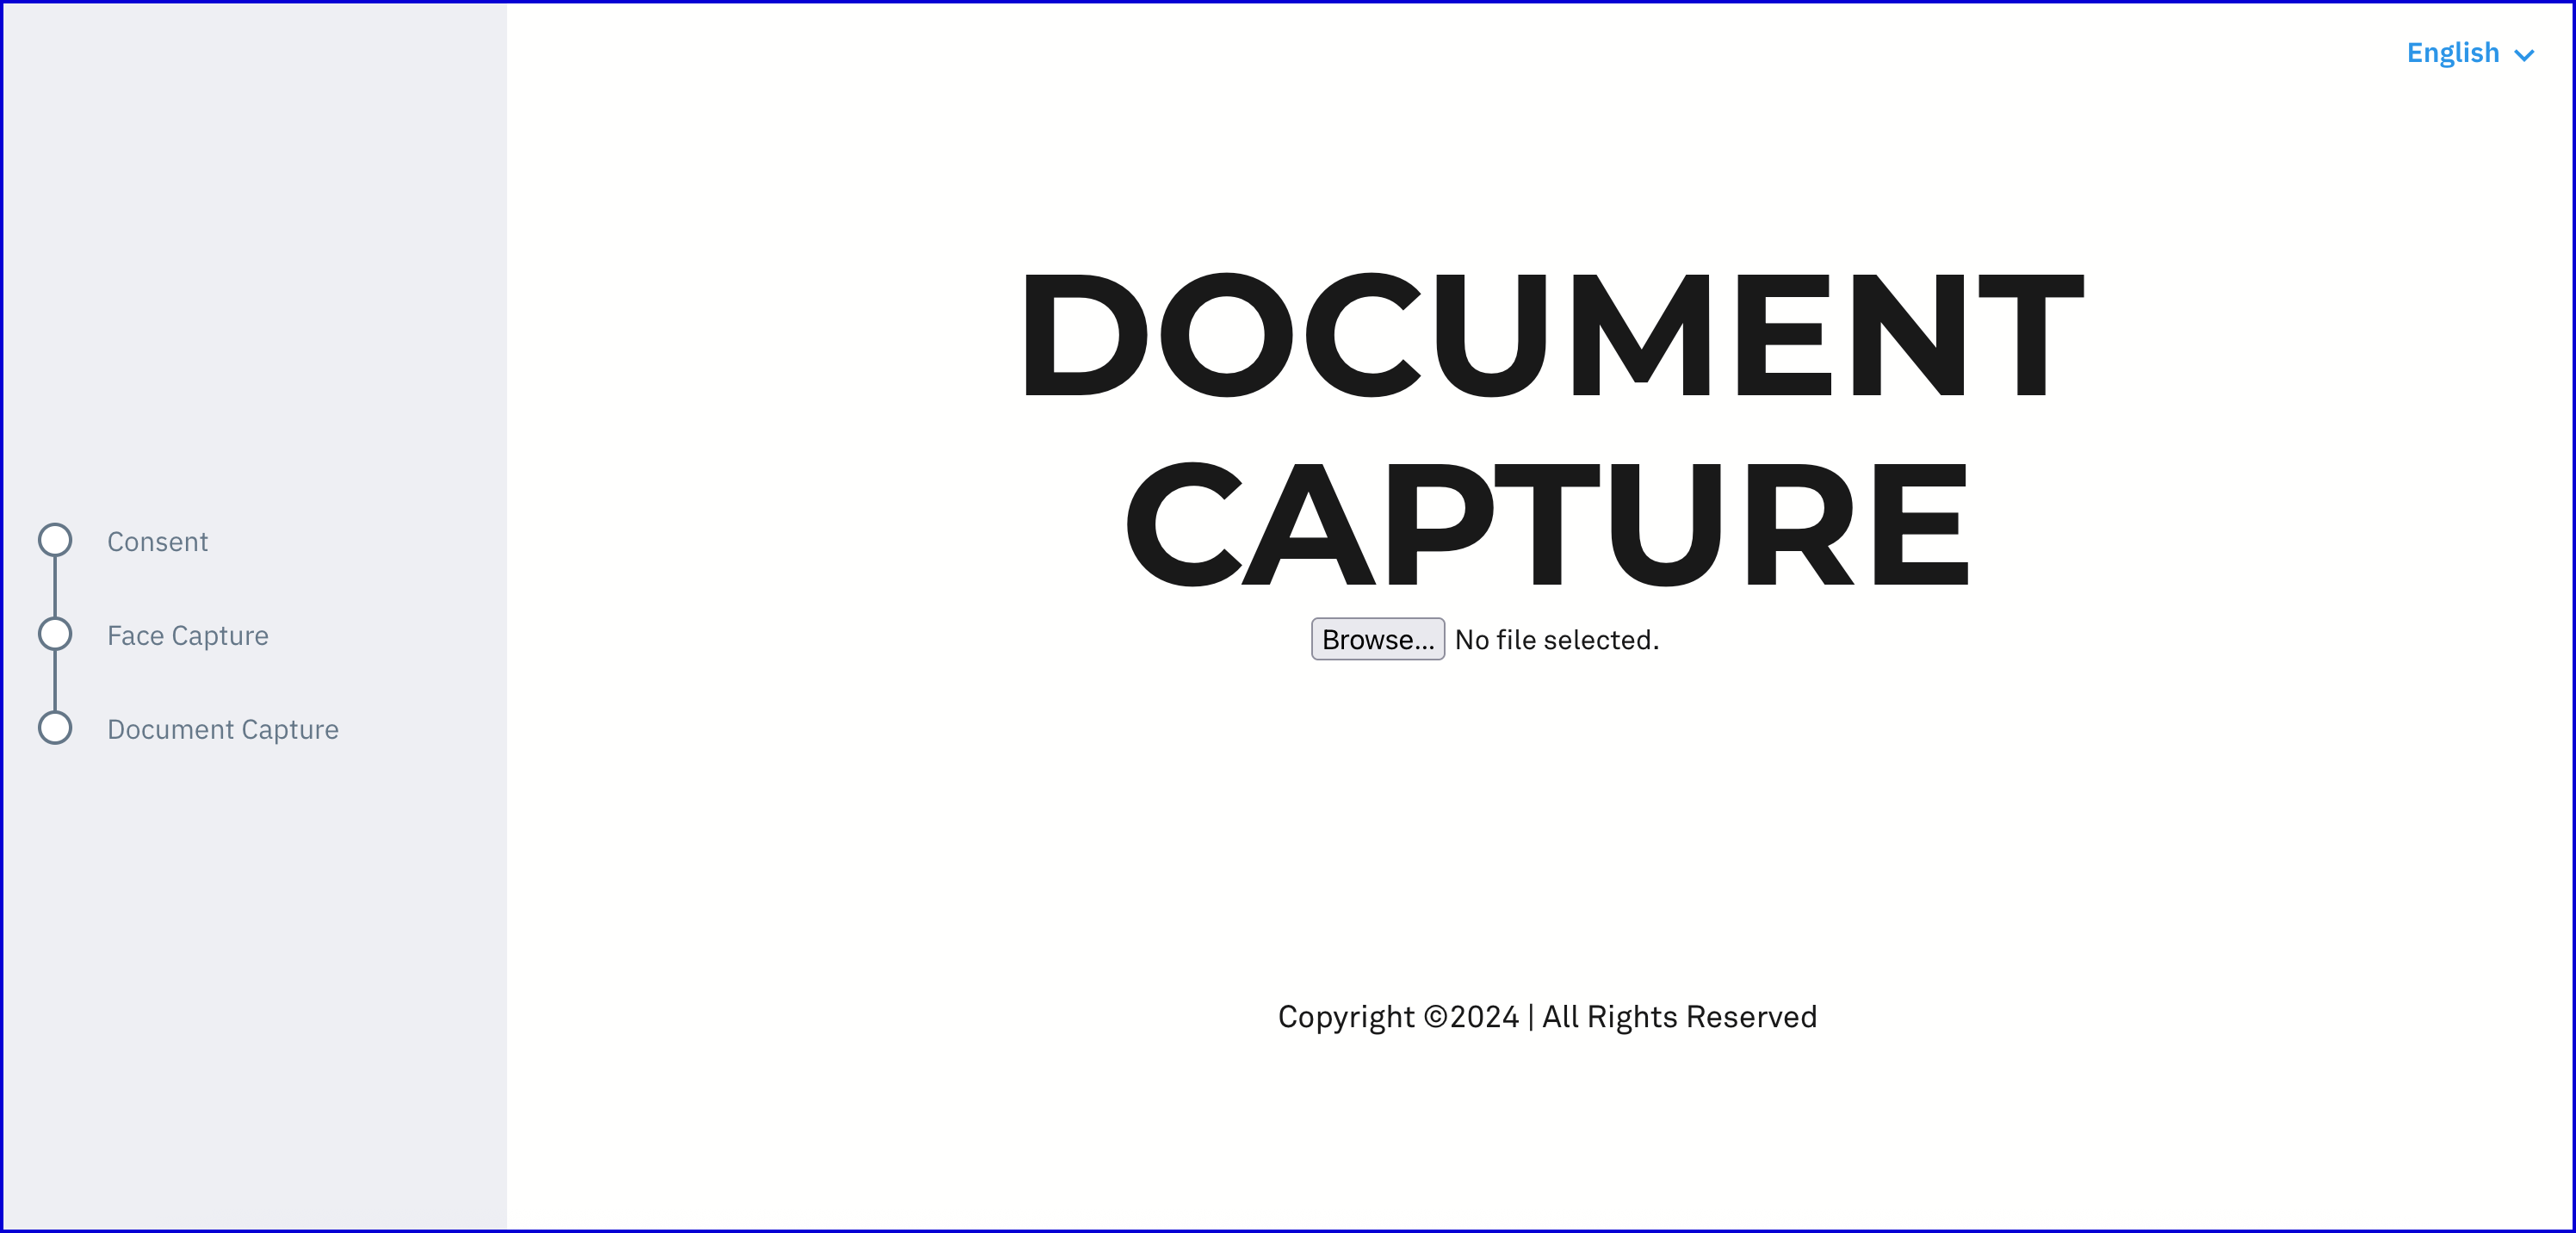
Open the token URL to start the process. This will present the end-user with a Custom Page where a PDF file containing a scan of an ID document can be presented.